


2275DWRWS, 2275DWRWOL 17
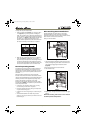
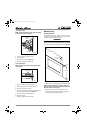
Minor Adjustment:
NOTE: The mounting holes on the slide are slightly
larger than the screws’ diameter.
Figure 21
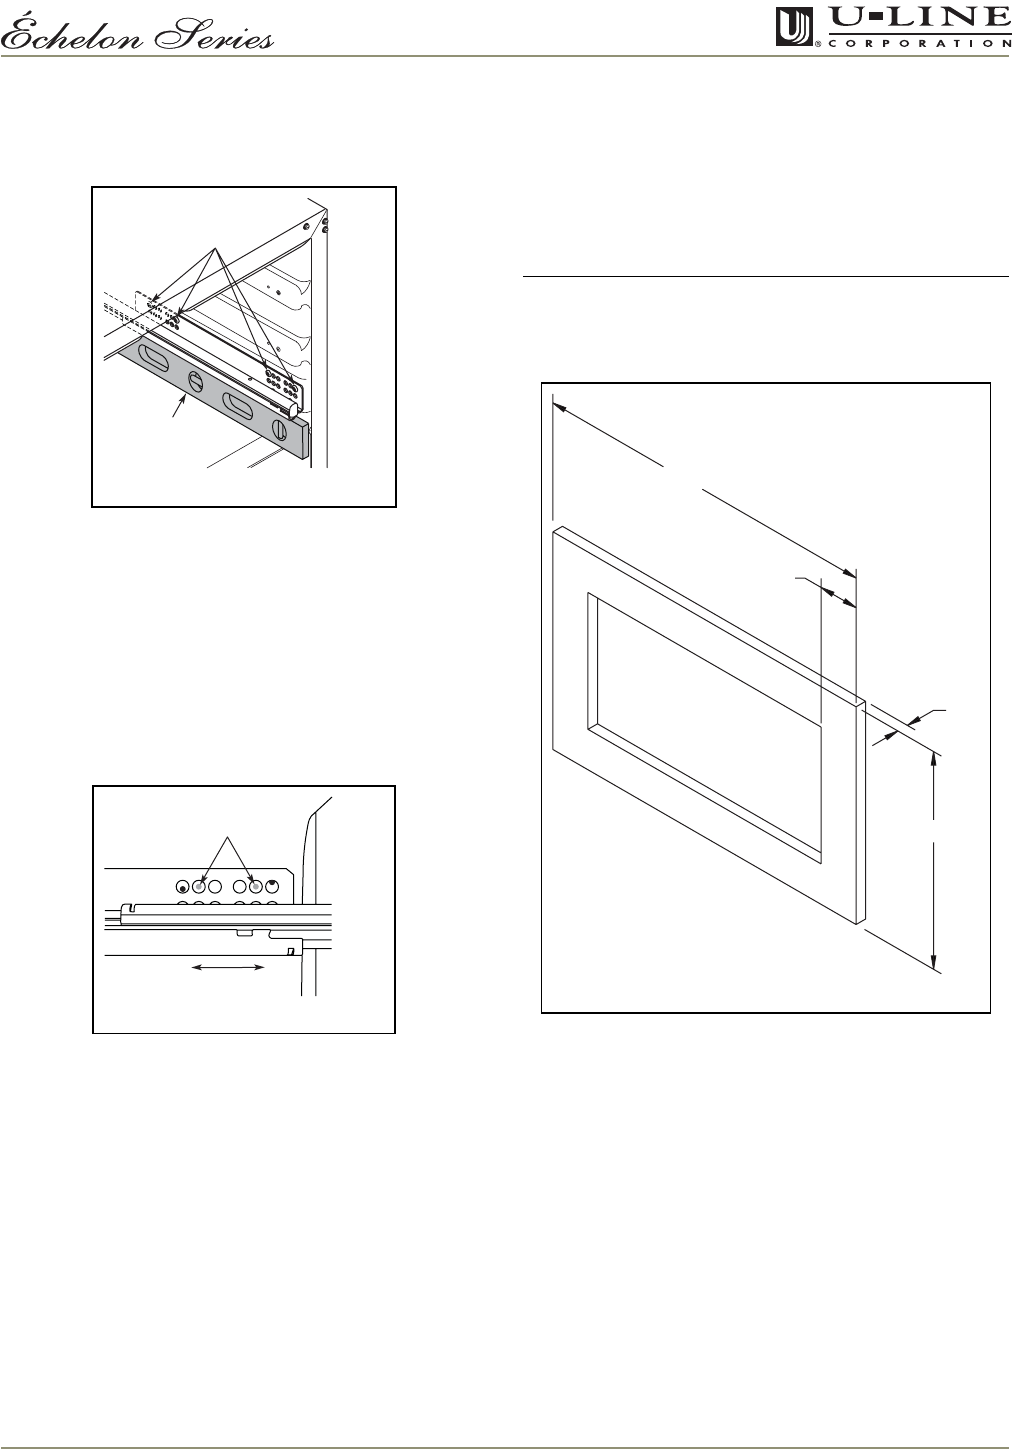
1. Loosen one slide’s mounting screws.
2. Level the slide.
3. Retighten the screws. See
Figure 21
.
4. Repeat procedure for the other slide.
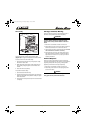
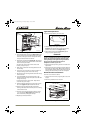
Severe Adjustment:
NOTE: The slides have extra mounting holes that
may be used.
Figure 22
1. Loosen one slide’s rear mounting screws.
2. Remove the slide
’
s front mounting screws.
3. Reposition the slide so it is level.
4. Mark new front drilling holes using a different set of
mounting holes on the slide. See
Figure 22
.
5. Drill the new holes with a #30 drill bit.
6. Remount the slide.
7. Repeat procedure for the other slide.
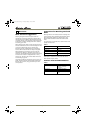
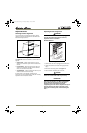
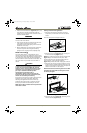
Wood Overlay
Frame Preparation
An overlay frame covers the drawer front to give a built-
in appearance. Appropriate hardware and a copy of these
instructions will be included in the unit.
IMPORTANTIMPORTANT
The thickness of the overlay frame must be 3/4".
The drawer frame must not weigh more than 10 lbs.
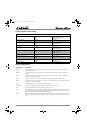
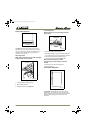
Create two frames to the dimensions shown in Figure 23.
Figure 23
1. Make sure unit is unplugged from the electrical outlet.
NOTE: If cabinet handles are installed, make sure
the mounting screw heads are below (countersunk)
the back surface of the overlay.
2. Starting with the TOP drawer, open drawer fully.
You should have already prepared the overlay panel
and have the cabinet handles installed.
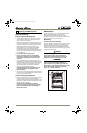
Screws Should
Be Loose
Level the Slide
ULIN_0001g_A
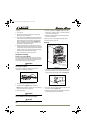
Mark and Drill New
Mounting Holes
Level the Slide
ULIN_0001h_A
ULIN_0620_A
23-13/16"
2-3/4" Typ
4 Sides
3/4"
14-13/16"
ULIN_016357_30179.fm Page 17 Thursday, February 1, 2007 1:24 PM