


18 2275DWRWS, 2275DWRWOL
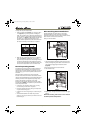
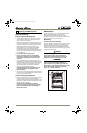
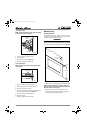
Figure 24
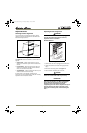
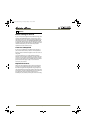
3. Place finished drawer overlay panel
(Figure 24, 3)
over
front of drawer and using masking tape, tape to front
of drawer, making sure to center overlay and making
the top and bottom flush with drawer.
4. Place drawer overlay bracket
(Figure 24, 1)
on bottom
of drawer making sure to catch the back of the drawer
with the short lip on bracket.
Also align the wood overlay with the ends of the
bracket, and tape in place.
5. Mark center of holes from mounting bracket onto the
wood overlay.
6. Using an ice pick, or similar tool, mark the location of
the top mounting screws on the wood overlay.
7. Remove the lower mounting bracket and wood overlay
from the drawer.
8. Using a #44 (0.094) drill, pre-drill pilot holes in the
locations noted from steps 5 and 6, be sure to NOT drill
through the overlay.
Drill the pilot hole from step 5, 9/16" deep and the
ones from step 6, 1/4" deep.
9. Attach the bottom bracket to the wood using 2 of the
5/8" screws
(Figure 24, 2)
included with the unit.
10. Attach the wood overlay assembly to the drawer
starting at the bottom of the drawer, then re-centering
it on the drawer front.
11. Secure the top of the wood panel by placing 2 of the
1-1/2" wood screws
(Figure 24, 4)
through the top
holes in the drawer, and tighten securely.
12. Repeat steps for bottom drawer.
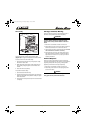
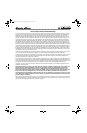
Light Bulb Replacement
To replace the light bulb in your U-Line unit:
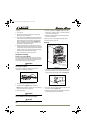
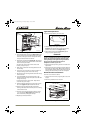
Figure 25
1. Grasp the edges of the light housing lens
(Figure 25, 1) opposite the exposed tab and gently
push the lens toward the tab (Figure 25, 2).
2. Pull the edge of the lens down
(Figure 25, 1)
and
swing it out of the light housing.
IMPORTANTIMPORTANT
ALWAYS use a genuine U-Line replacement bulb (P/N
31317) in the light housing. Use of any other bulb
within the housing will generate excessive heat,
causing damage to the light housing and cabinet
interior, and will compromise the precise
temperature control of your unit.
3. Replace the bulb only with a genuine U-Line P/N 31317
replacement.
4. Replace the lens by first inserting the tab side back into
the housing at a slight angle. While gently pushing the
lens towards the tab end, push the free end up into the
housing, and release when you will hear a snap/click.
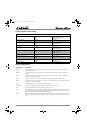
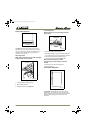
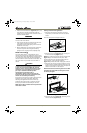
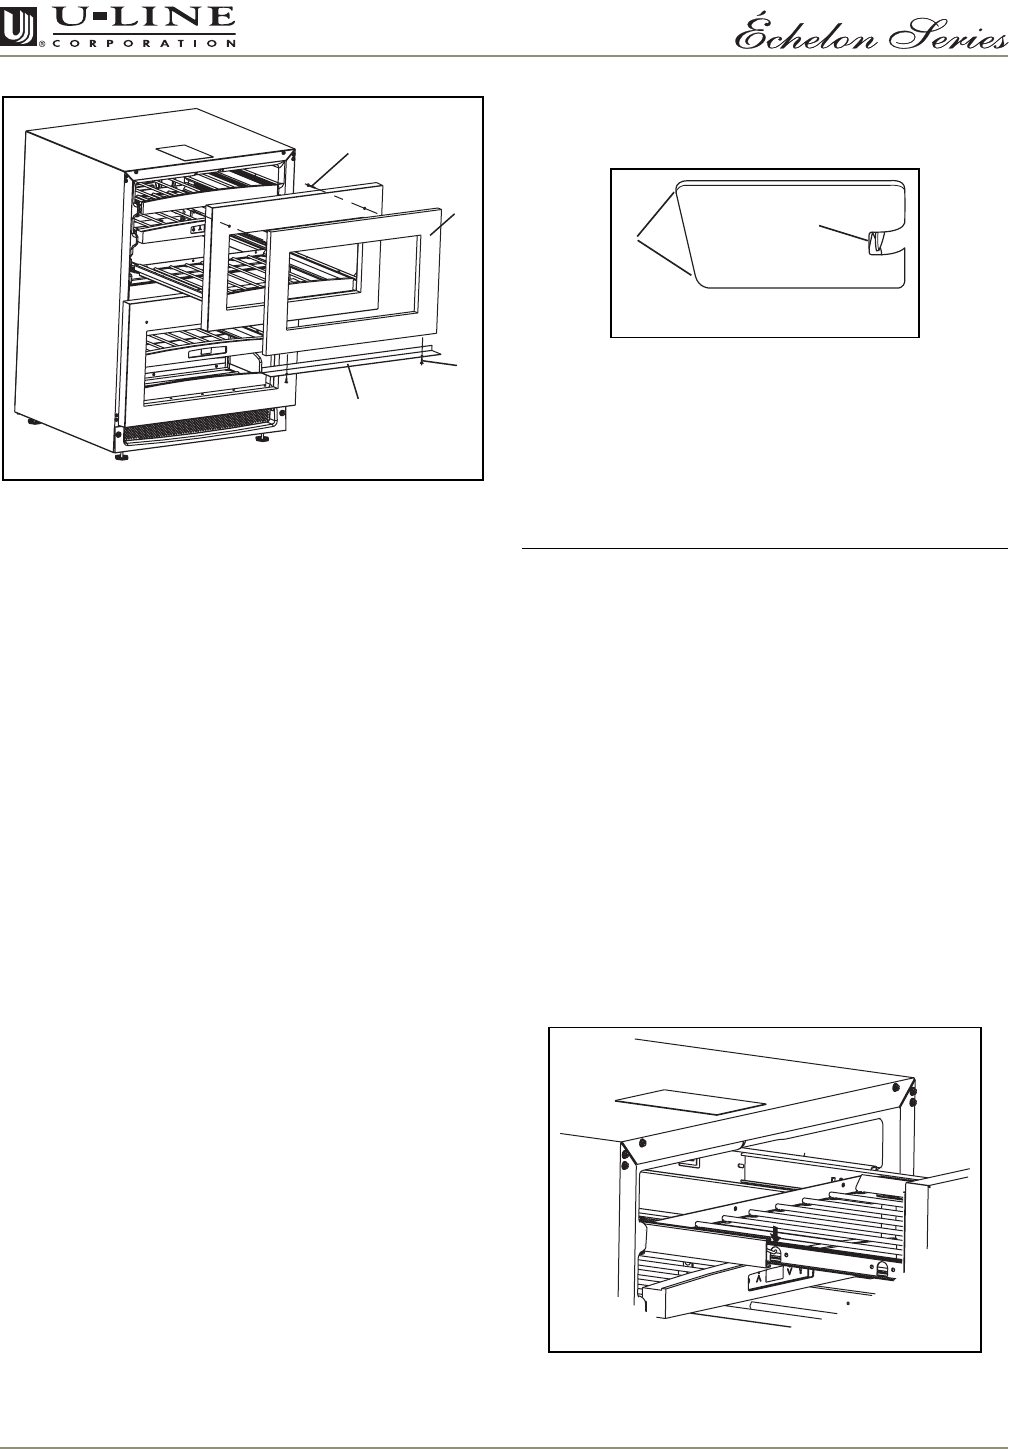
Wine Rack Removal/Installation
To remove a rack from the cabinet:
1. Grasp the end of the rack, and gently slide it out until
it stops.
2. Remove any bottles stored on the rack.
Figure 26
4
3
2
1
ULIN_0154a_A
1
2
ULIN_0001_A
ULIN_0155a_A
ULIN_016357_30179.fm Page 18 Thursday, February 1, 2007 1:24 PM