10
®
CAST IRON STOVE AND BURNER SYSTEM
106707
For more information, visit www.desatech.com
SBVRBN AND SBVRBP
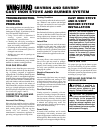
CHECKING VENT CAPACITY
Complete all gas piping, electrical, and vent
connections. After adjusting the burner sys-
tem and lighting the main burners, allow a
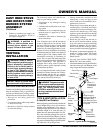
couple of minutes for warm-up. Hold a
lighted match just under the rim of the draft
hood relief opening. Proper venting will
draw the flame toward or into the draft hood.
Improper venting, indicated by escape or
spillage of burned gas, will cause match to
flicker or go out. Smoke from a cigarette
will also be pulled into the draft hood if the
vent is drawing properly.
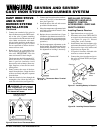
Figure 25 - Test for Proper Venting
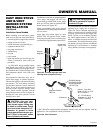
INSTALLING VENT SYSTEM
IN A CHASE
A chase is a vertical box-like structure built
to enclose venting that runs along the out-
side of a building. A chase is not required for
such venting.
NOTICE: Treatment of firestops
and construction of the chase
may vary from building type to
building type. These instructions
are not substitutes for the re-
quirements of local building
codes. You must follow all local
building codes.
Note:
When installing in a chase, you should
insulate the chase as you would the outside
walls of your home. This is especially im-
portant in cold climates. Minimum clear-
ance between vent pipes and combustible
materials such as insulation is 1".
WARNING: Installation should
only be made by qualified per-
sons who are familiar with the
safety procedures required for
the installation of the product,
who are equipped with the proper
tools and testing instruments,
and who have achieved proper
certification of licensing. Instal-
lations made by unqualified per-
sons can result in the risk of in-
jury or electrical shock which can
be serious or even fatal.
INSTALLATION OF LISTED
B-1 VENT
VENTING
INSTALLATION
Continued
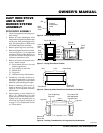
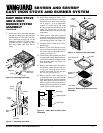
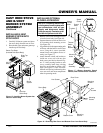
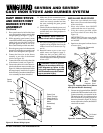
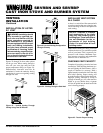
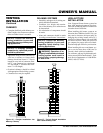
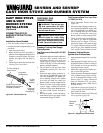
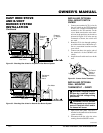
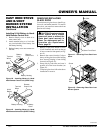
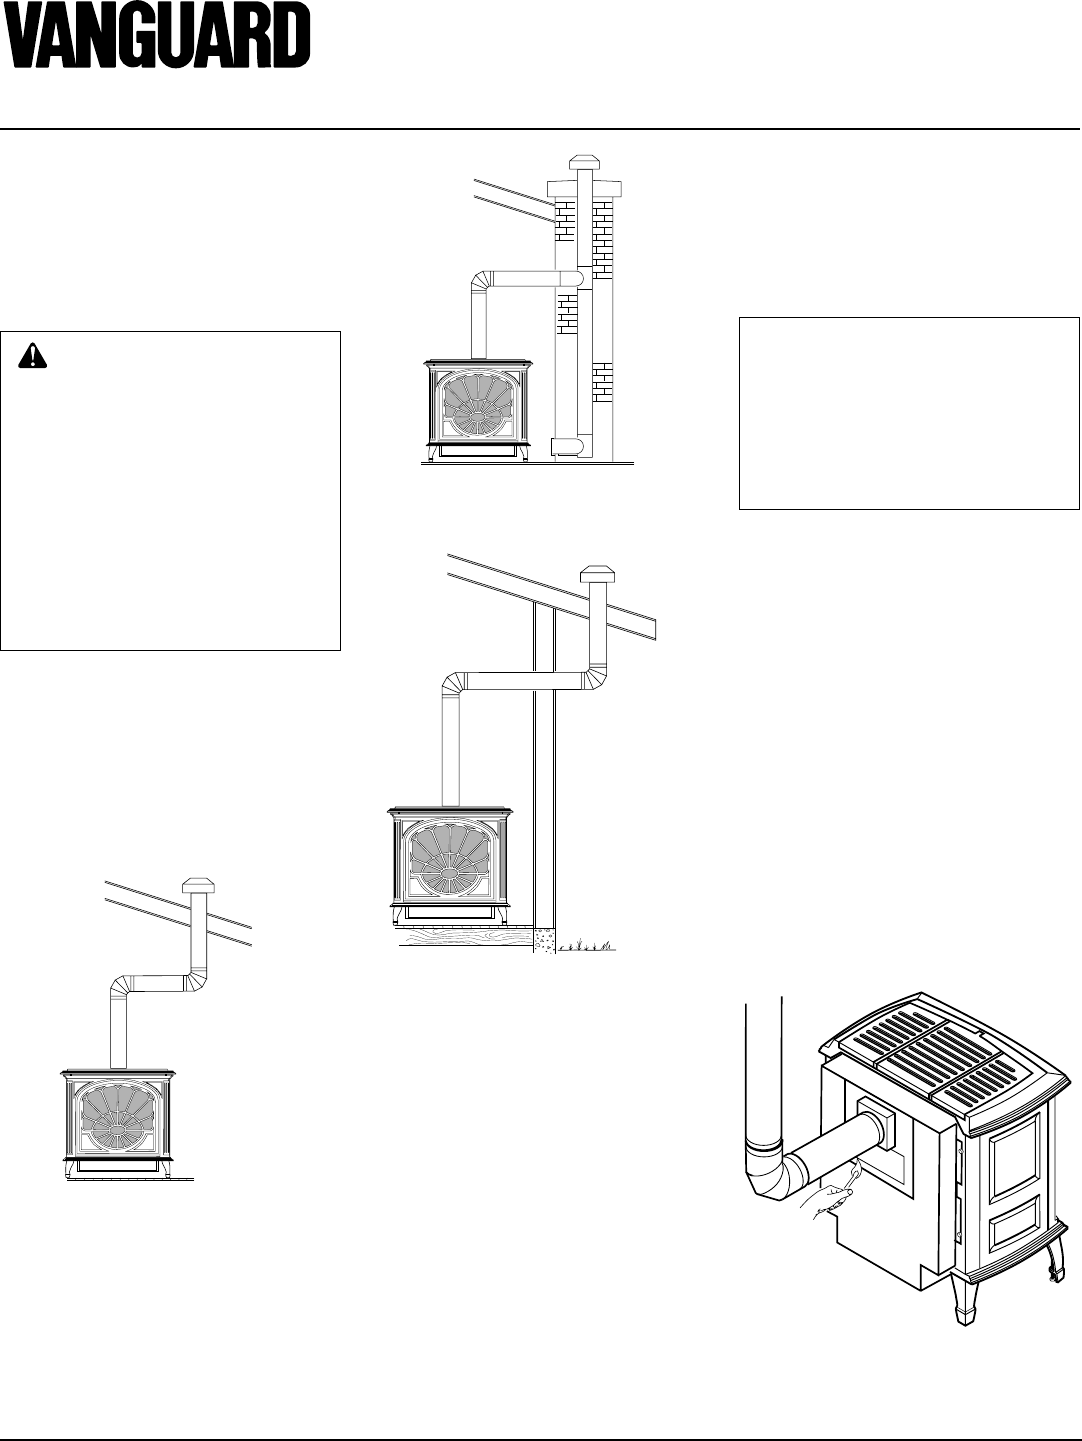
Figures 22 through 24 show other options
for the gas vent. When venting through a
side wall your vent pipe must have the
proper temperature rating (see Figure 24).
Manufacturer's clearances must also be
maintained. Consult the authority having
jurisdiction in your area regarding venting
through side wall.
Figure 22 - Vertical Venting Through
Ceiling Using Two 90
º
Elbows
Figure 23 - Vertical Venting Configuration
Through Chimney
Figure 24 - Venting Through a Side Wall


