


18 19
1
2
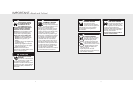
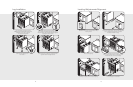
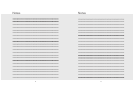
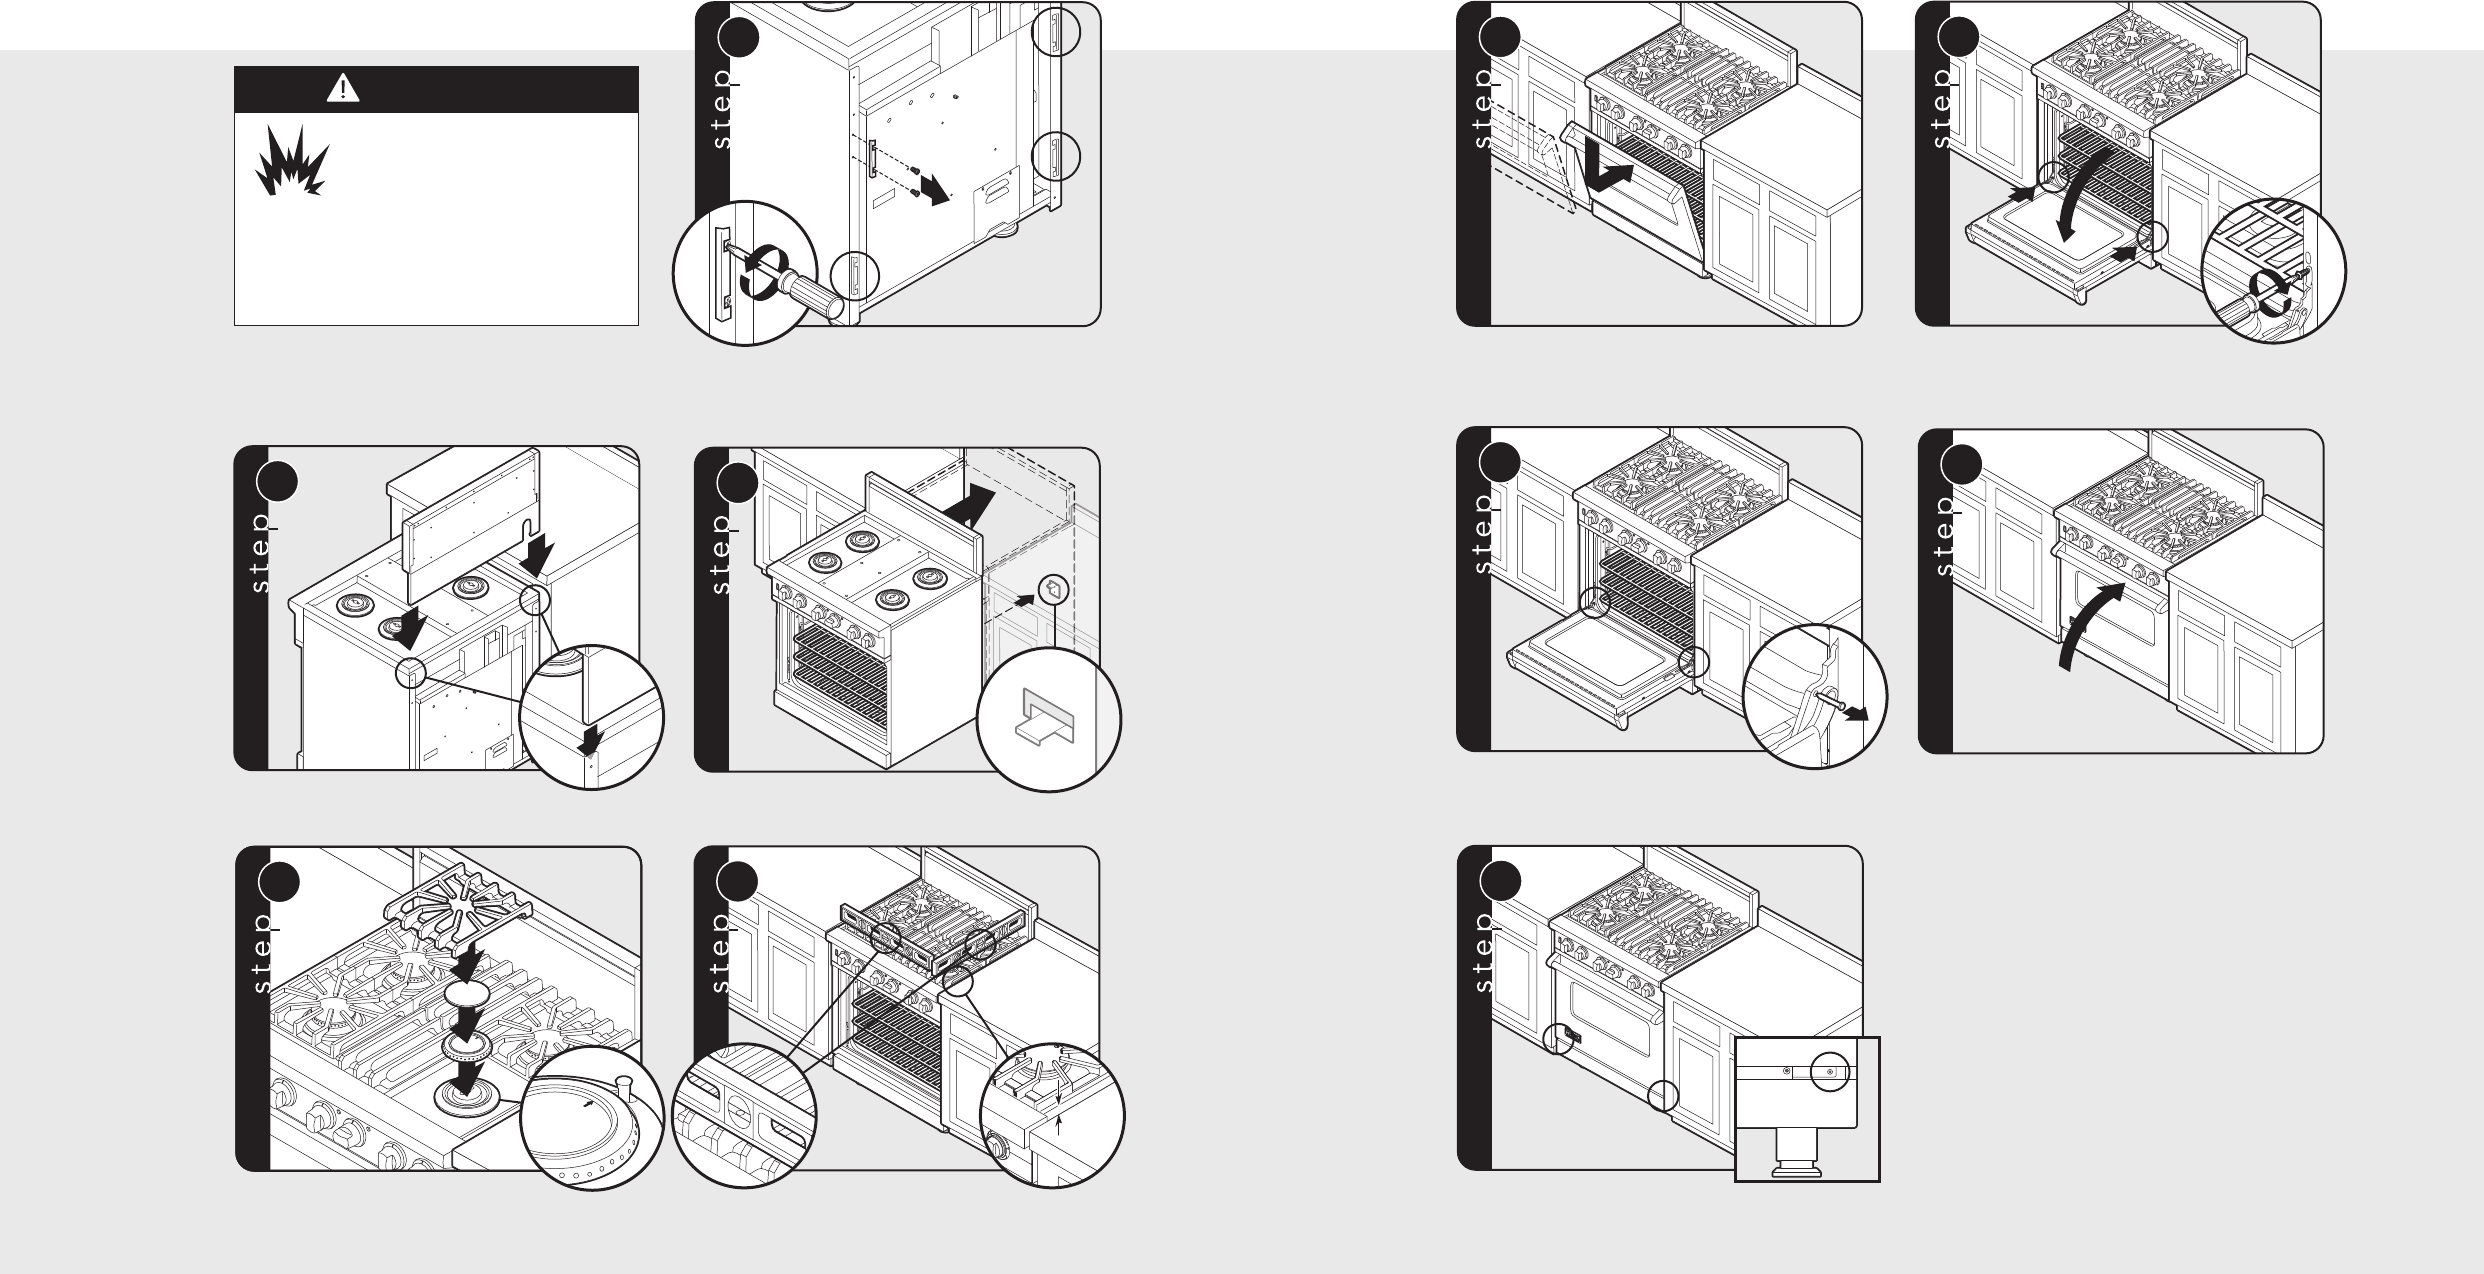
Reattach door to range.
Open door completely. Reattach hinge trim.
3
4
Remove pins from hole in hinges.
Close door.
5
If the door needs to be adjusted, loosen hinge trim screws located in
step 2. Adjust the screws located between the door and kickplate using a
5/32” hex head allen wrench. After adjustment, tighten hinge trim screws.
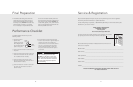
Door Replacement and Adjustment
1
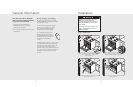
Install backguard.
2
3
Burner caps are packed in styrofoam top pack with the grates.
Place burner on top of range. Place burner grate on top of burner
cap and grate support.
Note: Arrow on burner cap must be pointing towards back of range.
4
3/8”
3/8”
(
0
.
9
5
cm
)
(0.95 cm)
3/8”
(
0
.
9
5
cm
)
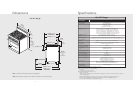
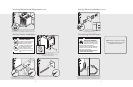
Check that unit is level side to side
and front to back. The side trim must be 3/8” (0.95 cm)
above countertop. If unit is not level repeat steps 5-7
of “Leveling/Adjustments/Alignment” section.
Slide range into place. Be sure
anit-tip bracket slides into the anit-tip opening.
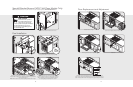
Final Installation
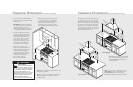
1
Unscrew four standoff brackets and remove.
Standoff Bracket Removal (VGSC Self-Clean Models Only)
Note: Standoff brackets can only be removed if range is installed against a NON-COMBUSTIBLE wall.
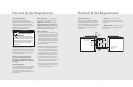
DANGER
FIRE HAZARD
Standoff brackets provide a
3/8” barrier between back of
range and rear wall. These
must be in place for adequete ventilation.
The standoff brackets may only be
removed if range is installed against a
non-combustible wall.