12
13
Operation
Adjustable Humidity Zone™
You can control the amount of humidity in the Adjustable Humidity
Zone drawer. Adjust the control to any setting between LOW and
HIGH. LOW (open) for best storage of fruits and vegetables with skins.
HIGH (closed) for best storage of fresh, leafy vegetables.
Adjustable Cold Zone™
The refrigerator drawer holds more fresh food in more ways than ever
before, and is ideal for storing popular food items that need to be readily
accessible. In addition the drawer’s location allows children to serve
themselves from the refrigerator.
Use the full-width drawer to store large party platters or deli trays, or
use a drawer organizer to store smaller items such as yogurt, juice
boxes and lunch meat within easy access.
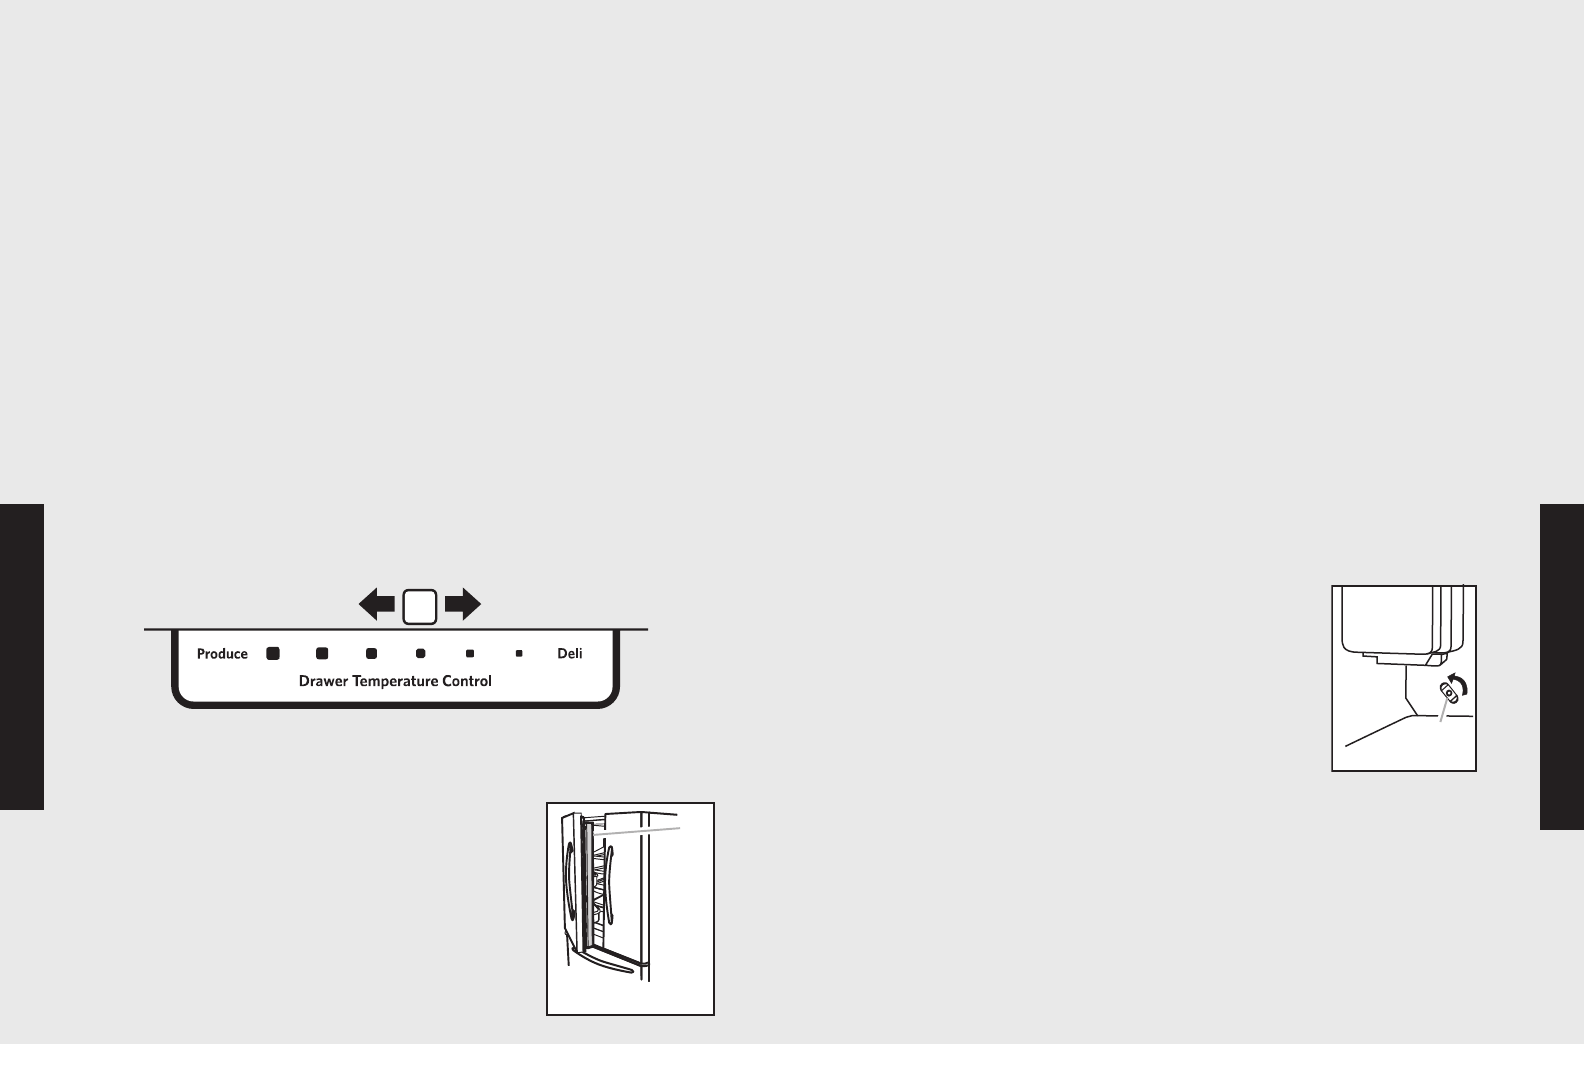
To Adjust the Temperature Control:
The refrigerated drawer has a separate temperature control which
regulates only the temperature of the drawer. The temperature control
regulates how much refrigerated air is allowed to circulate into the
drawer. Adjusting the control allows more or less air to circulate.
• Slide the control toward Produce for less cold air and toward Deli for
more cold air.
Opening and Closing Doors
There are two refrigerator compartment doors.
The doors can be opened and closed either
separately or together. There is a vertically-hinged
seal on the left refrigerator door.
• When the left side door is opened, the hinged seal
automatically folds inward so that it is out
of the way.
• When both doors are closed, the hinged seal
automatically forms a seal between the two doors.
IMPORTANT: Flush the water system before turning on the ice maker.
See “Water and Ice Dispensers” section.
Turning the Ice Maker On/Off
The ice maker has an automatic shutoff. When the ice maker is on,
sensors will automatically stop ice production when the storage bin is
full. The ice maker will remain set to ON, and ice production will
resume when the bin is no longer full.
To manually turn off the ice maker:
Press OPTIONS to display the OPTIONS screen. Pressing ICE MAKER,
if the ice maker is currently on, will turn off the ice maker. The “Ice
Maker Off” icon will flash three times and then stay lit. When the ice
maker is set to OFF, it will stop producing ice.
Pressing ICE MAKER, if the ice maker is currently off, turns on the ice
maker. The “Ice Maker Off” icon will disappear.
Removing and Replacing Ice Storage Bin
To Remove the Ice Storage Bin:
1. Hold the base of the storage bin and press the release button.
2. Pull out the storage bin.
To Replace the Ice Storage Bin:
IMPORTANT: It may be necessary to turn the auger
driver, behind the ice bin, counterclockwise to
properly align the ice bin with the auger driver. The
ice storage bin must be locked in place for proper
ice dispensing.
1. Slide the ice bin into the guide rails located on
either side of the enclosure.
2. Push the ice bin in until resistance is felt. Raise the
front slightly and push the ice bin in until an audible “click” is heard.
Ice Production Rate
• Allow 24 hours to produce the first batch of ice. Discard the first
three batches of ice produced.
• The ice maker should produce approximately 8 to 12 batches of ice
in a 24-hour period.
• To increase ice production, lower the freezer and refrigerator temperature.
See “Using the Controls.” Wait 24 hours between adjustments.
NOTE: Setting the freezer to a colder temperature may make some
foods, such as ice cream, harder.
Ice Maker and Ice Storage Bin
Adjustable Humidity Zone and
Adjustable Cold Zone
Operation
