17631 South Susana Road, Rancho Dominguez, California 90221
info@vinotemp.com
CTIONS CORD INSTRU
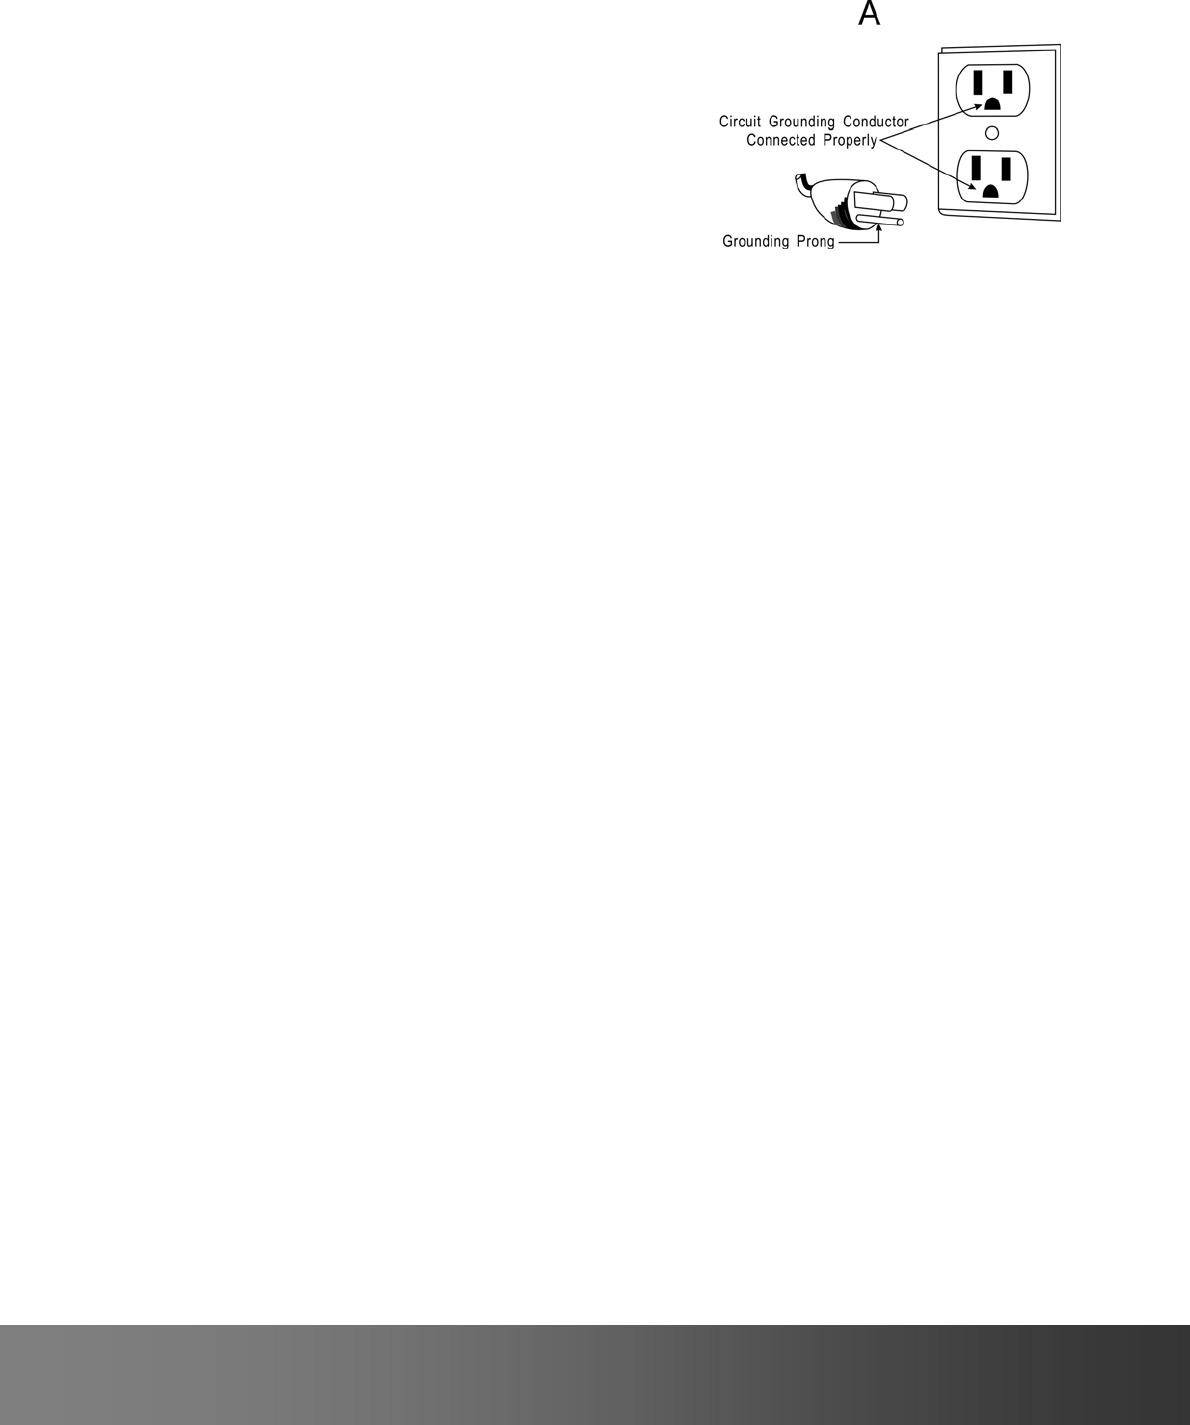
For your protection, this unit is equipped with a
3-conductor cord set that has a molded 3-prong
grounding-type plug, and should be used in
combination with a properly connected
grounding-type outlet as shown in figure A. Not
for use with an extension cord.
INSTALLATION INSTRUCTIONS
1. Carefully remove all of the packaging around your wine cabinet.
2. Place your wine cellar on a solid, flat surface that is strong enough to
support the unit when fully loaded.
3. Allow a minimum 4-inch space between the wall and the back of the
cabinet.
4. Open the door and make sure all components are intact.
5. Release the cord and plug the power cord into a standard electrical
outlet.
Aligning Your Wine Cellar
In order for you to level off your cabinet as easily as possible, it is equipped
with 4 adjustable feet. However, we recommend that you tighten the back
feet to the maximum and use the front feet to create a level.
Important Placement Notes
♦ Select an unencumbered, well-ventilated area for best performance.
♦ This wine cellar is designed to be free standing only and operated
indoors.
♦ Do not place the unit in a moist location or near a heat source
including other major appliances or direct sunlight.
♦ Do not plug unit into the same outlet as a refrigerator or microwave.
♦ Do not place heavy objects on top of the unit.
Important: WAIT 48 HOURS BEFORE PLUGGING IN THE CABINET
Should you need to move your cabinet, never tilt it more than 45° and
always sideways, on the side that the electrical cable comes out (right hand
side when looking at the cabinet.)
6


