7
7
1 76 3 1 So u th S u san a Ro ad , R an c ho D o mi ng ue z, Cal i f o rni a 90 2 21
i n fo @vi no t emp . co m
CORD INSTRUCTIONS
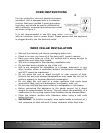
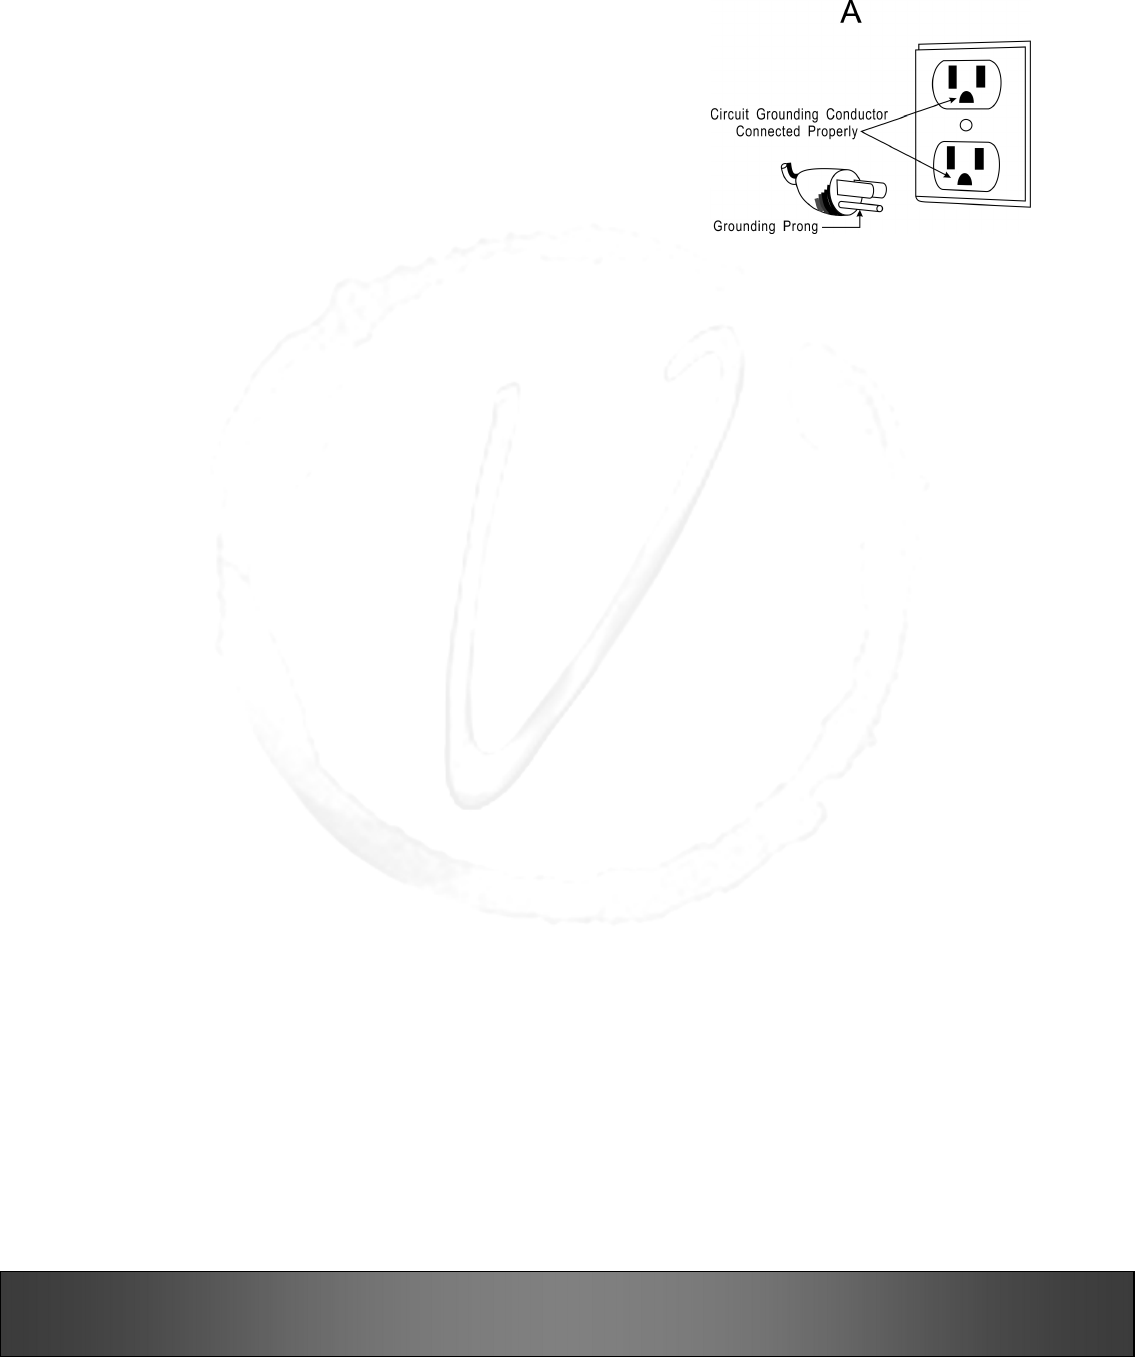
For your protection, this unit should be properly
grounded. Unit is equipped with a 3-conductor
cord set that has a molded 3-prong grounding-
type plug, and should be used in combination
with a properly connected grounding-type outlet
as shown in figure A.
It is not recommended to use this wine cellar
with an extension cord or power board. Please ensure that the appliance
is plugged directly into the electrical outlet.
WINE CELLAR INSTALLATION
• Remove the exterior and interior packaging before use.
• Check to be sure you have all of the parts and 1 owner’s manual.
• Place your wine cellar on a flat, dry surface that is strong enough to
support the unit when fully loaded.
• This unit is designed for free standing installation only.
• Do not place heavy objects on top of the unit.
• Unit is not designed for installation in a garage, basement, or any
other location where a controlled ambient environment between 60°
and 90°F cannot be maintained.
• Do not place the unit in direct sunlight or near sources of heat.
Extreme hot and cold ambient temperatures may cause the unit not to
perform properly or increase electrical consumption.
• Do not place the unit next to a major appliance that emits large
amounts of heat, such as a dishwasher, microwave, oven, etc.
• Do not plug unit into the same outlet as a refrigerator or microwave.
• Before connecting the appliance to the power source, let it stand
upright for approximately 24 hours. This will reduce the possibility of a
malfunction in the cooling system from handling during transportation.
• Clean the interior surface with lukewarm water using a soft cloth
before first use.
• IMPORTANT: To function correctly, wine cooler needs a minimum of 1
inch clearance on each side and 4 inches clearance at the back side.


