


FULL SIZE ELECTRIC CONVECTION OVEN - REMOVAL AND REPLACEMENT OF PARTS
F25105 (December 2001) Page 16 of 60
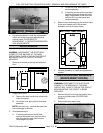
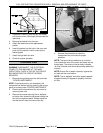
3. Depress the retaining tabs and pull the socket
out from the oven, far enough to disconnect the
lead wires.
4. Remove the socket from the oven.
5. Attach the lead wires to the replacement
socket.
6. Insert the socket into the hole in the oven and
push until the socket is held in place by the
retaining tabs.
7. Install the light bulb and lens.
8. Check for proper operation.
COOLING FAN
WARNING:
DISCONNECT THE ELECTRICAL
POWER TO THE MACHINE AT THE MAIN
CIRCUIT BOX. PLACE A TAG ON THE CIRCUIT
BOX INDICATING THE CIRCUIT IS BEING
SERVICED.
1. Remove the right side panel as outlined under
"COVERS AND PANELS".
NOTE:
If right side panel is not accessible, this
component can be serviced by removing the control
panel as outlined under "COVERS AND PANELS".
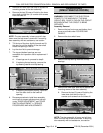
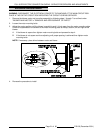
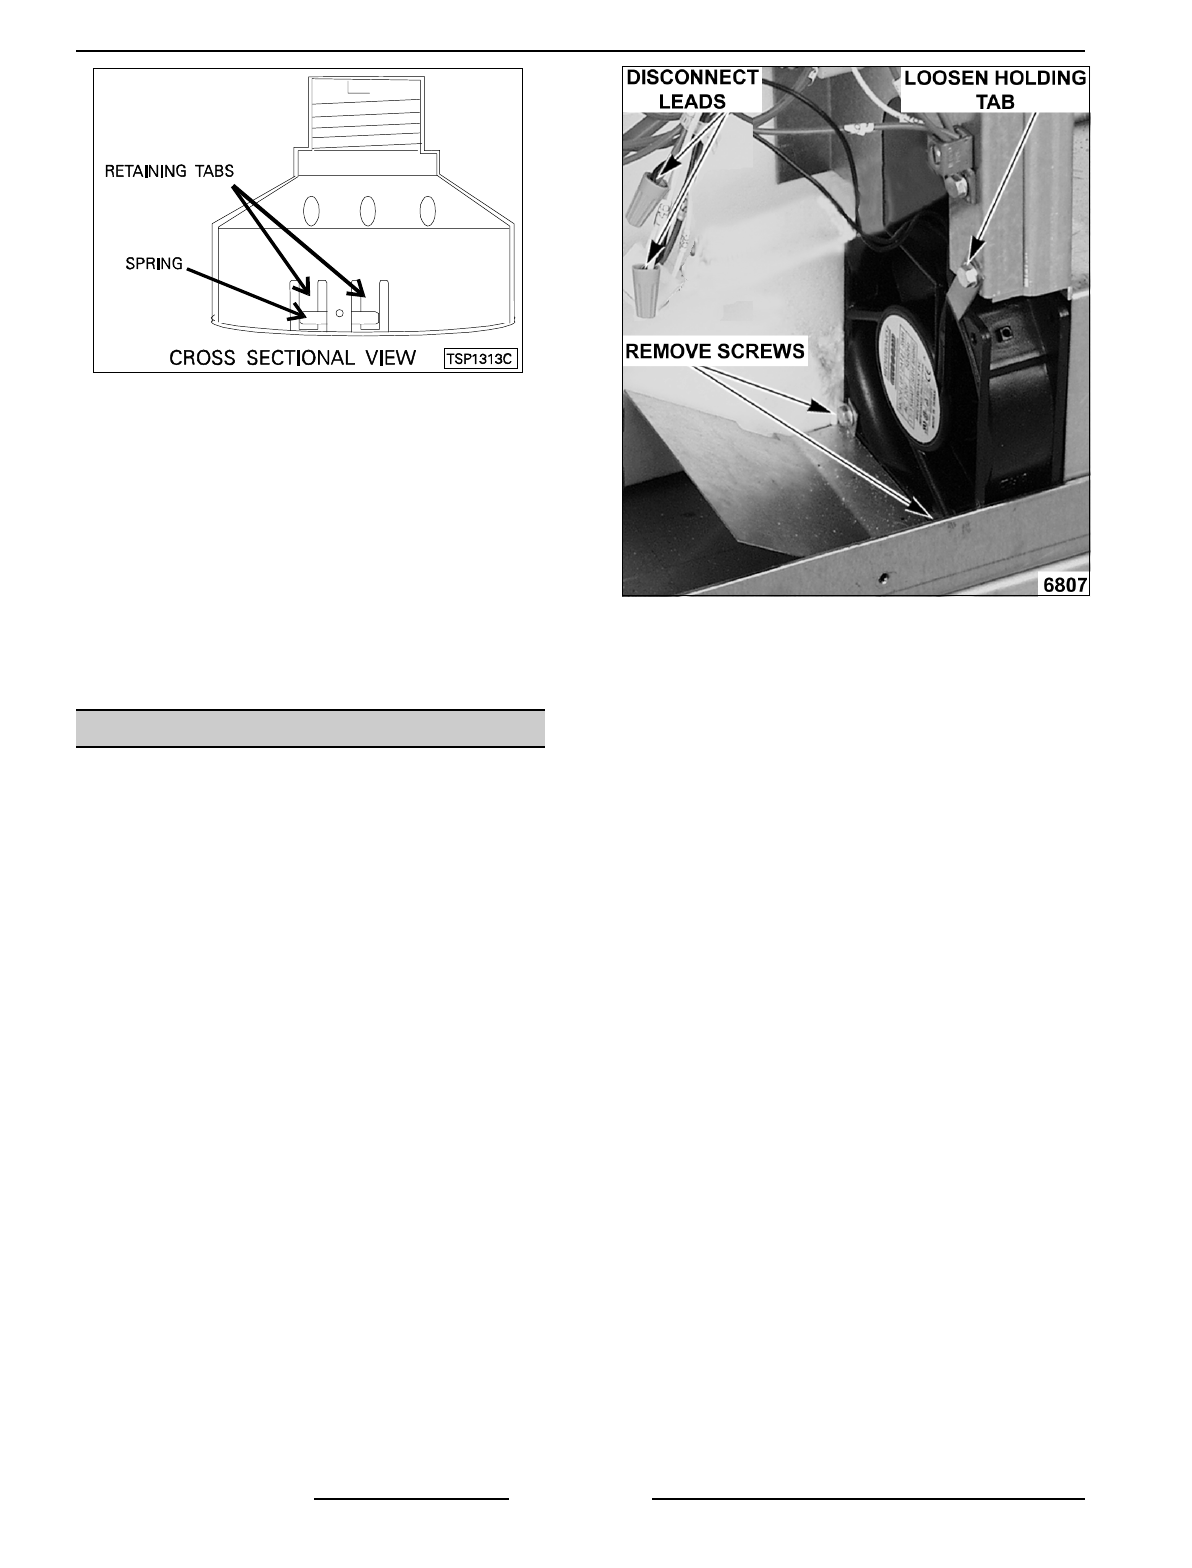
2. Disconnect the lead wires to the fan motor by
removing wire nuts.
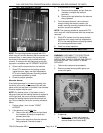
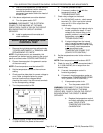
3. Remove the screws securing the air deflector
to the fan then loosen the tab screw holding the
fan to the component panel. Rotate the tab so
that the fan will clear and remove the fan.
4. Reverse the procedure to install the
replacement fan and check for proper
operation.
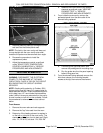
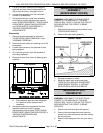
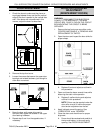
NOTE:
The fan must be installed so air is pulled
from outside the rear of the oven and blown into the
control area. The arrow on the fan body indicates
“air flow” direction and should be pointing toward the
controls.
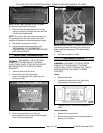
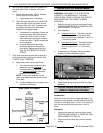
NOTE:
Ensure fan is seated “squarely” against the
air tube and the oven bottom.
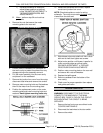
NOTE:
The air deflector should be angled upwards
at approximately 30 degrees to properly direct the
air flow.