ELECTRIC BRAISING PANS - REMOVAL AND REPLACEMENT OF PARTS
F35410 (May 2003)
Page 13 of 32
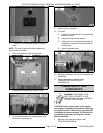
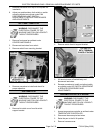
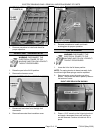
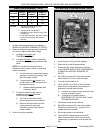
RIGHT SIDE REAR VIEW SHOWN
6. Reverse procedure to install and check for
proper operation.
HIGH LIMIT THERMOSTAT
WARNING: DISCONNECT THE
ELECTRICAL POWER TO THE
MACHINE AND FOLLOW LOCKOUT /
TAGOUT PROCEDURES.
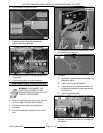
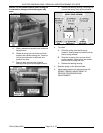
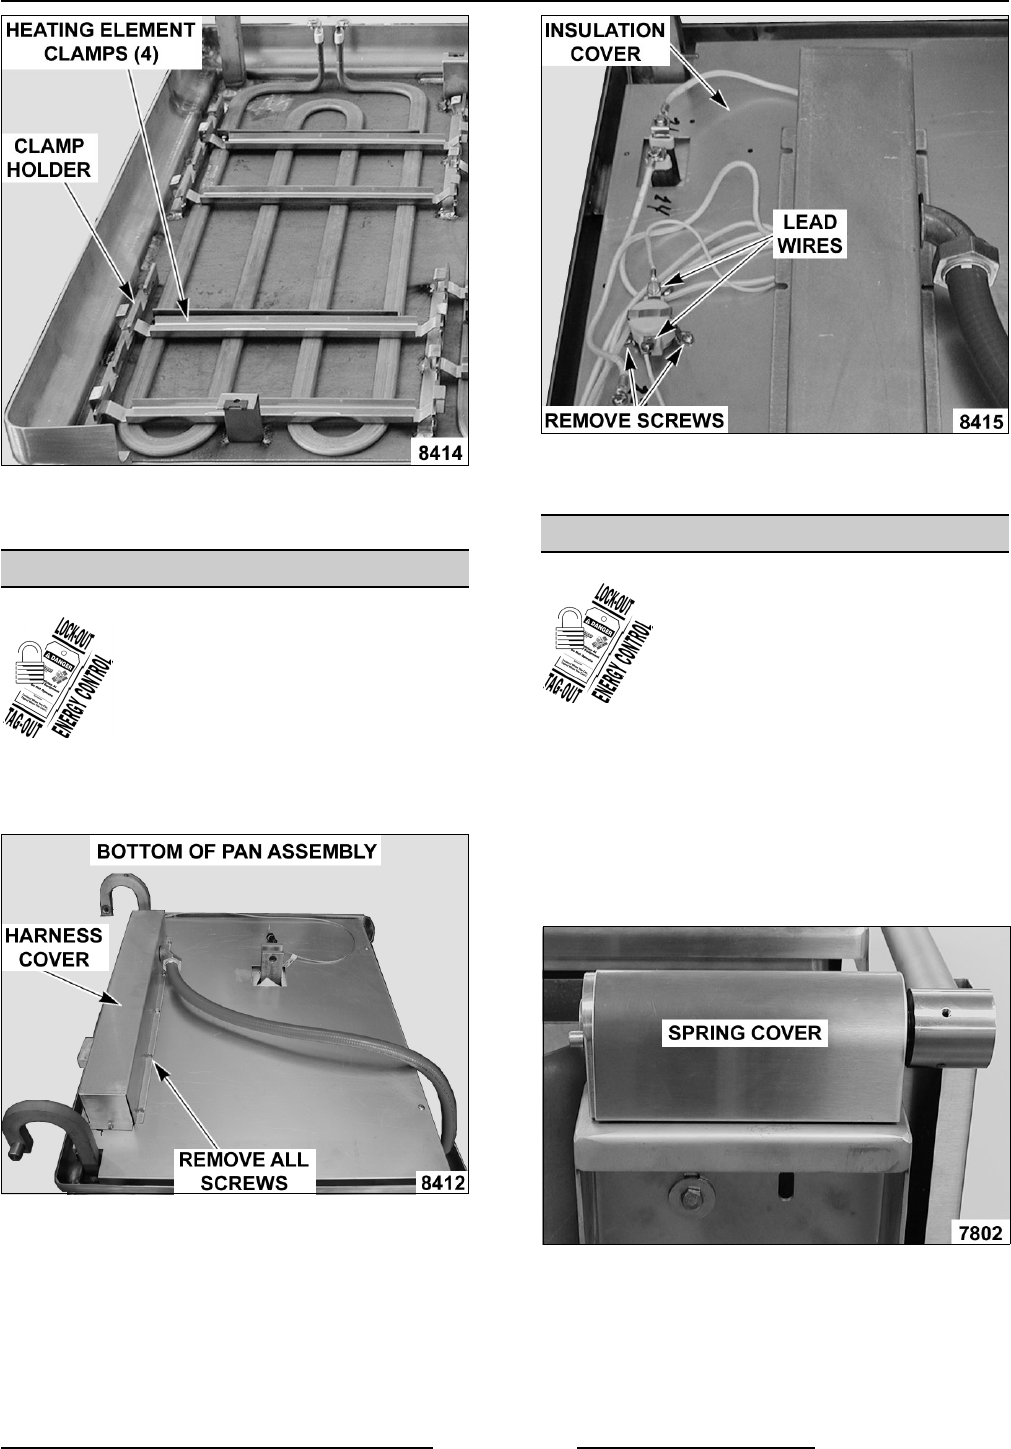
1. Raise the pan to the full tilt position.
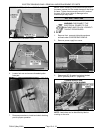
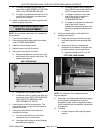
2. Remove the harness cover.
3. Disconnect lead wires from the high limit
thermostat.
4. Remove thermostat from insulation cover.
5. Reverse procedure to install and check
braising pan for proper operation.
LID SPRINGS
WARNING: DISCONNECT THE
ELECTRICAL POWER TO THE
MACHINE AND FOLLOW LOCKOUT /
TAGOUT PROCEDURES.
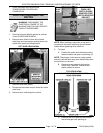
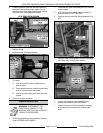
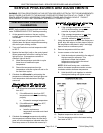
1. Lower the lid to the full down position.
NOTE: For spring tension to be set correctly, both
the left and right side springs must be replaced.
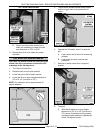
2. Remove spring covers by prying up at the
bottom. The covers are held in place by tabs on
the bottom of cover.
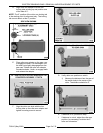
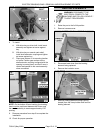
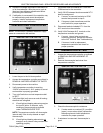
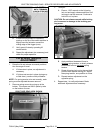
3. Place a 1 5/8" wrench on the lid spring lock nut
and apply a downward force until locking pin
can be removed. Continue to hold lock nut in
place.


