


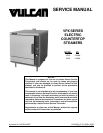


VPX SERIES STEAMERS - REMOVAL AND REPLACEMENT OF PARTS
F25111 (March 2002)
Page 4 of 20
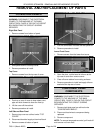
REMOVAL AND REPLACEMENT OF PARTS
COVERS AND PANELS
WARNING:
DISCONNECT THE ELECTRICAL
POWER TO THE MACHINE AT THE MAIN
CIRCUIT BOX. PLACE A TAG ON THE CIRCUIT
BOX INDICATING THE CIRCUIT IS BEING
SERVICED.
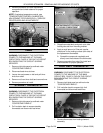
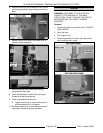
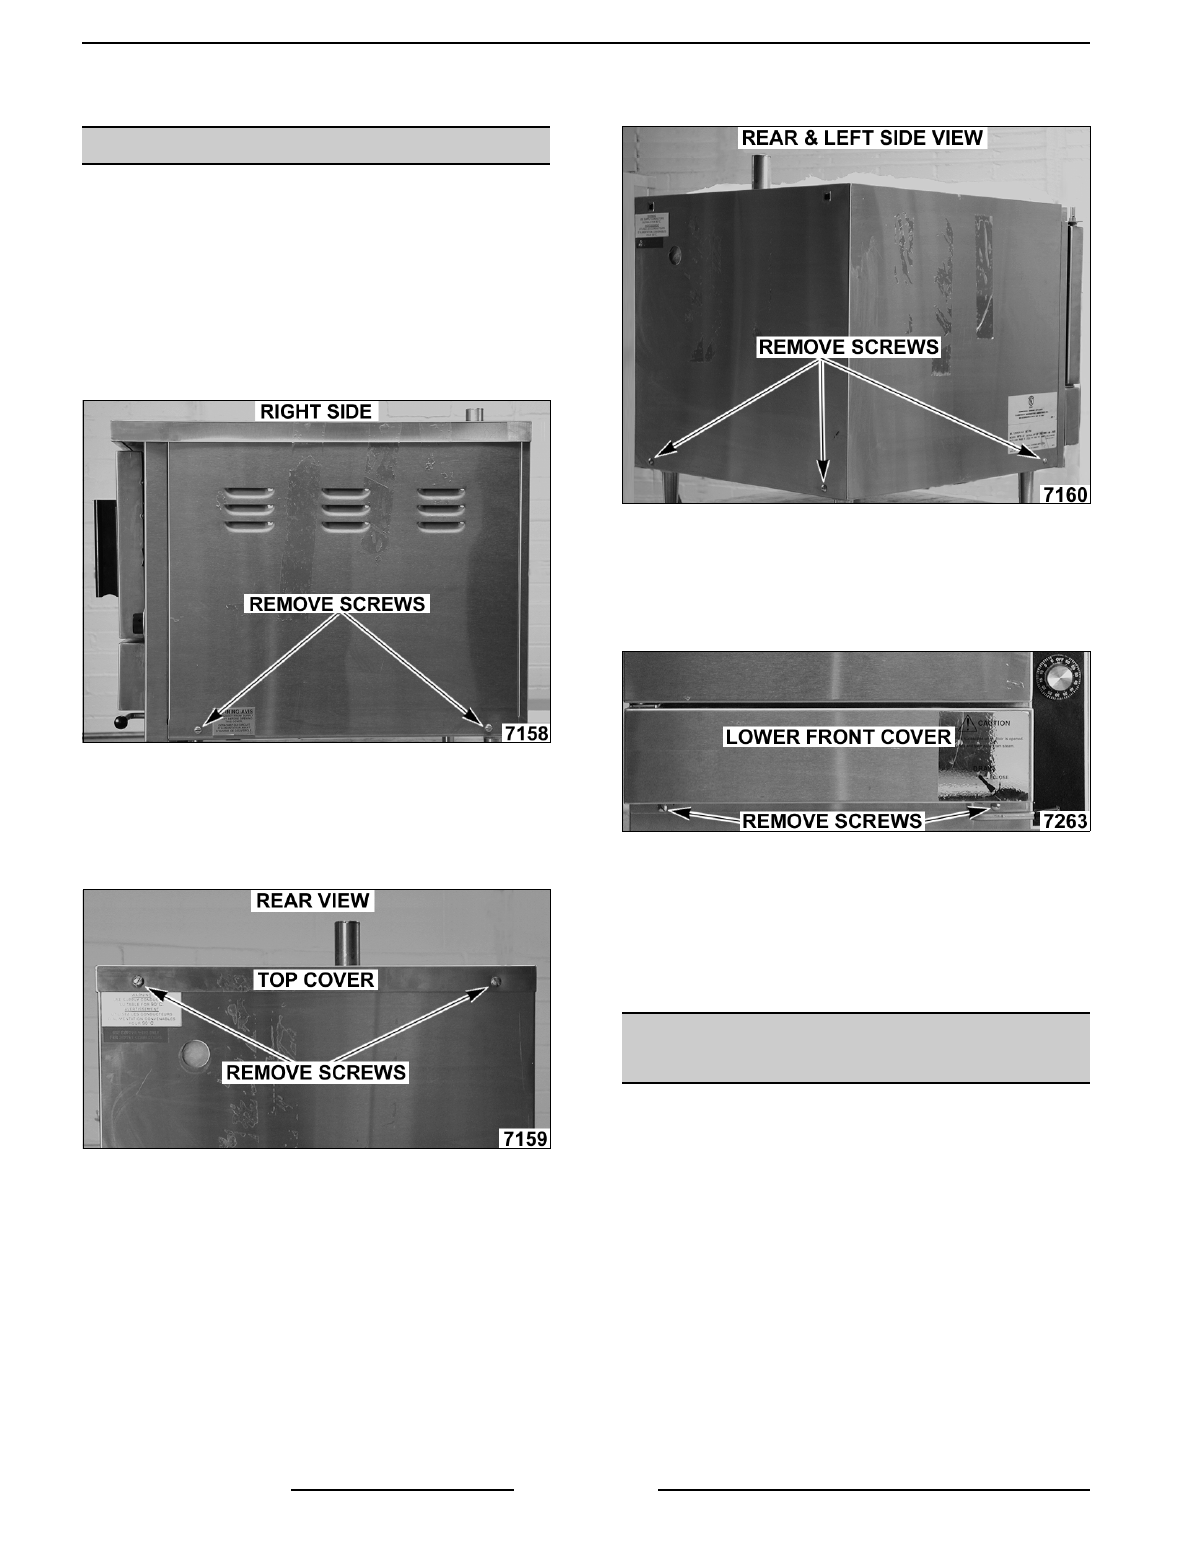
Right Side Panel
1. Remove screws from bottom of panel.
2. Slide panel down to clear top cover.
3. Reverse procedure to install.
Top Cover
1. Remove screws from the top rear of cover.
2. Push up on rear of cover to clear steam vent
pipe and slide forward to clear the front lip.
3. Lift the cover off the cabinet.
4. Reverse procedure to install.
Left Side and Rear Panel
1. Remove top cover as outlined under "TOP
COVER".
2. Disconnect electrical supply at terminal block.
3. Remove screws at bottom of panel.
4. Pull the combination left side and rear panel off.
5. Reverse procedure to install.
Lower Front Cover
1. Remove screws from the lower front cover.
2. Open the door, cut the bead of silicone at the
top rear of cover then remove cover.
3. Clean silicone residue from mating surfaces.
4. Reverse procedure to install and apply silicone
sealant at the top rear of cover.
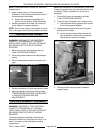
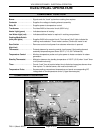
COMPONENT PANEL
COMPONENTS
WARNING:
DISCONNECT THE ELECTRICAL
POWER TO THE MACHINE AT THE MAIN
CIRCUIT BOX. PLACE A TAG ON THE CIRCUIT
BOX INDICATING THE CIRCUIT IS BEING
SERVICED.
1. Remove right side panel as outlined under
"COVERS AND PANELS".
2. Disconnect lead wires to component being
replaced.
3. Remove component.
NOTE:
To remove temperature control, pull knob off
and remove nut from shaft.