


6
Refrigerator Doors: Removing,
Reversing (optional) and Replacing
TOOLS NEEDED: ⁵⁄₁₆ in. hex-head socket wrench, No. 2 Phillips
screwdriver, flat-blade screwdriver, ⁵⁄₁₆ in. open-end wrench, flat 2
in. putty knife.
IMPORTANT:
■ Before you begin, turn the refrigerator control OFF, unplug
refrigerator or disconnect power. Remove food and any
adjustable door or utility bins from doors.
■ All graphics referenced in the following instructions are
included later in this section after “Final Steps.”
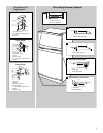
Door and Hinge Removal
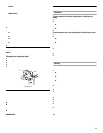
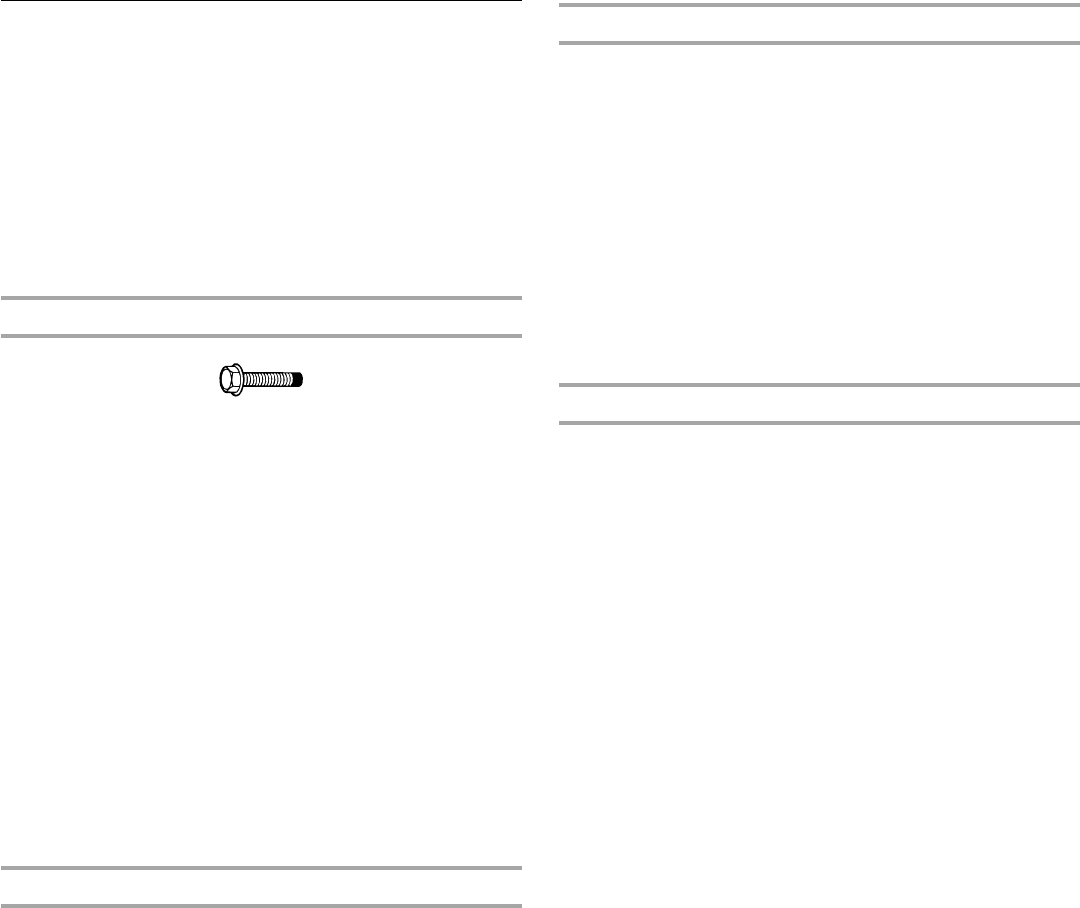
⁵⁄₁₆
in. Hex-Head Hinge Screw
1. Unplug refrigerator or disconnect power.
2. Open refrigerator door and remove base grille from the
bottom front of the refrigerator (see Base Grille graphic).
3. Close the refrigerator door and keep both doors closed until
you are ready to lift them free from the cabinet.
NOTE: Provide additional support for the doors while the
hinges are being moved. Do not depend on the door magnets
to hold the doors in place while you are working.
4. Remove the parts for the top hinge as shown in Top Hinge
graphic. Lift the freezer door free from the cabinet.
5. Remove the parts for the center hinge as shown in the Center
Hinge graphic. Lift the refrigerator door free from the cabinet.
6. Remove the parts for the bottom hinge as shown in the
Bottom Hinge graphic.
IMPORTANT: If you want to reverse your doors so that they open
in the opposite direction, continue with the “Door reversal
(optional)” instructions. If you are not reversing the doors, see the
“Door and Hinge Replacement” section.
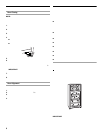
Door Reversal (optional)
(See complete Graphics later in this section.)
Cabinet
1. Remove ⁵⁄₁₆ in. hex-head hinge screws from handle side and
move them to opposite side (see Graphic 1-1).
2. Remove cabinet hinge hole plugs from the cabinet top and
move them to opposite side hinge holes as shown (see
Graphic 1-2).
Doors
1. Remove door hinge hole plug from top of freezer door. Move
to opposite side as shown (see Graphic 2).
2. Remove door stop from both the freezer and refrigerator
doors and move to the other side (see Graphic 3).
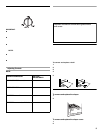
Door and Hinge Replacement
NOTE: Graphic may be reversed if door swing is reversed.
1. Replace the parts for the bottom hinge as shown. Tighten
screws. Replace the refrigerator door.
NOTE: Provide additional support for the doors while the
hinges are being moved. Do not depend on the door magnets
to hold the doors in place while you are working.
2. Assemble the parts for the center hinge as shown and tighten
all screws (see Center Hinge graphic). Replace the freezer
door.
3. Assemble the parts for the top hinge as shown (see Top
Hinge graphic). Do not tighten screws completely.
4. Line up the doors so that the bottom of the freezer door
aligns evenly with the top of the refrigerator door. Tighten all
screws.
Final Steps
1. Check all holes to make sure that hole plugs and screws are
in place. Reinstall top hinge cover (see Top Hinge graphic).
2. Replace the base grille (see Base Grille graphic).
3. Plug in refrigerator or reconnect power.
4. Reset the control. See “Using the Control” section.
5. Return all removable door parts to doors and food to product.