


9
Using the Control
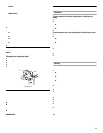
When you plug in the refrigerator for the first time, set the
Temperature Control to MED. Temperature Control adjustments
range from MIN. (warmest) to MAX. (coldest).
IMPORTANT:
■ Turning the Temperature Control to OFF stops cooling in the
refrigerator and freezer compartments, but it does not
disconnect the refrigerator from the power supply.
■ The Temperature Control regulates the temperature in both
the refrigerator and freezer compartments. Settings to the left
of the mid-setting make the temperature less cold. Settings
to the right of the mid-setting make the temperature colder.
■ Wait 24 hours before you put food into your refrigerator. If you
add food before the refrigerator has cooled completely, your
food may spoil.
NOTE: Adjusting the Temperature Control to a higher (colder)
setting will not cool the compartments any faster.
■ The mid-settings should be correct for normal household
usage. The controls are set correctly when milk or juice is as
cold as you like and when ice cream is firm.
■ If the temperature is too warm or too cold in the refrigerator or
freezer, first check the air vents to be sure they are not
blocked before adjusting controls.
Adjusting Controls
NOTE: Wait at least 24 hours between adjustments and then
recheck the temperatures.
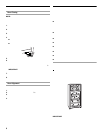
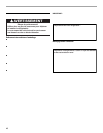
REFRIGERATOR FEATURES
Your model may have some or all of these features. Features that
can be purchased separately as product accessories are labeled
with the word “Accessory.” Not all accessories will fit all models.
See the “Assistance or Service” section if you are interested in
purchasing one of the accessories.
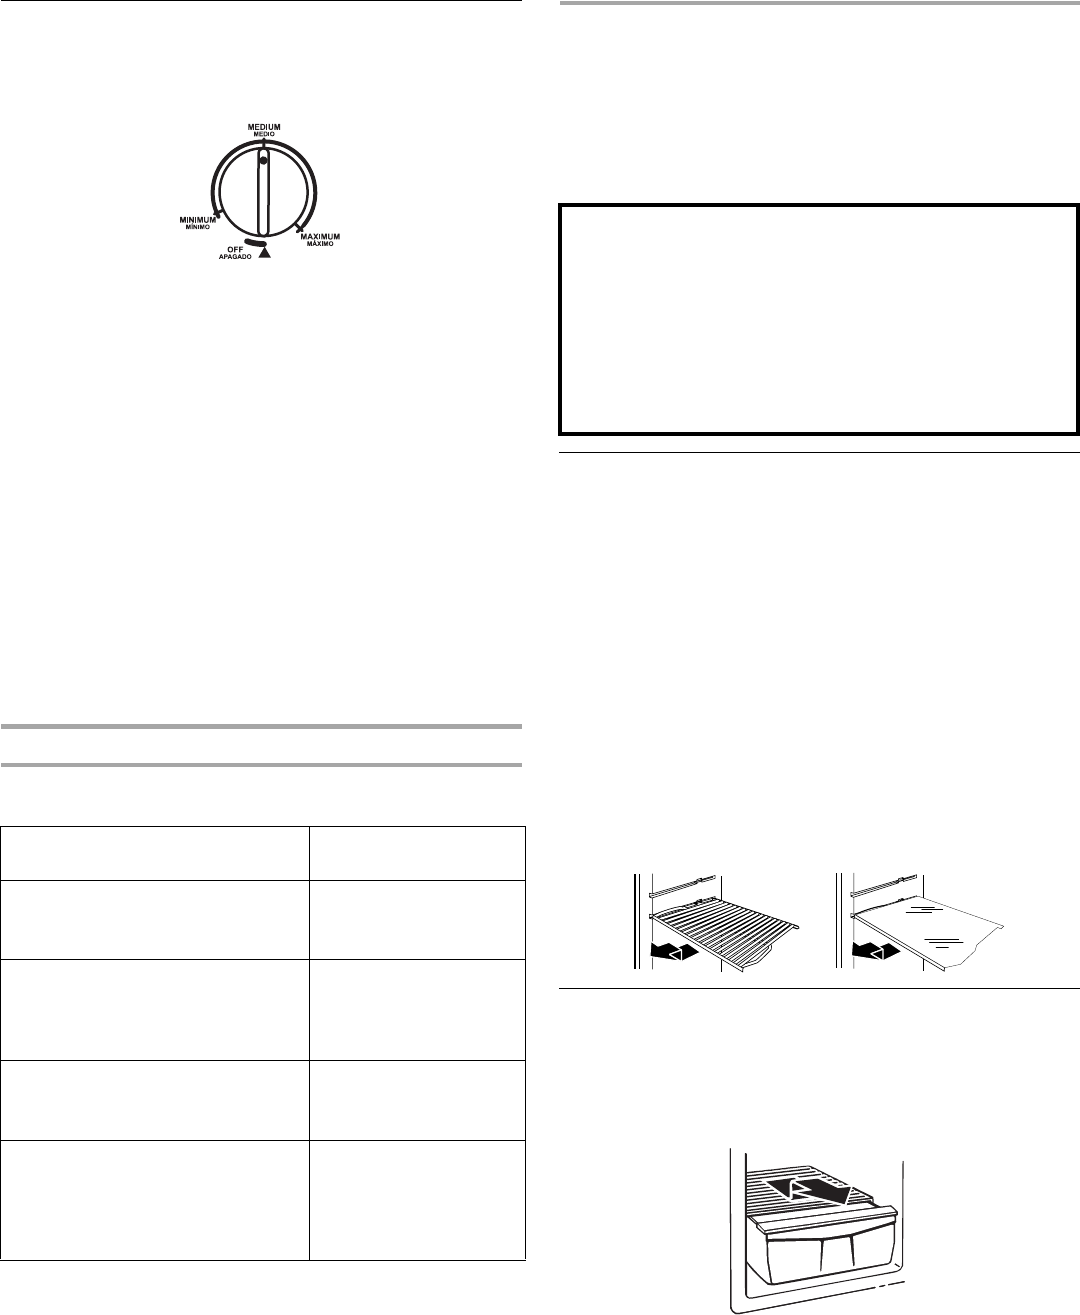
Refrigerator Shelves
(GlassShelveson some models)
The shelves in your refrigerator are adjustable to match your
individual storage needs.
Storing similar food items together in your refrigerator and
adjusting the shelves to fit different heights of items will make
finding the exact item you want easier. It will also reduce the
amount of time the refrigerator door is open, and save energy.
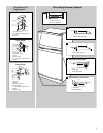
To remove and replace a shelf:
1. Remove items from the shelf.
2. Lift back of shelf over stop.
3. Slide the shelf straight out.
4. Replace the shelf by sliding the back of the shelf into the
track in the wall of the cabinet.
5. Guide the front of the shelf into the shelf track. Be sure to
slide the shelf in all the way.
Crisper and Crisper Cover
To remove and replace the crisper:
1. Lift the front of the crisper and slide outward.
2. Replace the crisper by inserting the rear of the crisper into the
slots and sliding it back into place.
To remove and replace the crisper cover:
1. Lift the front of the cover and slide outward.
2. Replace the cover by inserting the rear of the cover into the
slots and sliding it back into place.
CONDITION/REASON: SETTING
ADJUSTMENT:
REFRIGERATOR too cold
Not set correctly for your
conditions
Adjust TEMPERATURE
Control one setting
lower
REFRIGERATOR too warm
Door opened often, large amount of
food added or room temperature
very warm
Adjust TEMPERATURE
Control one setting
higher
FREEZER too cold
Not set correctly for your
conditions
Adjust TEMPERATURE
Control one setting
lower
FREEZER too warm/too little ice
Door opened often, or large amount
of food added or very cold room
temperature (can’t cycle often
enough) or heavy ice usage
Adjust TEMPERATURE
Control one setting
higher
Important information to know about glass shelves
and covers:
Do not clean glass shelves or covers with warm water when
they are cold. Shelves and covers may break if exposed to
sudden temperature changes or impact, such as bumping.
For your protection, tempered glass is designed to shatter
into many small, pebble-size pieces. This is normal. Glass
shelves and covers are heavy. Use special care when re-
moving them to avoid impact from dropping.