-1. Fmcet Conntdion
NOTE: Mininlurn ‘~.lax~rnurrl water pressure
r:: :dircjl?ierits are 15 PSI to 120 PSI.
0 T.lrn water off.
c. Use tiie ring til 111111 hoses out of storage
cornpariment 011 /lack of dishwasher.
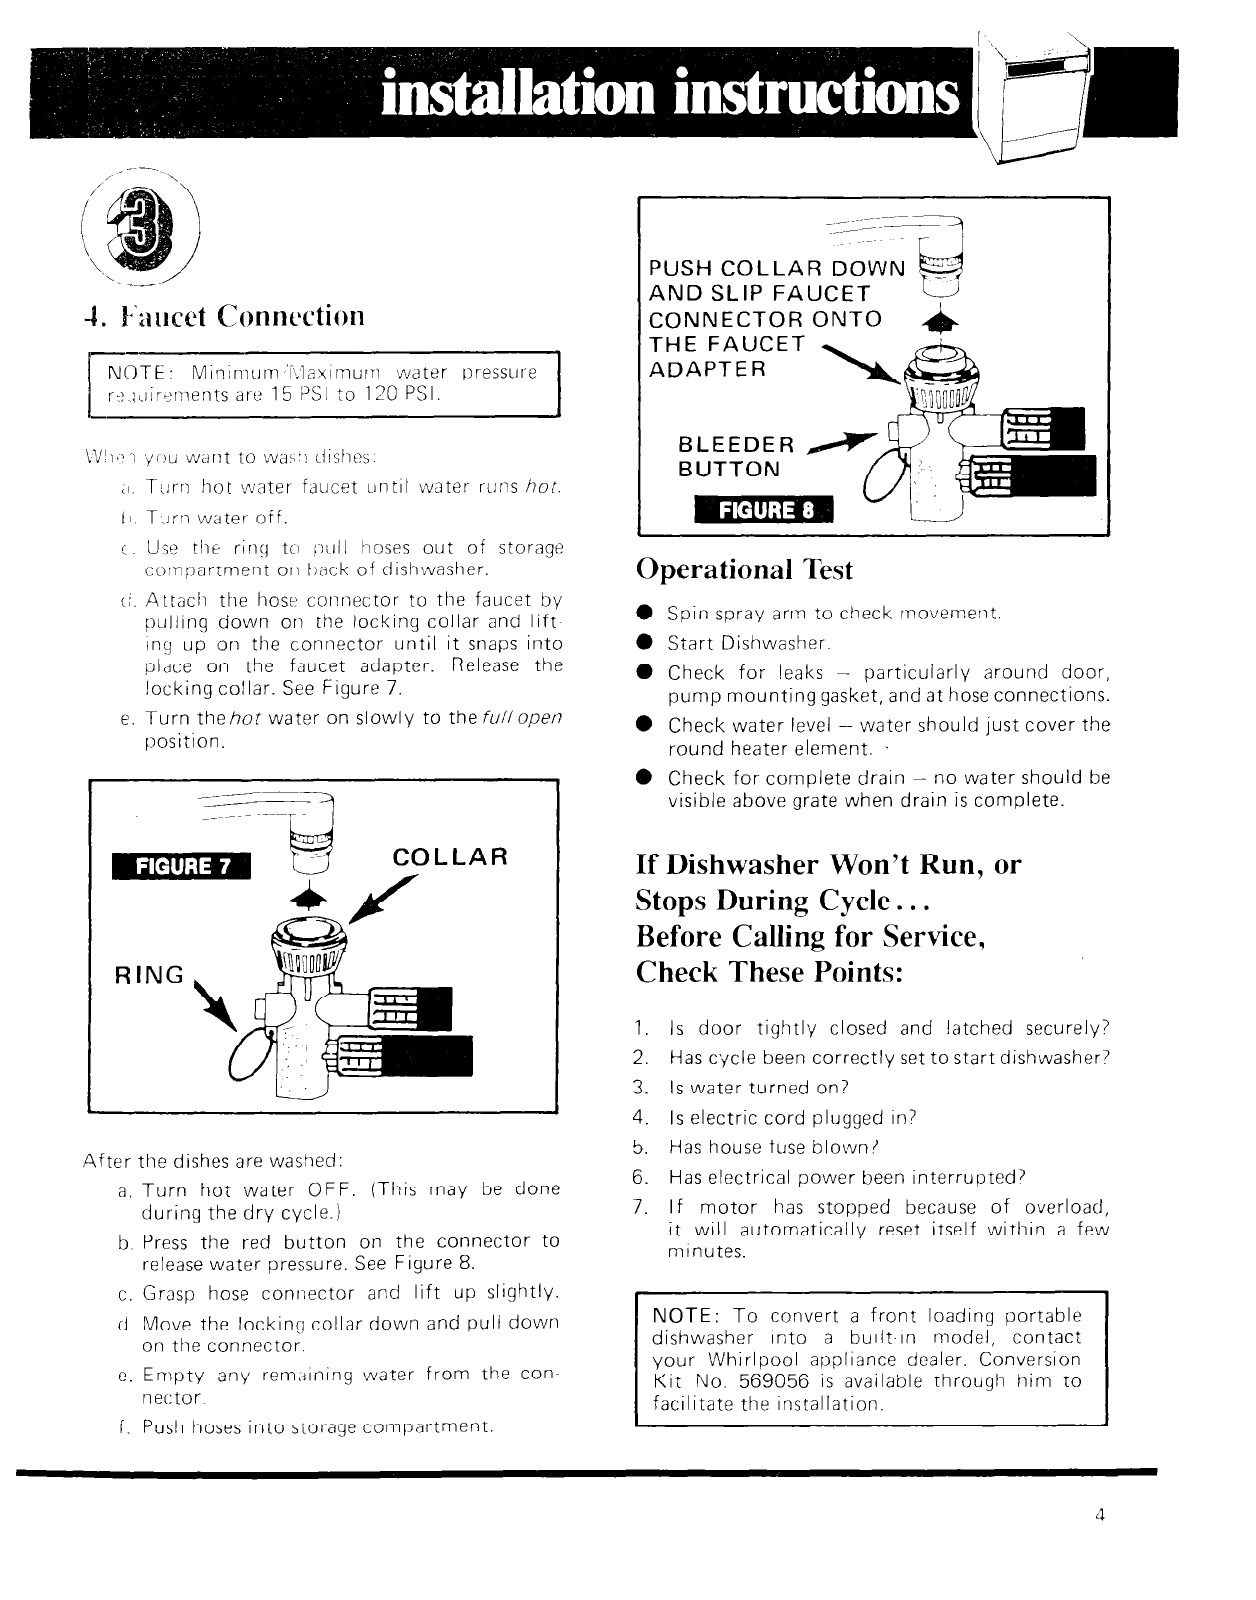
(;. AtLach the ties? connector to the faucet by
pulling
down on the locking collar and lift
tny up on the connector until it
snaps into
place on the faucet adapter. Release the
locking collar. See Figure 7.
e. Turn the
hot
water on slowly to the full
open
position
After the dishes are washed:
a, Turn hot water OFF. (This may be done
during the dry cycle.)
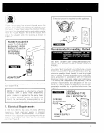
b. Press the red button on the connector to
release water pressure. See Figure 8.
c. Grasp hose connector and lift up slightly.
d. Move the locking collar down and pull down
on the connector.
c. Empty any rem,jlning water from the con-
nector
f. Push hoses into storage cotnpartment.
~_--~-
-__
PUSH COLLAR
AND SLIP FAUCET
CONNECTOR ONTO
-4
THE FAUCET
ADAPTER
BUTTON
Operational Test
l
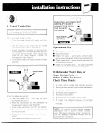
Spin spray arm to check movement.
0 Start Dishwasher.
0 Check for leaks - particularly around door,
pump mounting gasket, and at hose connections.
0 Check water level -- water should just cover the
round heater element. .
0 Check for complete drain - no water should be
visible above grate when drain is complete.
If Dishwasher Won’t Run, or
Stops During Cycle.. .
Before Calling for Service,
Check These Points:
1. Is door tightly closed and latched securely?
2. Has cycle been correctly set to start dishwasher?
3. Is water turned on?
4. Is electric cord plugged In?
5. Has house fuse blown?
6. Has electrical power been interrupted?
7. If motor has stopped because of overload,
it will automatically reset itself within a few
minutes.
NOTE:
To convert a front loading portable
dishwasher Into a built-in model, contact
your Whirlpool appliance dealer. Conversion
Kit No. 569056 is available through hirr to
facilitate the installation.
4


