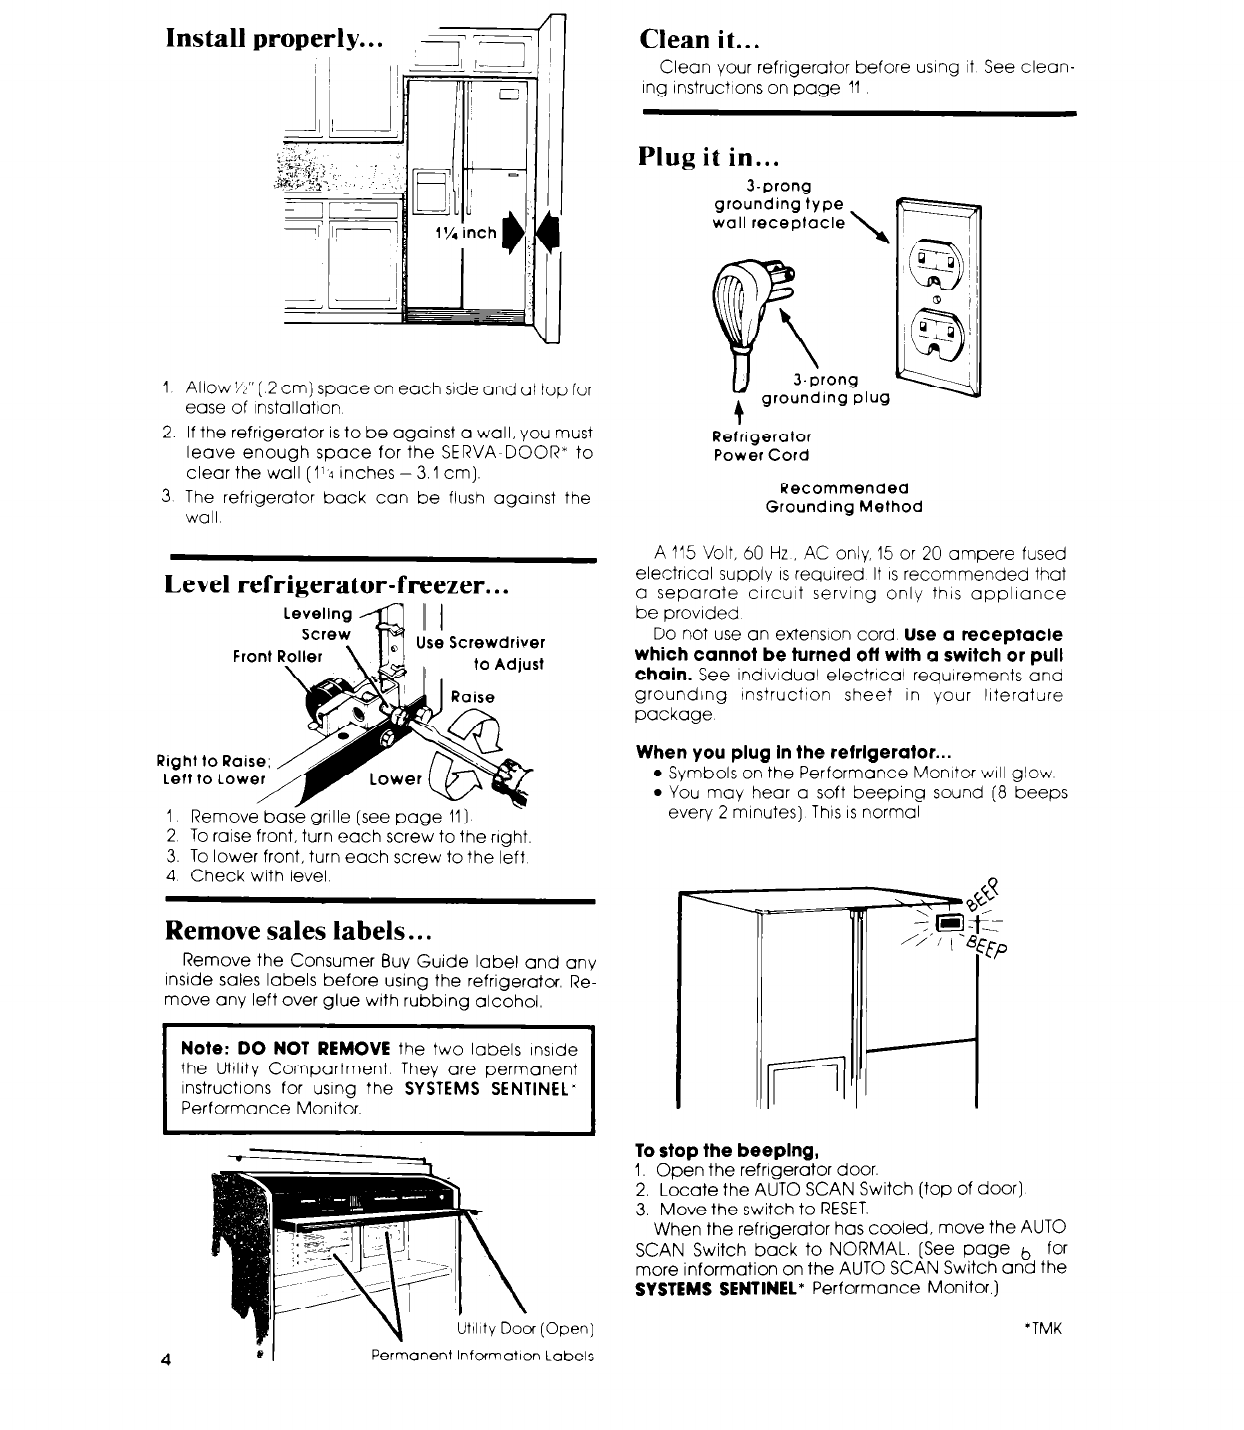
Install properly.. .
,iT=TfI-l
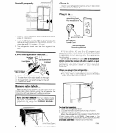
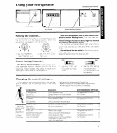
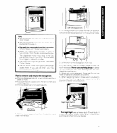
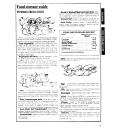
1 Allow ‘/2” [ 2 cm) space on each side and at top for
ease of lnstallatlon
2. If the refrigerator is to be against a wall, you must
leave enough space for the SERVA-DOOR’ to
clear the wall (114 inches - 3.1 cm).
3 The refrigerator back can be flush against the
wall
Level refrigerator-freezer.. .
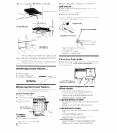
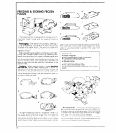
Use Screwdriver
1 Remove base grille (see page 11)
2 To raise front, turn each screw to the right.
3. To lower front, turn each screw to the left
4 Check with level.
Remove sales labels.. .
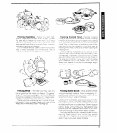
Remove the Consumer Buy Guide label and any
Inside sales labels before using the refrigerator Re-
move any left over glue with rubbing alcohol.
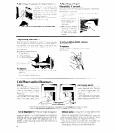
Note: DO NOT REMOVE
the two labels
InsIde
the Uttlllty Compartment. They are permanent
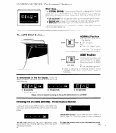
InstructIons for using the
SYSTEMS SENTINEL‘
Performance Monitor.
1
(Own1
Clean it...
Clean your refrigerator before using it See clean-
ing instructtons on page 11
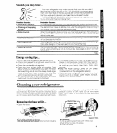
Plug it in...
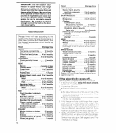
J-prong
grounding type
wall receptacle
Refrigerator
Power Cord
Recommended
Grounding Method
A 115 Volt, 60 Hz, AC only. 15 or 20 ampere fused
electrical supply IS required It IS recommended that
a separate circuit serving only this appliance
be provided
Do not use an extension cord
Use a receptacle
which cannot be turned off with a switch or pull
chain.
See Individual electrlcal requirements and
grounding instructton sheet in your literature
package
When you plug In the refrigerator...
l
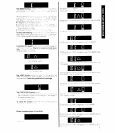
Symbols on the Performance Monitor ~111 glow
l
You may hear a soft beeping sound (8 beeps
every 2 minutes) This IS normal
To stop the beeplng,
I. Open the refrigerator door.
2. Locate the AUTO SCAN Switch (top of door]
3. Move the switch to RESET.
When the refrigerator has cooled, move the AUTO
SCAN Switch back to NORMAL. [See page b for
more information on the AUTO SCAN Switch and the
SYSTEMS SENTINEL*
Performance Monitor.)
‘TMK
4
Sl
Permanent lnformatlcn Labels


