


Using your freezer
.*~~ypsesa* ...&.*~*+e, I!<?& ‘2Js i .i. ‘::“. -:s;,i ?. .‘r@C .
, :.
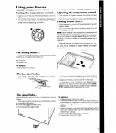
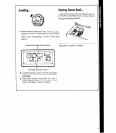
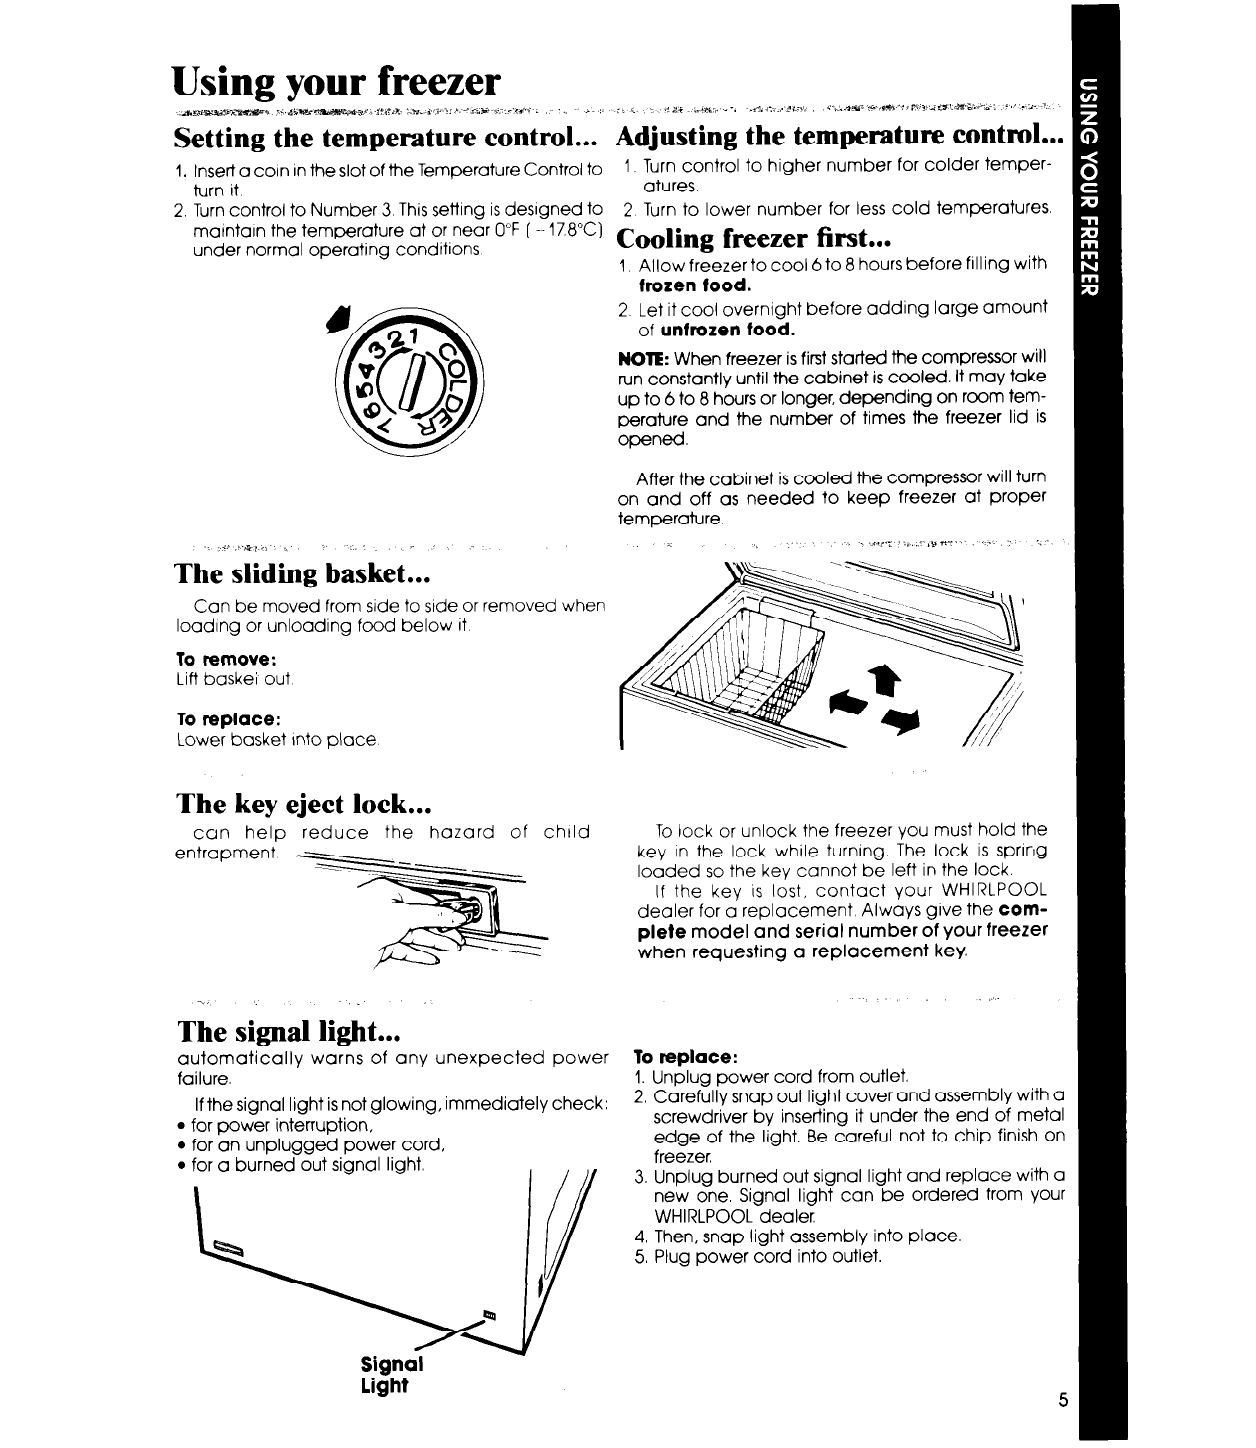
Setting the temperature control...
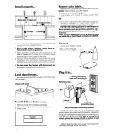
I. Insert a corn rn the slot of the Temperature Control to
1 Turn control to higher number for colder temper-
turn it.
atures.
2. Turn control to Number 3 This setting is desrgned to
2 Turn to lower number for less cold temperatures.
matntarn the temperature at or near 0°F ( -- 17.8%)
under normal operating conditions
Cooling freezer first...
1 Allow freezer to cool 6 to 8 hours before filling with
frozen food.
2 Let it cool overnight before adding large amount
of unfrozen tood.
NOTE: When freezer is first started the compressor will
run constantly until the cabinet is cooled. It may take
up to 6 to 8 hours or longer, depending on room tem-
perature and the number of times the freezer lid is
opened
After the cabinet is cooled the compressor will
turn
on and off as needed to keep freezer at proper
temperature.
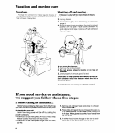
loadrng or unloading food below it
To remove:
Lift baskei out
To replace:
Lower basket Into place
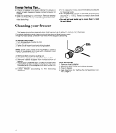
The key eject lock...
cun help reduce the hazard of child
The sliding basket...
Can be moved from side to stde or removed when
To lock or unlock the freezer you must hold the
key In the lock while turnrng The lock is sprrrlg
loaded so the key cannot be left in the lock.
If the key IS lost, contact your WHIRLPOOL
dealer for a replacement Always give the com-
plete model and serial number of your freezer
when requesting a replacement key.
entrapment s.--.--
-x
-.,
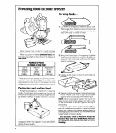
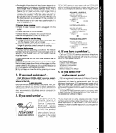
The signal light...
automatically warns of any unexpected power
If the signal light is not glowing, immediately check:
l
for power interruption,
failure.
l
for an unplugged power cord,
2. Carefully snap out light cover and assembly with a
To replace:
screwdriver by inserting it under the end of metal
edge of the light. Be careful not to chip finish on
1. Unplug power cord from outlet.
freezer.
Signal
light
3. Unplug burned out signal light and replace with a
new one. Signal light can be ordered from your
WHIRLPOOL dealer
4. Then, snap light assembly into place.
5. Plug power cord into outlet.