


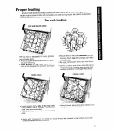

Connecting your portable dishwasher
A special adapter must be installed on the faucet before the dishwasher can
be connected. Complete instructions and
the adapter are packed with your
dishwasher.
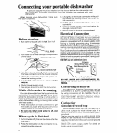
When moving your dishwasher, make sure
the door is latched.
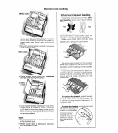
Before starting
3.
4.
5.
6.
7.
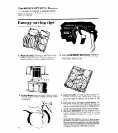
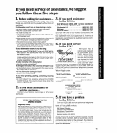
Run water at faucet until it is hot. Turn it off.
PULL RING
Pull hoses out oftheir storage compartment
on the back.
LOCKING COLLAR
/
L HOSE CONNECTOR
Pull down on the locking collar while lifting
the hose connector onto the faucet adapter.
When the connector snaps into place, re-
lease the locking collar.
Turn the hot water on slowly until it is all the
way on.
Plug in power supply cord.
See pages 8 and 9 to start the dishwasher.
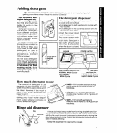
While dishwasher is running
You can draw water from the faucet while the
dishwasher is connected. DO NOT draw water
while the dishwasher is filling or while water is
being pumped out. [This helps prevent a low fill
when dishwasher is filling, or mixing drain water
with fresh water.]
Your Whirlpool Portable Dishwasher can be
converted to a built-in (undercounter) model
by using conversion kit No. 569056. The kit is
available at your Whirlpool dealer or autho-
rized TECH-CARE’ Service Company. Instruc-
tions are included with the kit.
Caring for
1. Press red button on hose connector to get
the water you want. (The faucet is set on hot.
Adjust faucet for the water you want.)
2. Be sure you return cold water to off, and
that hot water is full on.
simulated wood top
When cycle is finished
1. Turn hot water off (This can be done after the
last rinse.]
The simulated wood top can be used as a
utility work surface for most kitchen jobs. It is
stronger and more easily cleaned than genu-
ine wood.
The top can be used as a cutting board. Knife
marks will be visible but will not seriously dam-
age top. Hot items from the oven can be placed
on the top
2. Press the red button on the connector to re-
Clean with warm, soapy water. For dried on
lease the water pressure.
foods, use a scouring pad.
3.
4.
5.
6.
Lift slightly on the hose connector while pull-
ing down the locking collar. Pull down on
the connector.
Empty any remaining water from the
connector.
Unplug power supply cord and return to
storage compartment.
Return hoses to storage compartment.
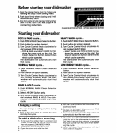
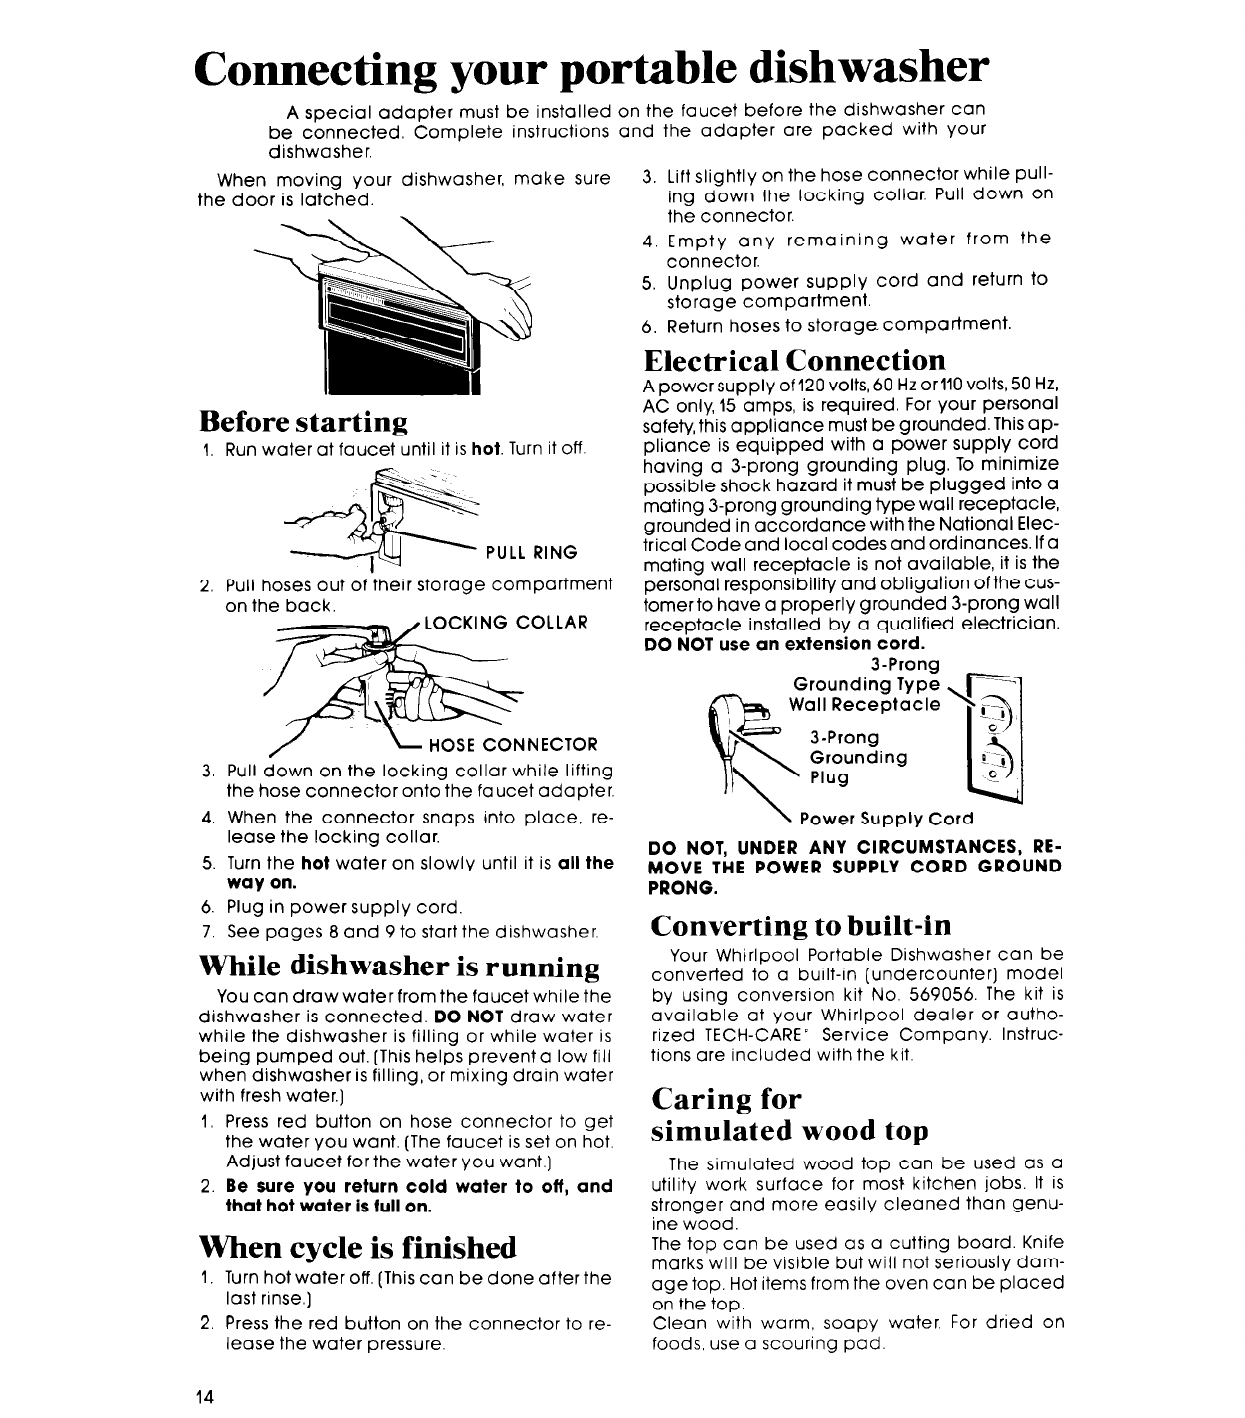
Electrical Connection
A power supply of 120 volts, 60 Hz or110 volts, 50 Hz,
AC only, 15 amps, is required. For your personal
safety, this appliance must be grounded. This ap-
pliance is equipped with a power supply cord
having a 3-prong grounding plug. To minimize
possible shock hazard it must be plugged into a
mating J-prong grounding type wall receptacle,
grounded in accordance with the National Elec-
trical Code and local codes and ordinances. If a
mating wall receptacle is not available, it is the
personal responsibility and obligation of the cus-
tomer to have a properly grounded 3-prong wall
receptacle installed by a qualified electrician.
DO NOT use an extension cord.
Power Supply Cord
DO NOT, UNDER ANY CIRCUMSTANCES, RE-
MOVE THE POWER SUPPLY CORD GROUND
PRONG.
Converting to built-in
14