


2
INSTALLATION INSTRUCTIONS
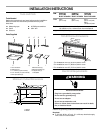
Tools and Parts
Tools Needed
Gather the required tools and parts before starting installation.
Read and follow the instructions provided with any tools
listed here.
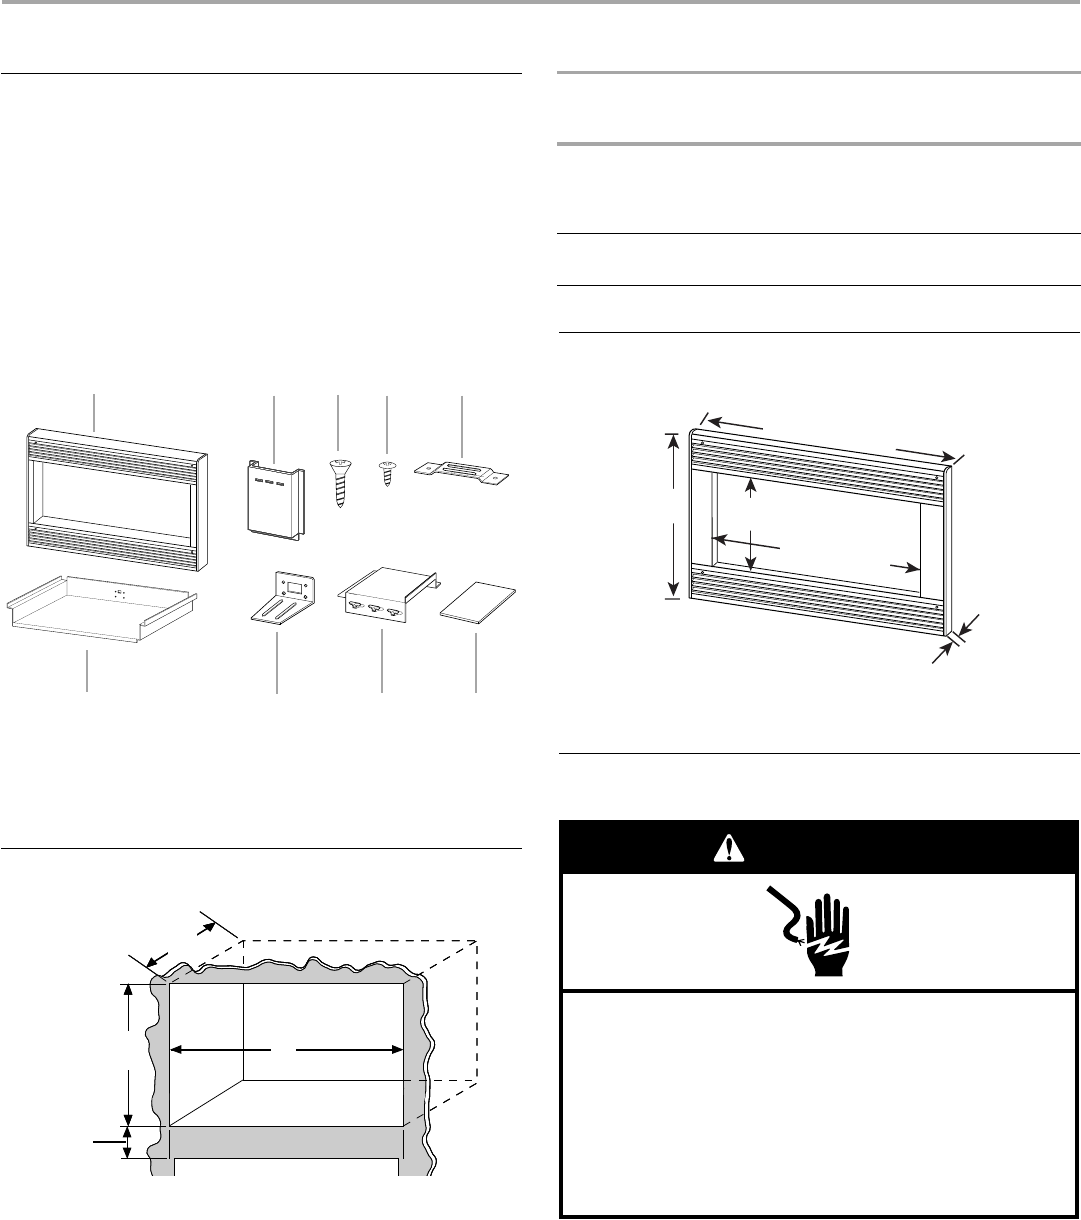
Parts Supplied
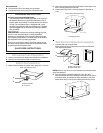
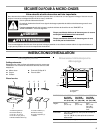
Minimum Cutout Dimensions
Trim Kit Frame Dimensions
*For installation over 24" (61.0 cm) built-in oven
**For installation over 27" (68.6 cm) built-in oven
***For installation over 30" (76.2 cm) built-in oven
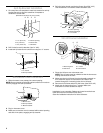
Electrical Requirements
Observe all governing codes and ordinances.
Required:
■ A 120 Volt, 60 Hz, AC only, 15- or 20-amp electrical supply
with a fuse or circuit breaker.
■ Measuring tape
■ Pencil
■ Scissors
■ #2 Phillips screwdriver
■ 5/64" drill
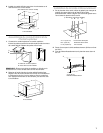
A. Trim kit frame
B. Side duct (1)
C. 1" screws (4, plus 2 extra)
D. 1/2" screws (15, plus 2 extra)
E. Anti-tip bracket (1)
F. Bottom duct (1)
G. Bottom bracket (1)
H. Upper duct (1)
I. Template
A. Depth
B. Width
A B C D E
F G H I
WidthWidth
A
15³⁄₄"
(40.0 cm)
3"
(7.6 cm)
B
DIM. OVER 24"
(61.0 CM)
BUILT-IN OVEN
OVER 27"
(68.6 CM)
BUILT-IN OVEN
OVER 30"
(76.2 CM)
BUILT-IN OVEN
Width 22¹⁄₂"
(57.15 cm)
25¹⁄₂"
(64.77 cm)
25¹⁄₂"
(64.77 cm) min.;
28¹⁄₂"
(72.39 cm) max.
Depth 18¹⁄₂" (46.99 cm) min. with flush mount receptacle;
19" (48.26 cm) min. without flush mount receptacle
Height 15³⁄₄" (40.01 cm) (for all models)
¹³⁄₁₆"
(2.1 cm)
18¹⁄₄"
(46.4 cm)
23
¹³⁄₁₆
" (60.5 cm)*
26
⁷⁄₈
" (68.3 cm)**
29
¹³⁄₁₆
" (75.7 cm)***
22
¹⁄₈
" (56.2 cm)
12¹⁄₁₆"
(30.6 cm)
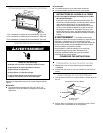
Electrical Shock Hazard
Plug into a grounded 3 prong outlet.
Do not remove ground prong.
Do not use an adapter.
Do not use an extension cord.
Failure to follow these instructions can result in death,
fire, or electrical shock.
WARNING