


GB
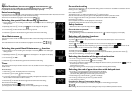
Special functions:
(Extra browning and
Heat Maintenance
)
These functions are only available with the selection of cooking time or end of cooking time.
It is possible to select the two special functions simultaneously or separately.
Extra browning
Use this function to brown food (e.g.: a roast) while cooking. It is possible to choose between levels
1-2-3
, where the number
1
represents minimum browning and the number
3
maximum browning.
This function can be selected only together with the functions .
Selecting the special Extra Browning function:
Selecting the special Heat Maintenance function:
Timer
Personalized cooking
This function can be selected in order to personalize cooking results. This function is not available in combination with the
following functions:
.
How to select the function:
To enable the function, turn the function selector knob
to the lamp symbol.
Hold the confirmation button
for 5 seconds. The display flashes and shows a preset value of
“0”.
Turn the “change pre-set values” knob
!
and select a value between
0 and +2
and
0 and -2
.
Press button
to confirm.
Upon completion, the selection will be displayed for a few seconds.
The selected cooking level will be stored until any further changes.
Safety features
• When the oven door is open the display will show:
Close the door to proceed
PYRO-CLEAN (self-cleaning)
• During self-cleaning, an automatic
“door lock”
activates and the “ ” indicator lamp lights up on the display.
Selecting self-cleaning functions
Self-cleaning functions (depending on model):
“Pyro-clean” : this function has a pre-set duration of 3 hours and can be altered up to a minimum of 2 hours.
The display will show “ ”.
“Express” : this function has a pre-set duration of 1 hour 15 minutes. The display will show “ ”.
“6th Sense” : calculates the duration depending on grime level. The display will show “ ”. This function can be
selected only when the oven is cold; if the oven is still hot, “ ” will appear on the display.
The display will only show “ ” once the oven has cooled sufficiently.
Turn knob
to the chosen self-cleaning function (Pyro-clean, Express and 6th Sense), press the confirm button
.
At that the end of self-cleaning, the display will show “ ”.
Selecting the duration of the pyro-clean function
1. Turn knob 1 to the “Pyro-clean”
function
,
will blink on the display .
2. Press the button
until the indicator
blinks
on the display
.
3. Turn knob
!
to select the required duration (the display will show the maximum pre-set duration of “ ”; this can
be altered up to a minimum of 2h.).
Press the button to confirm.
• During pyro-cleaning, the oven lamp may light up initially before switching off automatically.
Selecting the end of pyro-clean time with delayed start
1. Turn knob
to the required function (Pyro-clean, Express, 6th Sense).
When selecting the “
Pyro-clean
” function, the duration must be set first
(see section titled “Selecting the duration of the pyro-clean function).
2. Press the button
until the indicator
blinks on the display
.
3. Turn knob
!
to set the time you want the pyro-clean to finish.
4. Press the button to confirm.
Functions for Energy Consumption Saving:
The following functions (depending on the Model) are designed to minimize Energy Consumption.
While cooking, the oven can drive the motors (cooling and cavity motor) at different speeds and intervals.
1. Set the cooking time or end of cooking time. See chapter “Fast starting the oven” and “Selecting the
cooking function”.
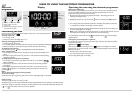
2. Repeatedly press button
until the symbol blinks on the display and
“0”
appears.
3. Turn the knob
!
to select the food's level of browning:
1, 2 or 3
.
4. Press button
twice or wait 20 seconds to get automatic confirmation of the setting.
Heat Maintenance
This function is used to maintain an oven temperature of 60°C at the end of cooking with automatic oven
operation.
The “Heat Maintenance” function can be selected only together with the functions .
1. Set the cooking time or end of cooking time. See chapter: “Fast starting the oven” and “Selecting the
cooking function”
2. Repeatedly press button
, the symbol blinks on the display and
“-- C”
appears on the display.
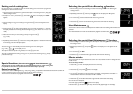
3. Turn the knob
!
to
“60C”
.
4. Press button
or wait 20 seconds to get automatic confirmation of the setting.
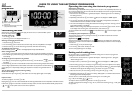
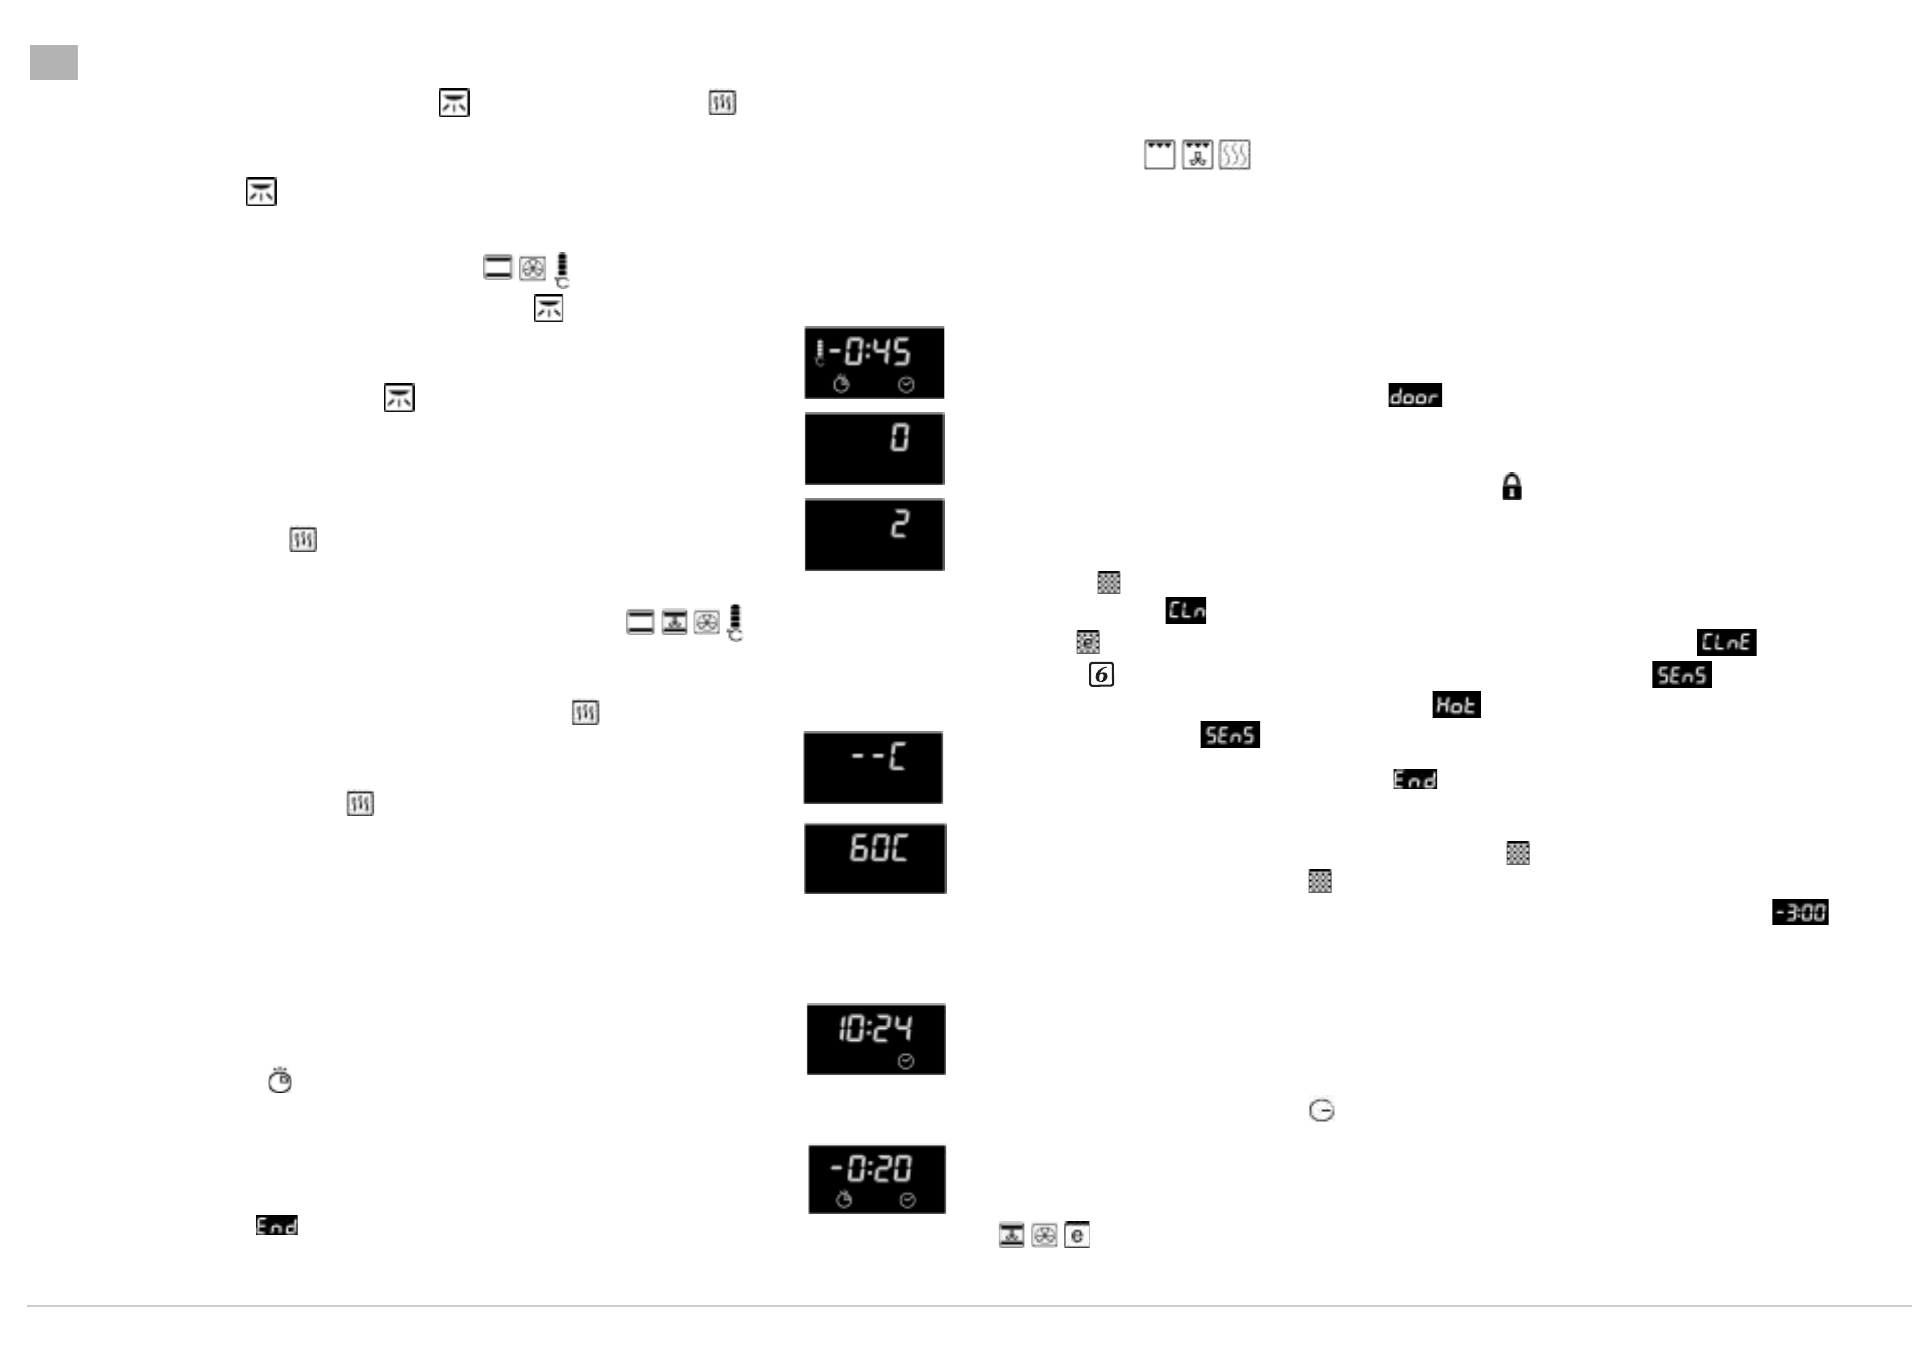
The minute minder can only be used when the oven is not in use, and allows a maximum setting of 3 hours
and 59 minutes.
To set the timer:
1. Leave knob
on
“0”
. The display shows the time of the day.
2. Press button
, the symbol blinks on the display.
3. Turn knob
!
clockwise. The set time blinks on the display. The appearance of the dash
“-”
indicates
that the chosen time decreases until
“0”
is reached.
4. Press button
or wait about 20 seconds to get automatic confirmation of the setting.
Once the set time has elapsed:
An acoustic signal is heard and
appears on the display.
press the
button: The acoustic signal stops. The time of day appears again on the display.