26
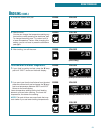
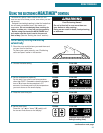
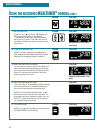
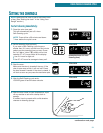
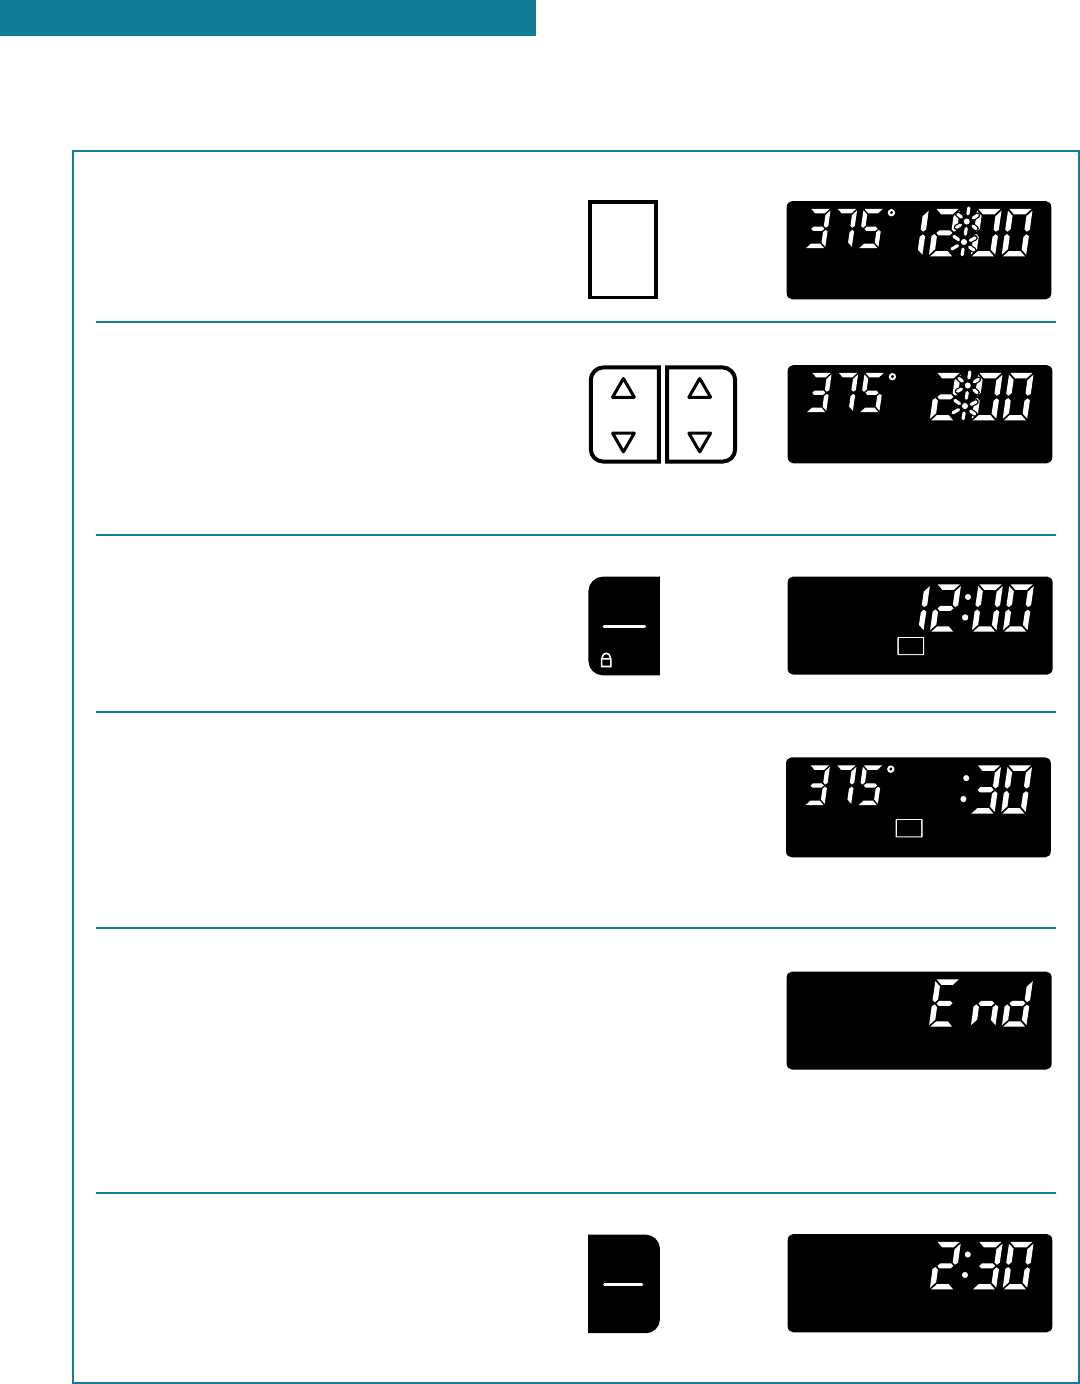
6. Press the delay start time pad.
7. Set the start time.
Press the “up” (s) or “down” (t) pad(s) until
the correct time shows on the display.
The example at the right shows a chosen
start time of 2 o’clock. The oven will shut off
by itself at 2:30 (the set start time plus the set
cook time).
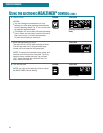
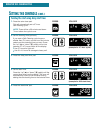
8. Press the start/enter pad.
NOTE: You can change the temperature or
time settings any time after pressing the start/
enter pad by repeating Steps 2 through 7.
9. When the start time is reached:
You will hear a 1-second tone. The display will
count down the baking/roasting time in hours
and minutes (if the cook time is more than one
hour) or in minutes and seconds if the cook
time is less than one hour).
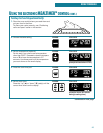
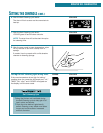
10. When baking/roasting is done:
The oven will turn off by itself and beep 4 times.
You will also hear four 1-second tones every
minute until you press the off/cancel pad.
NOTE: To remove the reminder tones, press
and hold the cook time pad for 5 seconds. To
bring back the tones, repeat this step. You will
see “oFF” when the tones are turned off and
“on” when they are turned on.
11. Turn off the oven.
NOTE: You can do this step any time to cancel
the MEALTIMER control setting.
USING THE ELECTRONIC MEALTIMER
TM
CONTROL (CONT.)
USING YOUR RANGE
DELAY
START
TIME
F
BAKE
START TIME
PRESS YOU SEE
HR MIN
F
BAKE
START TIME
(example shows 2 o’clock
start time)
PRESS YOU SEE
START
ENTER
5 SEC
O
N
BAKEDELAY
PRESS YOU SEE
YOU SEE
O
N
F
BAKE
BROIL
HEAT
DTIME TIMECOOK
(display counts down cook
time)
YOU SEE
TIMECOOK
PRESS YOU SEE
OFF
CANCEL
(time of day)


