


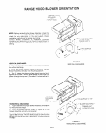
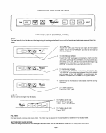
RANGE HOOD BLOWER ORIENTATION
(TOP OF HOOD1
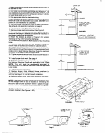
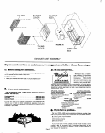
NOTE:
Before reinstalling the blower Assembly, check the
damper for free operation. Open the damper blade and
check for any restrictions in the duct system. Check
installation instructions for proper duct sizing.
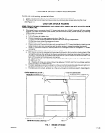
Correct Blower orientation is imperative. Incorrect
tnstallatron will drastically cut atr flow and cause Blower to
run at maximum RPM regardless of motor speed control
setting.
BLOWER DISCHARGE -
‘LXATE AT OIS-
CHARGE VENT IN
TOP OF HOOD
,,/ THIS SURFACE
TO REAR
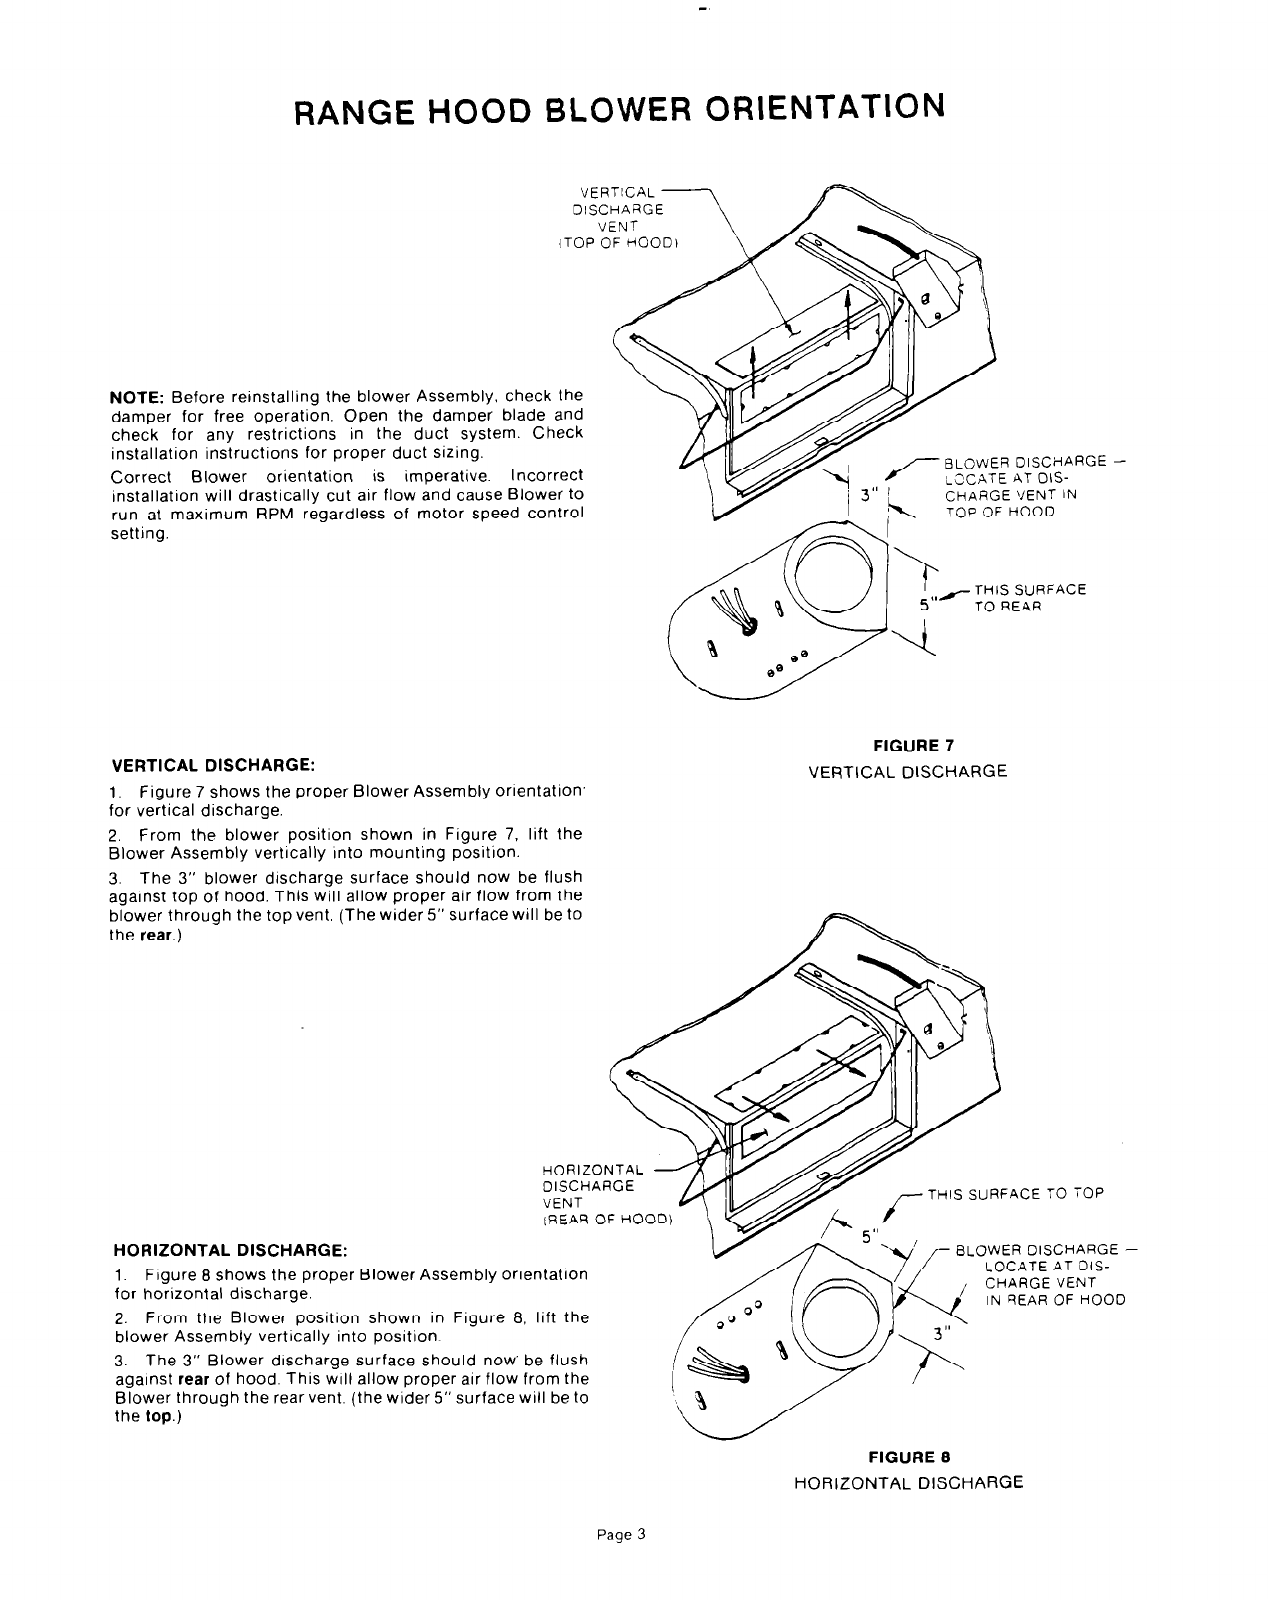
VERTICAL DISCHARGE:
1, Figure 7 shows the proper Blower Assembly ortentatton’
for vertical discharge.
2. From the blower position shown in Figure 7. lift the
Blower Assembly verttcally Into mounting position.
3. The 3” blower drscharge surface should now be flush
against top of hood. This will allow proper air flow from the
blower through the top vent. (The wider 5” surface will be to
the rear.)
FIGURE 7
VERTtCAL DISCHARGE
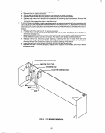
HORIZONTAL
DISCHARGE
VENT
(REAR OF HOOD)
THIS
SURFACE TO TOI=
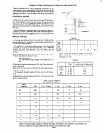
HORIZONTAL DISCHARGE:
1. Figure 8 shows the proper Blower Assembly orientation
for horizontal discharge.
BLOWER DISCHARGE -
LOCATE AT DIS-
2. From the Blower position shown in Figure 8. lift the
blower Assembly vertrcally into position
3. The 3” Blower drscharge surface should now’ be flush
against rear of hood. This
will
allow proper air flow from the
Blower through the rear vent. (the wider 5” surface will be to
the top.)
FIGURE 8
HORIZONTAL DISCHARGE
Page 3