


4
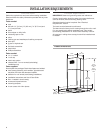
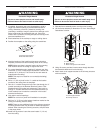
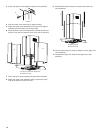
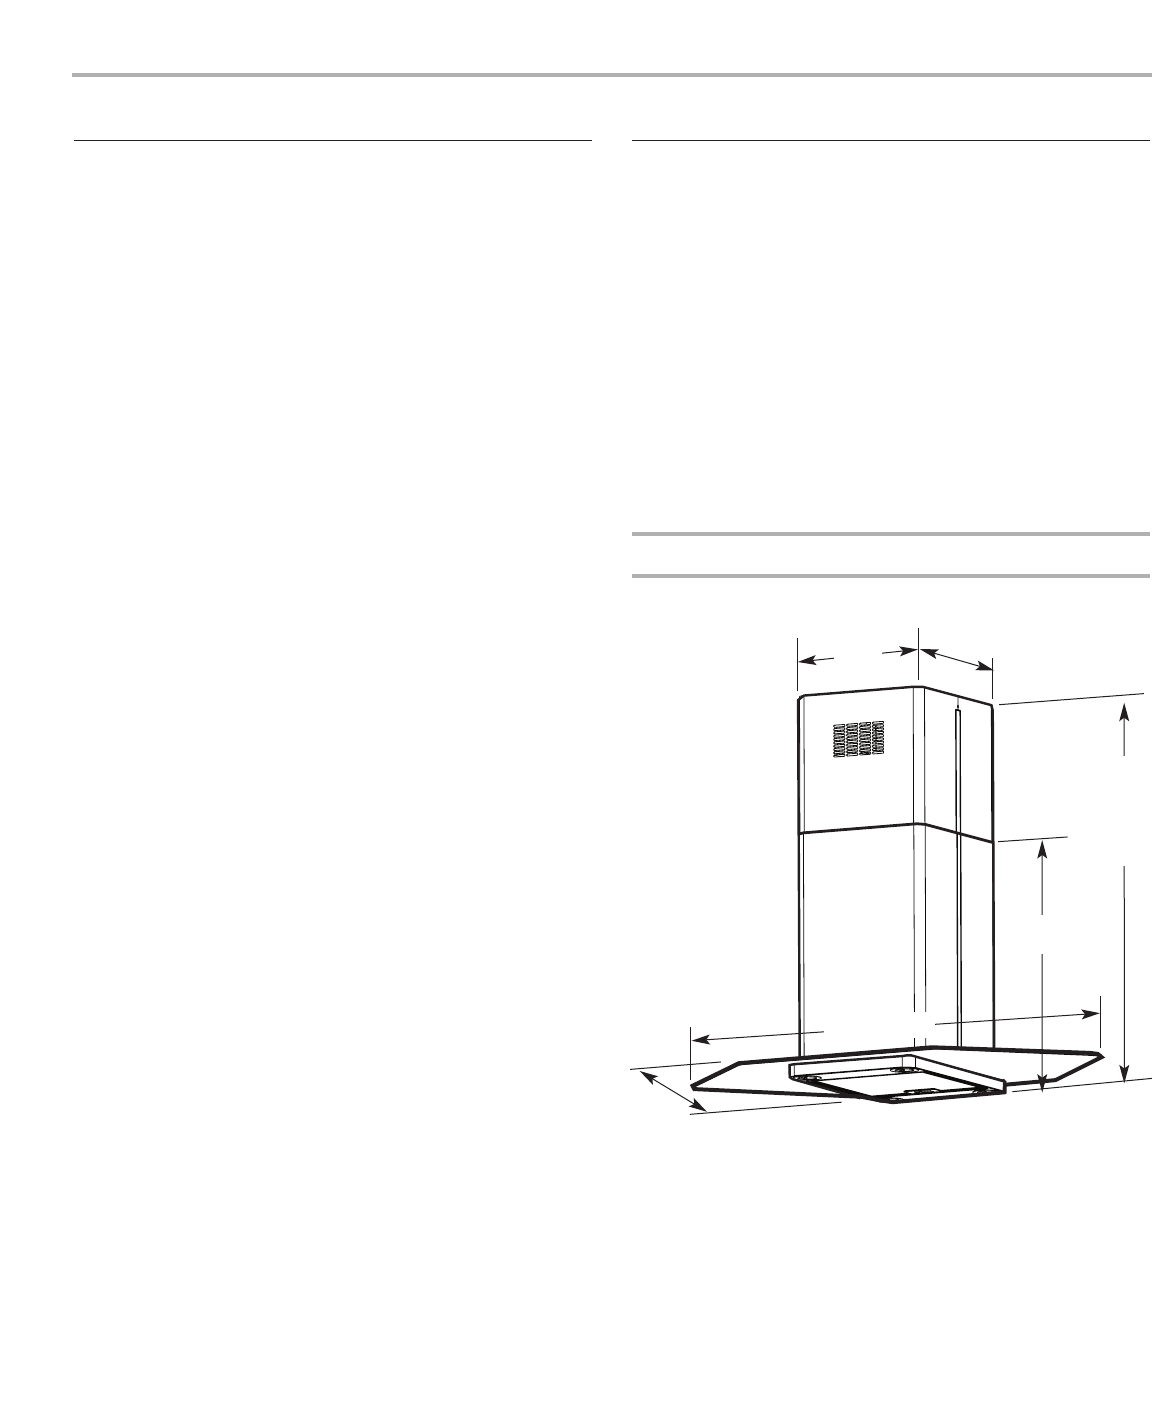
Product Dimensions
Location Requirements
IMPORTANT: Observe all governing codes and ordinances.
Canopy hood location should be away from strong draft areas,
such as windows, doors and strong heating vents.
Grounded electrical outlet is required. See “Electrical
Requirements” section.
The hood must be fastened to solid wood.
The island hood is factory set for venting through the roof or wall.
For non-vented (recirculating) installations see “Non-vented
(recirculating) installations” in “Hood Frame Assembly” section.
All openings in ceiling where canopy hood will be installed must
be sealed.
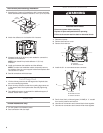
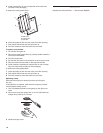
Tools and Parts
Gather the required tools and parts before starting installation.
Read and follow the safety instructions provided with any tools
listed here.
Tools needed:
■ level
■ drill with 1¹⁄₄" (3.2 cm), ³⁄₈" (9.5 mm), ⁷⁄₆₄" (2.75 mm) and
¹⁄₈" (3 mm) drill bits
■ pencil
■ wire stripper or utility knife
■ measuring tape or ruler
■ pliers
■ caulking gun and weatherproof caulking compound
■ duct tape
■ jig saw or keyhole saw
■ flat blade screwdriver
■ metal snips
■ Phillips screwdriver
Parts needed:
■ 1 x ¹⁄₂" conduit
■ 1 roof cap
■ metal vent system
■ charcoal filter – for non-vented (recirculating)
installations only
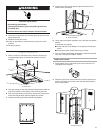
Parts supplied:
Remove parts from packages. Check that all parts were included.
■ hood canopy assembly with ventilator, light bulbs and
transition with back draft dampers installed
■ deflector for non-vented (recirculating) installations
■ Installation Instructions and Use & Care Guide
■ filter – installed in hood canopy
■ screws and drywall anchors
■ mounting template
■ 4 vent covers with 4 trim pieces
INSTALLATION REQUIREMENTS
13
³⁄₈
"
(34 cm)
15"
(38.1 cm)
43
⁵⁄₁₆
" (110 cm)
31
¹⁄₈
"
(79.1 cm)
min.
42
¹⁄₂
"
(108 cm)
max.
23
⁷⁄₁₆
"
(59.5 cm)
23
⁵⁄₈
"
(60 cm)