


8
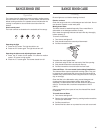
Make Electrical Connection
1. Disconnect power.
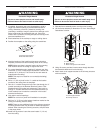
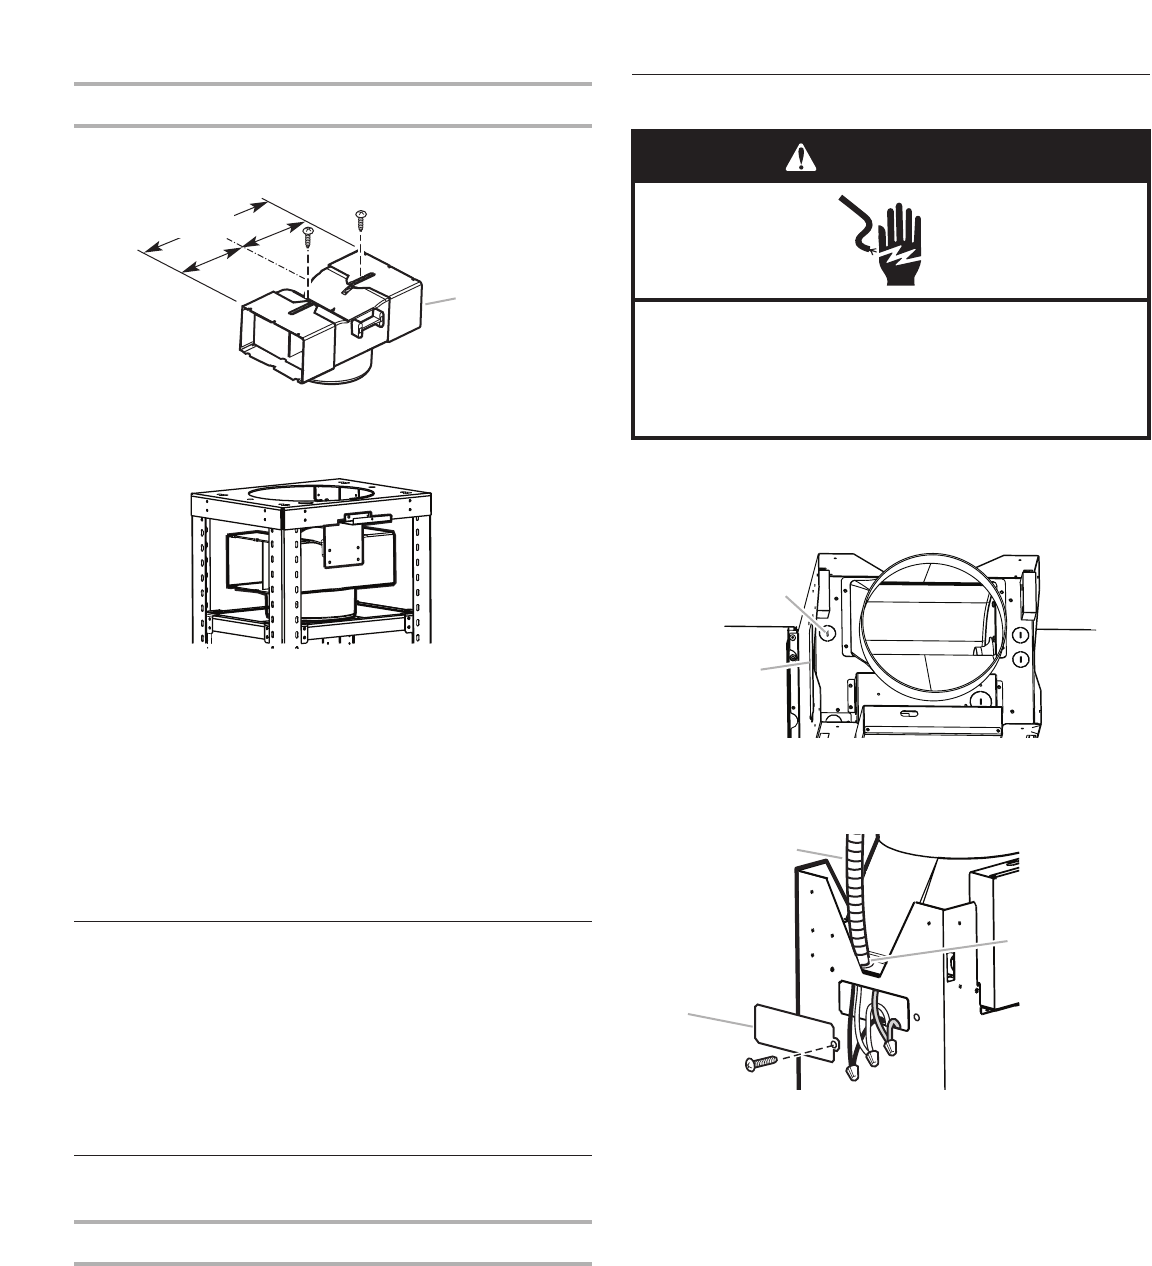
2. Remove terminal box cover.
3. Remove the knockout.
4. Install the UL- or CSA-listed conduit connector.
5. Run 3 wires, black, white and green (14 AWG) in ¹⁄₂" conduit
from service panel to terminal box.
6. Use twist-on connectors and connect black wires together.
7. Use twist-on connectors and connect white wires together.
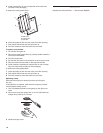
Non-Vented (Recirculating) Installation
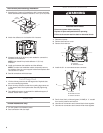
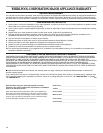
1. Assemble the 3 parts of the deflector with 2 screws provided.
When assembled the deflector should be 14³⁄₄" (37.5 cm) wide.
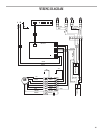
2. Attach the deflector to the bracket with 4 screws.
3. Measure length of 8" (20.3 cm) vent needed to connect the
transition to the deflector.
NOTE: Vent should fit up inside deflector 1" (2.5 cm)
minimum.
4. Install vent between the transition and the deflector.
NOTE: To make vent installation easier, temporarily remove
the deflector from the cover support bracket and replace after
vent section is in place.
5. Seal all connections with duct tape.
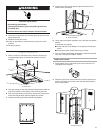
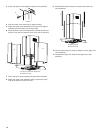
Install Range Hood
1. Lift the chimney structure so that large end of keyhole slots
are over mounting lag screws.
2. Move chimney structure so that the mounting lag screws are
in the narrow end of the keyhole slots. Securely tighten lag
screws.
3. Two additional screws are provided for additional support, if
desired. Screw them in place.
Install Vent
Vented Installations Only
1. Fit vent system over transition piece.
2. Seal connection with duct tape.
14
³⁄₄
"
(37.5 cm)
A
A. Deflector
A
B
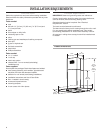
A. Knockout
B. Terminal box cover
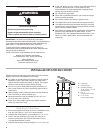
WARNING
Electrical Shock Hazard
Disconnect power before servicing.
Replace all parts and panels before operating.
Failure to do so can result in death or electrical shock.
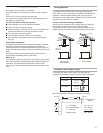
C
A
B
A. Conduit
B. Terminal box cover
C. Conduit connector