


9
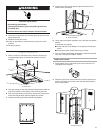
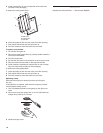
Complete Installation
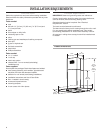
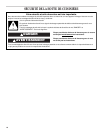
1. Insert 3 screws on the bottom of the chimney structure (in
corresponding position to the keyhole slots on the hood
canopy).
2. Lift hood canopy so that the large end of the keyhole slots are
over the 3 screws on the bottom of the chimney structure.
3. Push the hood canopy so that the 3 screws are in the narrow
end of the keyhole slots. Securely tighten the screws.
4. Install the remaining 9 screws and securely tighten.
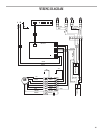
8. Use twist-on connectors and connect green or bare wire with
yellow-green wire.
9. Replace terminal box cover.
10. Check all light bulbs to make sure they are secure in their
sockets.
11. Reconnect power.
A
A. Three screws
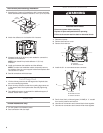
WARNING
Electrical Shock Hazard
Electrically ground blower.
Connect ground wire to green and yellow ground wire
in terminal box.
Failure to do so can result in death or electrical shock.
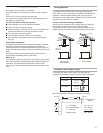
Front
A
A
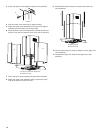
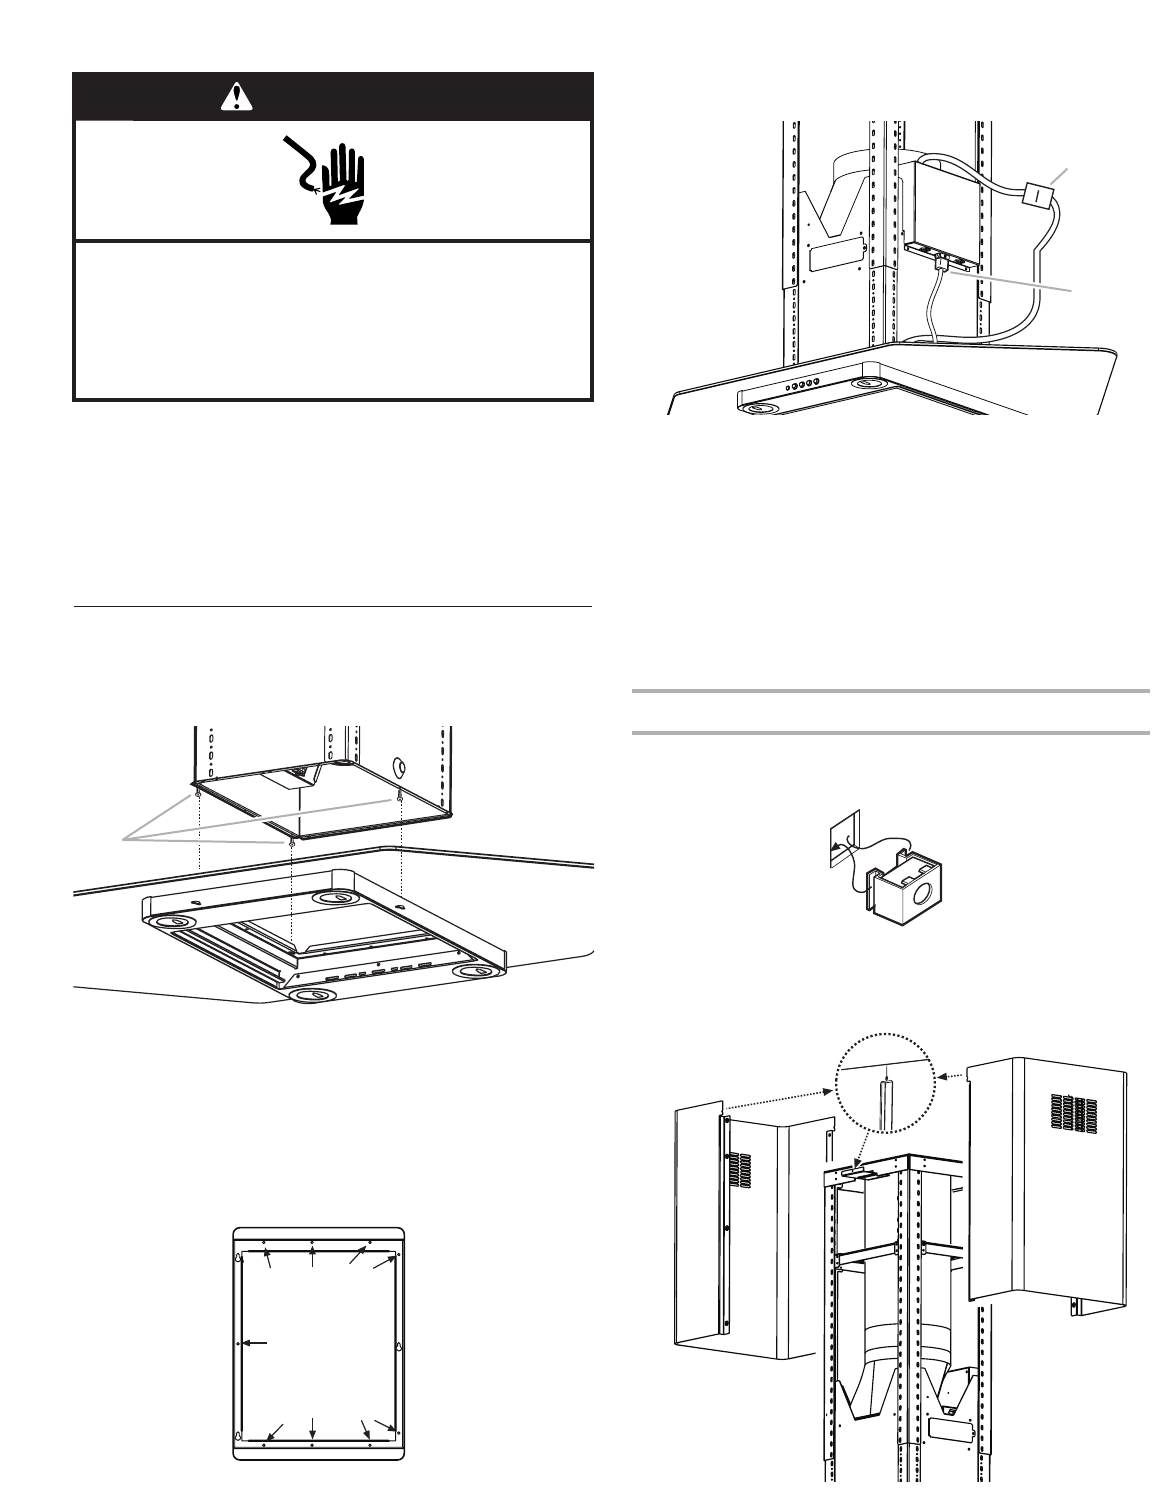
A. Upper vent covers
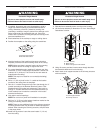
5. Connect lamp and control panels cable connectors to the
blower motor connectors.
5. Reconnect power.
6. Check lights and blower operation. See “Use and Care Guide”
section.
If hood does not operate:
■ Check that the circuit breaker is not tripped or house fuse
blown.
■ Disconnect power. Check that wiring is correct.
7. For non-vented (recirculating) installations, install the charcoal
filter. See “Use and Care Guide” section.
Install Vent Covers
1. Insert captive nuts on the inside of the vent covers at all 14
rectangular hole locations.
2. Place the upper vent covers around the chimney structure so
that the vent slots on the front cover face the same direction
as the control panel.
B
A
A. Control panel connection
B. Lamp connection