


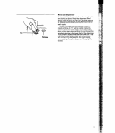


Energy saving tips
You can help save energy if you:
1. Wash full loads. Running a half-filled dish-
washer uses the same amount of electricity and
hot water as a fully loaded machine.
2. Use the Light Wash Cycle for moderately
soiled loads. It uses less hot water and energy
than the Normal Wash Cycle.
3. Air dry dishes when you don’t need a
rapid drying cycle. Allow longer drying times
(overnight).
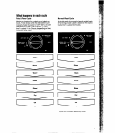
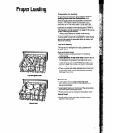
4. Load correctly for best washing results.
Incorrect loading may cause poor washing and
the need to rewash all or part of the load.
5. Do not pre-rinse normally soiled dishes.
Select the correct cycle for the load and use the
recommended amount of detergent for good
washing results without hand rinsing.
6. Use your dishwasher during off-peak hours.
Local utilities recommend this to avoid heavy
usage of energy at certain times of day.
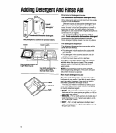
Dishwasher care &cleaning
Exterior - Regular use of a soft damp cloth or
sponge and a mild detergent is all that is neces-
sary, in most cases, to keep the outside of your
dishwasher nice looking and clean. Interior -
Hard water minerals may cause a white film to
build-up on the inside surfaces, especially just be-
neath the door area. To clean dishwasher interior:
1. Apply powdered dishwasher detergent to a
damp sponge to make a paste.
OR
2. Use liquid automatic dishwasher detergent and
clean with damp sponge.
Wear rubber gloves. Do not use any type of
cleanser other than automatic dishwasher de-
tergent because it may cause foaming or sudsing.
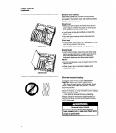
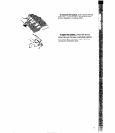
Pump Guard-The filter system requires periodic
cleaning as needed. To clean the pump guard:
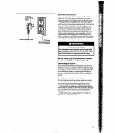
Personal Injury Hazard
Wait at least 20 minutes after a cycle for the
heating element to cool down. Failure to do
so can result in burn injuries.
1. Unload and remove the bottom rack.
2. Press the outside wall of the pump guard at the
center to release the latch.
3. Lift out and rinse clean.
4. Insert pump guard legs (on inside wall) into
matching openings in filter screen.
5. Press down on outside wall until latch snaps
into place.
6. Replace bottom rack with rack bumpers in front.
15