23
Ducted Installation
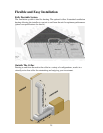
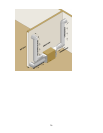
Use ductwork to connect the unit to the supply and return outlets in the wine cellar. Use
only insulated ductwork to minimize cooling losses, prevent sweating, and reduce noise.
Use ductwork on the condenser section to redirect or absorb sound, bring in outside air to
the unit inlet, and/or exhaust the hot air out of the ambient space.
Note: Do not exceed a total of 25’ for each length of ductwork run and a total of 50’
combined for both the supply and return lengths.
Avoid crimping the flexible ducts. This chokes down the inside area and reduces the
airflow causing the unit to operate erratically.
Be sure all ducts and surfaces in contact with the airflow are insulated and have a vapor
barrier on the outside.
Uninsulated ducts and surfaces cause bare, exposed metal surfaces to sweat, further
degrading the insulation and equipment cooling capacity.
General Duct Recommendation
9 Provide support for the flexible duct to prevent sags and bends.
9 Stretch out the duct to make a smoother interior, which reduces air resistance.
9 For 90° bends, use a 90° adjustable elbow (Ell).
9 Do not squeeze or reduce the inside diameter of the ducts which reduces airflow.
9 Use short and straight ductwork where possible.
9 Remove the grilles and panels from the openings to connect the ductwork.
9 Check that all fan blades move freely.
9 Keep air paths free of loose foreign objects and debris.
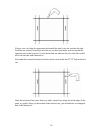
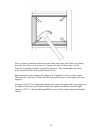
9 Connect the round flexible ducts to the WhisperKOOL Extreme using the duct
collars provided with the duct accessory kit.
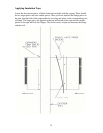
9 Pull the outer plastic wrapping and insulation away from the end of the duct to
expose the reinforced inside duct liner.
9 Fasten the duct collar using tie straps or clamps around the inside liner.
9 Secure the duct collar to the unit using the screws provided. Take care to not
damage or bend the gasket.
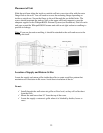
9 Use approved duct tape to seal all joints.
Do not clamp around the outside insulation. It compresses and loosens over time.


