4
Installation
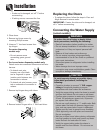
3. Close doors.
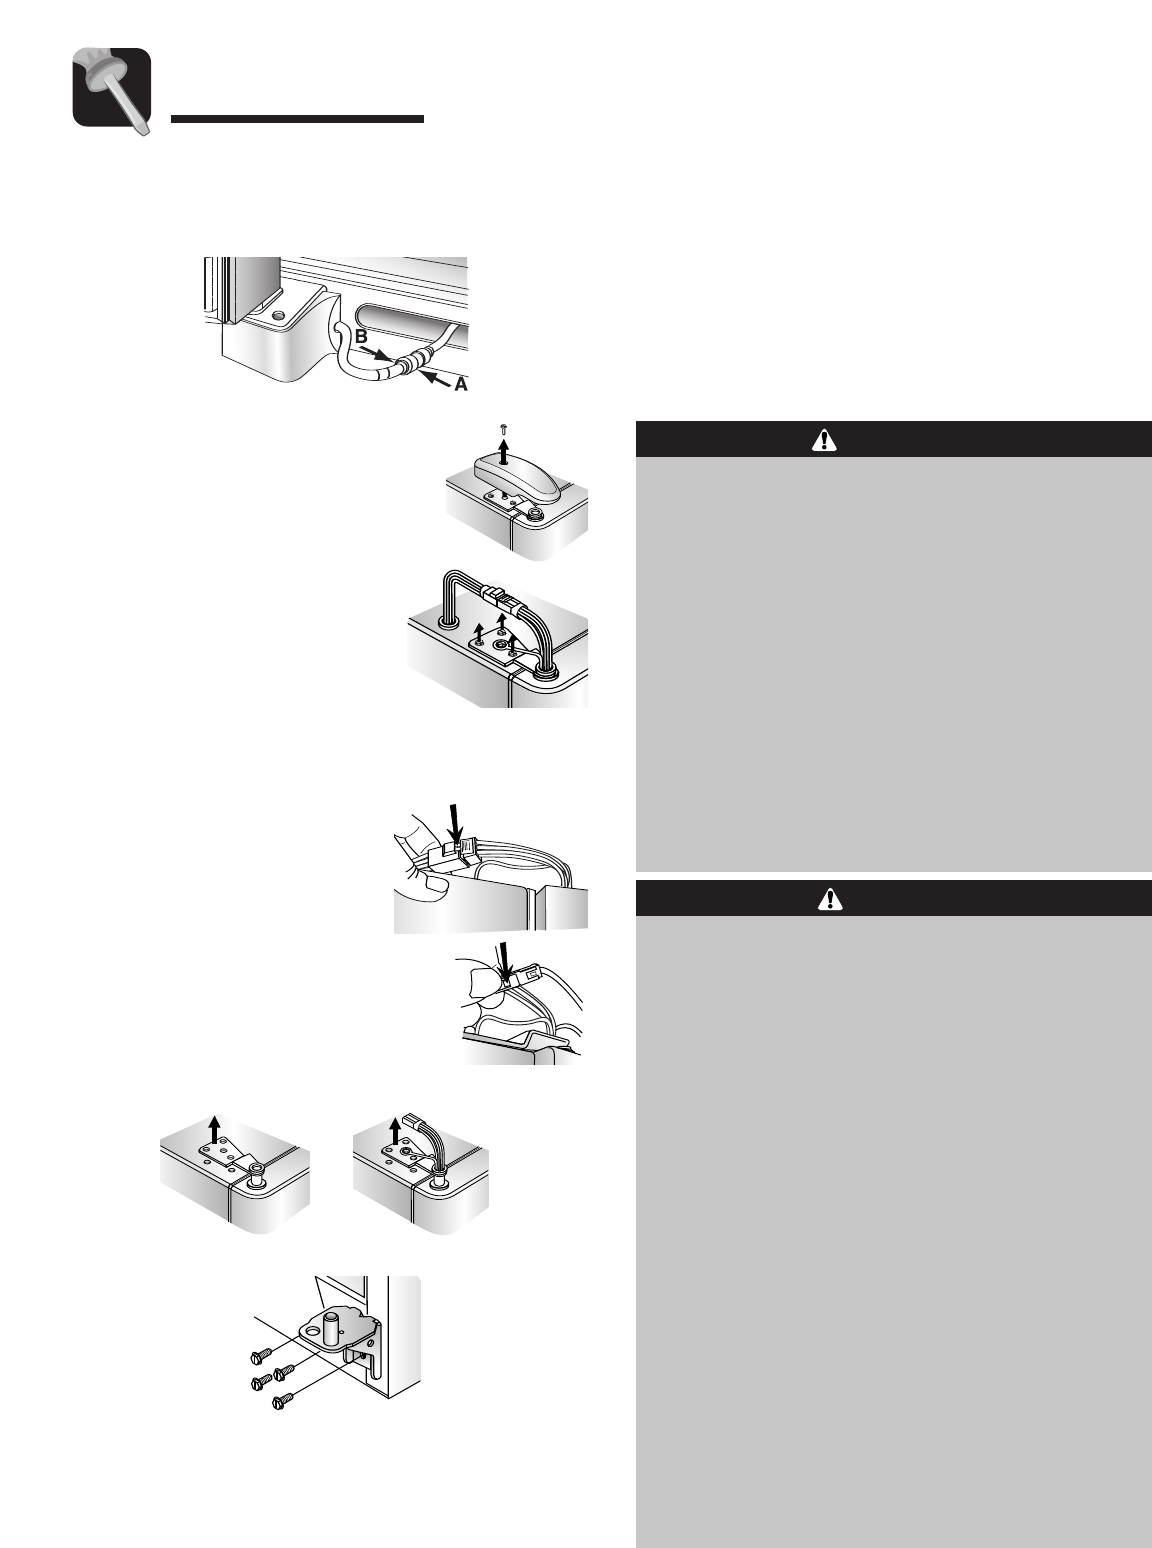
4. Remove top hinge covers by
removing Phillips screws.
5. Unscrew
5
⁄16" hex head screws from
top hinges.
For water dispensing
models only:
• Do not remove screw
connecting green ground
wire.
6.
For ice and water dispensing models only:
Detach main wire connector harness and red wire
harness.
• To detach main wire
harness, use a flat blade
tool or fingernail to pre
ss
junction point between two
connectors to release.
• To detach red wire harness, press
tab on underside of connector to
release.
7. Remove top hinges along with doors.
• If tube end is damaged, cut off
5
⁄8" before
reconnecting.
• If leaking occurs, reconnect the line.
8. Remove bottom hinges with a
3
⁄8" hex head driver.
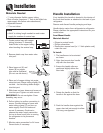
Replacing the Doors
• To replace the doors, follow the steps in Door and
Hinge Removal
in reverse order.
IMPORTANT: If water line tube end is damaged, cut
off
5
⁄8" before reconnecting.
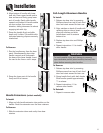
Connecting the Water Supply
(select models)
To reduce the risk of injury or death, follow
basic precautions, including the following:
• Read all instructions before installing ice maker.
• Do not attempt installation if instructions are not
understood or if they are beyond personal skill
level.
• Observe all local codes and ordinances.
• Do not service ice maker unle
ss specifically
recommended in Use & Care Guide or published
user-repair instructions.
• Disconnect power to refrigerator before installing
ice maker.
• Water damage due to an improper water
connection may cause mold/mildew growth. Clean
up spills or leakage immediately!
WARNING
To avoid property damage or possible injury,
follow basic precautions, including the
f
ollowing:
• Consult a plumber to connect
1
⁄4" O.D. copper
tubing to household plumbing to assure
compliance with loc
al code
s and ordinance
s.
•
V
erify the copper tubing under the sleeve is smooth
and free from defects. Do not reuse an old sleeve.
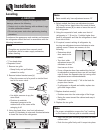
• Confirm water pressure to water valve is between
35 and 100 pounds per square inch, 20 pounds
per square inch without filter.
•
Do not use a self-piercing, or
3
⁄16" s
addle valve. Both
reduce water flow and c
an become clogged over
time, and may cause leaks if repair is attempted.
• Tighten nuts by hand to prevent cross threading.
Finish tightening nuts with pliers and wrenches.
Do not over
tighten.
•
Wait two to three hours before placing refrigerator
into final position to check and correct any water
leaks. Recheck for leaks after 24 hours.
• Verify the copper tubing under the sleeve is
smooth and free from defects. Do not reuse an
old sleeve.
CAUTION


