Door Panel and
Dispenser Trim Installation Instructions
Tools Needed -- Standard Straight
Screwdriver, Phillips Screwdriver,
1/4" Hex Nut Driver and Tightly
Fitted Gloves
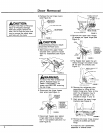
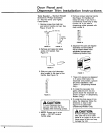
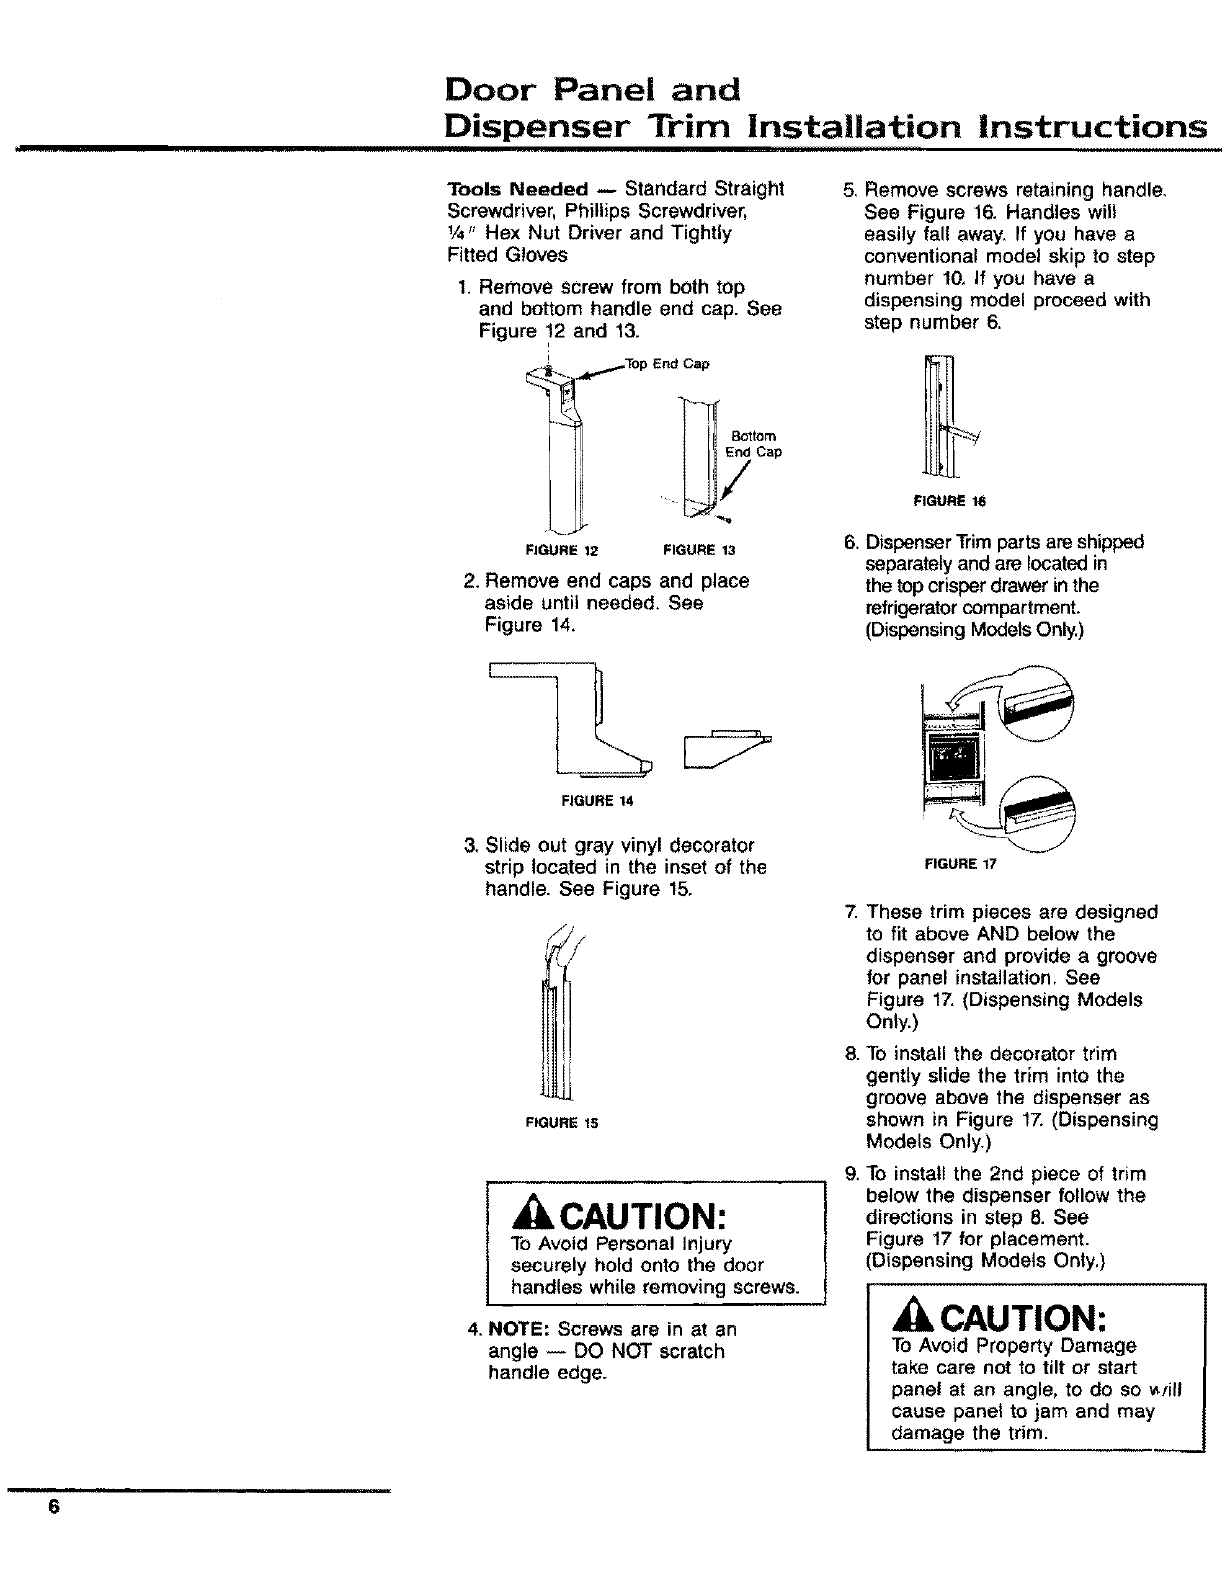
1. Remove screw from both top
and bottom handle end cap. See
Figure 12 and 13.
i
Bottom
End Cap
FIGURE 12 FIGURE 13
2. Remove end caps and place
aside until needed. See
Figure 14.
FIGURE 14
5, Remove screws retaining handle,
See Figure 16, Handles will
easily fall away. If you have a
conventional model skip to step
number 10, If you have a
dispensing model proceed with
step number 6.
FIGURE 16
6. DispenserTrim parts are shipped
separately and are located in
the top crisper drawer in the
refrigerator compartment.
(Dispensing Modets Oniy.)
3. Slide out gray vinyl decorator
strip located in the inset of the
handle. See Figure 15.
FIGURE 15
, CAUTION:
To Avoid Personal Injury
securely hold onto the door
handles while removing screws.
4. NOTE: Screws are in at an
angle -- DO NOT scratch
handle edge.
.
g.
FIGURE 17
These trim pieces are designed
to fit above AND below the
dispenser and provide a groove
for panel installation. See
Figure 17. (Dispensing Models
Only.)
To install the decorator trim
gently slide the trim into the
groove above the dispenser as
shown in Figure 17. (Dispensing
Models Only.)
To install the 2nd piece of trim
below the dispenser follow the
directions in step 8. See
Figure 17 for placement.
(Dispensing Models Only.)
CAUTION:
To Avoid Property Damage
take care not to tilt or start
panel at an angle, to do so _yill
cause panel to jam and may
damage the trim.
m
6


