PROGRAMMING
26
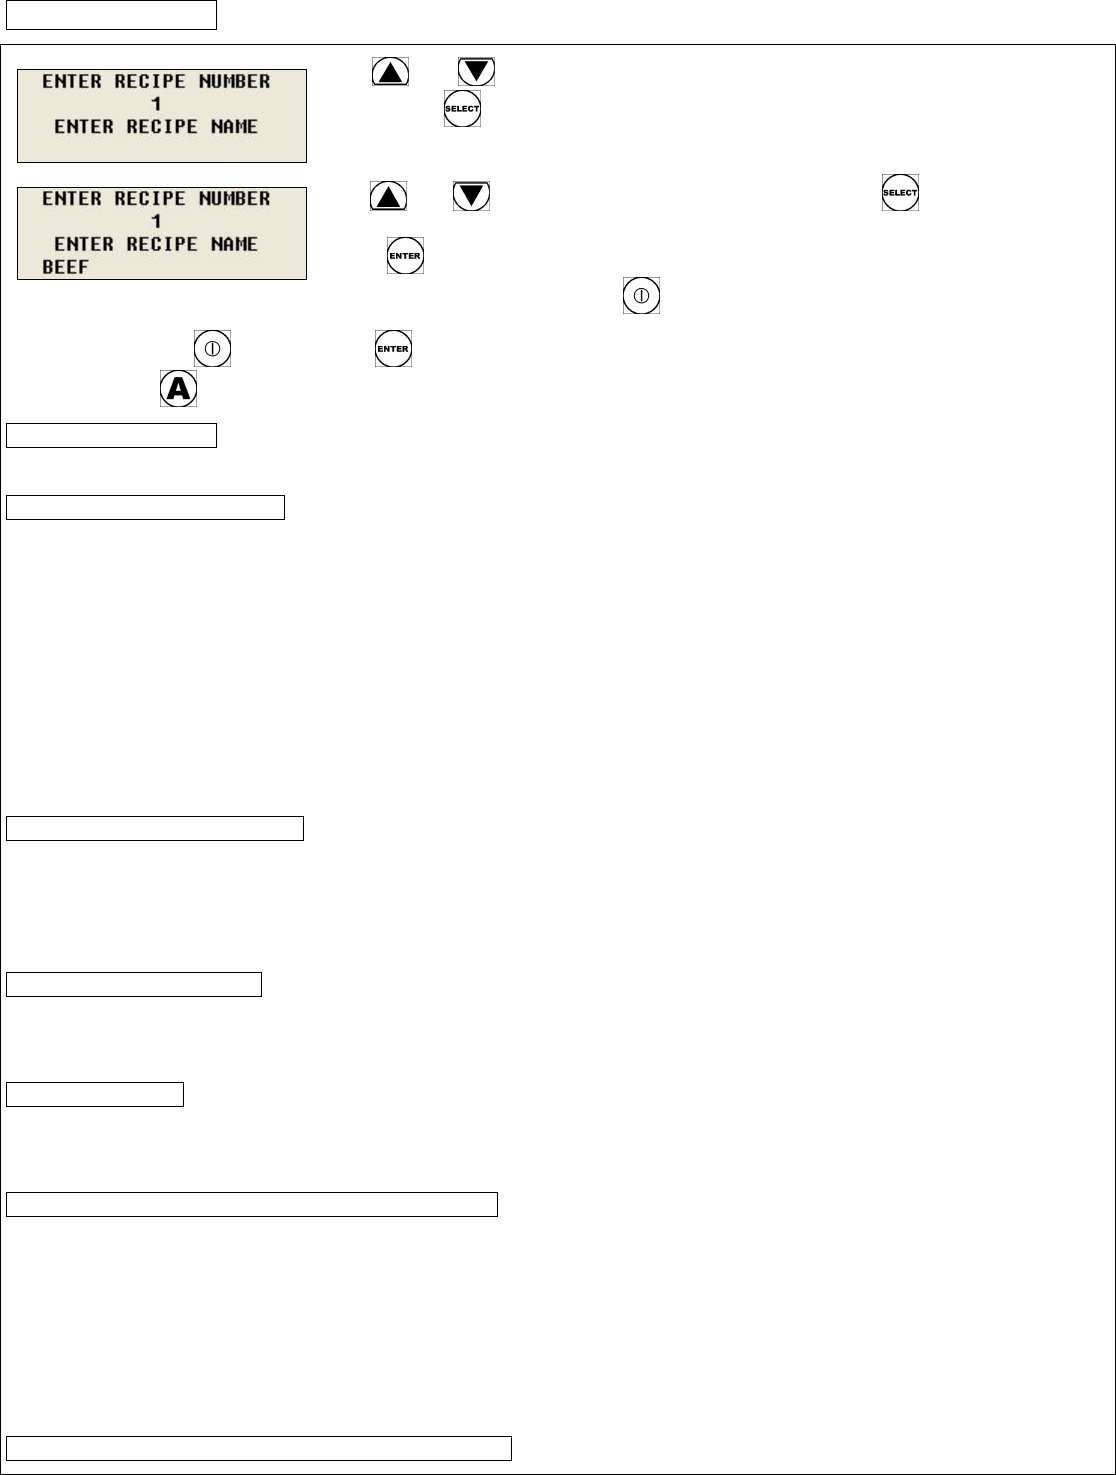
Use
and buttons to scroll to the desired recipe number. To edit the recipe
name, press
.
Use
and buttons to scroll thru the characters. Press to move to the next
character or to add characters.
Press
to save the change and to move to the next recipe number. To exit recipe
name programming mode, press
.
Note: Do not press
before pressing . The changes for that particular recipe number will not be saved. To delete a
character press
.
E. Printer (Optional)
NOTE: The printer is delivered fully installed
E.1. Loading A Roll Of Paper
1. Remove the printer cover by pressing on the groove patterns to pop the front edge up. Lift off the cover.
2. Press the rocker switch to the left. The light will go off.
3. Unroll several inches of paper.
4. Cut a straight edge on the paper roll if it is jagged. This will facilitate the entry of the paper into the printer.
5. Slide the paper through the slot connecting the paper compartment and the printer compartment. It can be slid in about
¼” before it stops.
6. While holding the paper in place, press the rocker switch to the Paper Feed position and hold it there. The printer will
activate and a rubber roller will pull the paper into the printer compartment. Release the switch when an inch of paper has
emerged from the top of the printer.
7. Slide the paper through the slot in the printer cover.
8. Push the back of the printer cover down and into place.
9. Press the front of the printer cover down to lock in place.
E.2. Removing A Roll Of Paper
1. Using the Paper Feed switch, advance the paper about one inch beyond the paper cutter.
2. Lift the paper roll away from the printer housing and cut the paper feeding to the printer with scissors. Try to make the
cut as square as possible to help the next time you reload the paper.
3. Pull the remaining paper through the printer mechanism. Be sure to pull the paper from the top (paper cutter side).
WARNING: Pulling the paper out the back of the printer will damage the print mechanism.
E.3. Operating The Printer
The Paper Feed switch on the printer is a rocker type switch. Push the left side of the rocker switch to toggle the
printer ON or OFF. A red light will go on when the printer switch is ON. Push the right side of the switch to advance the
paper.
E.4. Maintenance
When printing becomes difficult to see, replace the ribbon in your printer with an Epson HX-20 cartridge ribbon. If
your printer is used infrequently, the print impression may become weak because the ribbon dried out. In that case,
advance the ribbon to a new section by holding down the Paper Feed switch for several seconds.
E.5. Replacing The Ribbon (No Paper In The Printer)
1. Turn the printer OFF.
2. Four small grooves are embossed on each side of the printer cover. Push down on one or both of these areas until the
printer cover tilts up, then lift the cover completely off.
3. Push down on the right side of the ribbon cartridge where it is marked “PUSH. Remove the cartridge.
4. Install the new cartridge. Be sure the cartridge is inserted firmly to prevent weak or irregular printing. The cartridge must
be properly seated and aligned for best printing
5. Turn the cartridge “knob” (marked by an arrow) clockwise to take up slack.
6. Place back the cover.
E.6. Replacing The Ribbon (With Paper In The Printer)


