INSTALLATION
4
B. Installation
American Panel Corporation equipment has been shipped in a package designed to sufficiently protect from
damage under normal shipping circumstances.
Upon receiving the shipment, carefully inspect the package for visible damage and check the number of packages against
the Bill of Lading. Notify the carrier immediately of any shortage or damage to your shipment. Claims must be filed
promptly with the carrier.
After receipt of shipment, carefully and safely remove the unit from the package. Check the containing of the
package against the packing list.
Under no circumstances may a damaged piece of equipment be returned to American Panel Corporation without
first obtaining written permission.
To assure proper installation carefully read and comply with the following instructions.
B.1. Initial Cabinet Preparation
Note: When following the installation instructions consider that the fan assembly frame will be inserted into door hinge
side of cabinet and the coil assembly frame will be inserted in the door latch side of cabinet.
Check if the cabinet was provided with penetrations to accommodate the refrigeration pipes (2-1/2” hole) and the
drainpipe (1-1/2” hole). If the cabinet is provided with penetrations proceed with the installation of the coil assembly frame.
Otherwise follow the next steps:
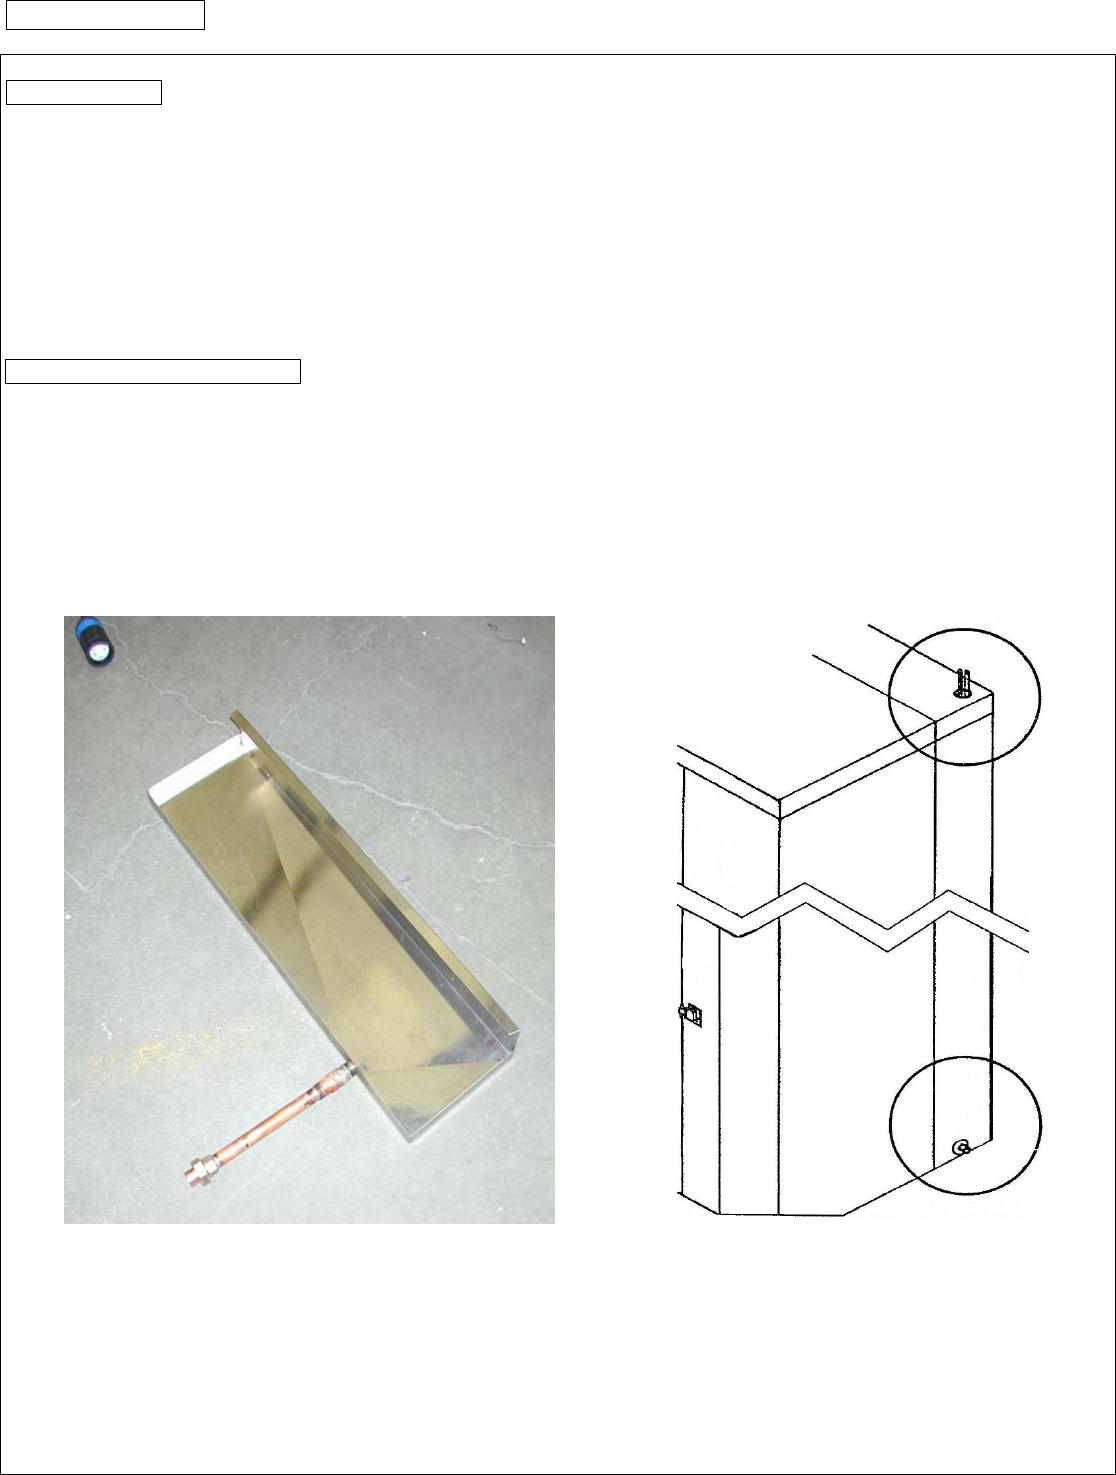
1. Measure location of drainpipe on drain pan (see PHOTO #1) where it will extend behind the Coil Assembly Frame
(see PHOTO #3, page 9). Properly cut a corresponding 1 ½” hole in the rear corner panel to receive the drainpipe
(see DRAWING #1).
PHOTO # 1
DRAWING # 1
2. Measure and locate the refrigeration lines on the coil assembly frame and properly drill corresponding 2 ½” holes
in the ceiling side or rear panels to accommodate 1 1/8” and ½” pipes.
3. Install the air deflectors on the top corners (above the fan and coil frames) using the provided self-taping stainless
steel screws.


