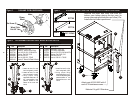
(6) Turn the timer knob to the desired bake time and timer will start counting down.
(7) When timer reaches zero, a buzzer will sound.
(8) Turn the timer knob to “O” position.
(9) Remove the product from the oven.
NOTE: TIMER IS A SIGNAL DEVICE ONLY AND DOES NOT CONTROL THE OVEN.
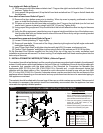
Cook and Hold Rotary Control:
(1) Close the oven doors.
(2) Turn Selector Switch to “HI” or “LO” position. The indicator light near the Selector Switch will be
illuminated.
(3) Turn the thermostat knob to the desired cooking temperature.
(4) Upon reaching the set temperature, the indicator light near the thermostat will go out.
(5) Load the oven with product to be cooked.
(6) Turn the timer knob to the desired bake time and timer will start counting down.
(7) When timer reaches zero, a buzzer will sound.
(8) Turn the Timer knob to “O” position.
(9) Turn the thermostat knob to the desired hold temperature.
(10) Remove the product from the oven when needed.
Optional steam injection: Rotary control:
The solenoid valve for steam injection is mounted behind the service panel on the right-hand side of the unit.
The electronic timer is preset at the factory. A ¼” copper tubing is provided on the Solenoid Valve for water
hookup with a compression fitting. After the water hookup is made, make sure that there are no leaks. For
steam injection, press the Steam switch momentarily.
NOTE: DO NOT USE STEAM INJECTION AT TEMPERATURES BELOW 275°F (135°C).
Oven cool down Rotary control:
To cool down the oven to a lower desired temperature, follow the steps detailed below.
(1) Open the oven doors.
(2) Turn Selector Switch to “oven cool down” position. Fan will now operate and cool down the oven.
(3) When the oven has cooled down to the desired temperature, turn the Selector Switch to “O” position.
7
!
!
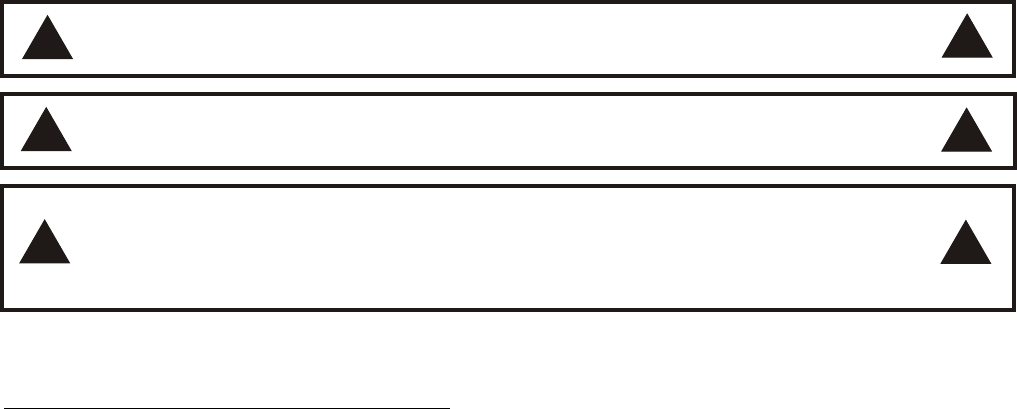
CAUTION: Use mild detergent or soap solution for best results. Abrasive cleaners could scratch
the finish of your unit, marring it’s appearance and making it susceptible to dirt accumulation. DO
NOT use abrasive cleaners or cleaners/sanitizers containing chlorine, iodine, ammonia or bromine
chemicals as these will deteriorate the stainless steel and glass material and shorten the life of the
unit. Use nylon scouring pads. DO NOT use steel wool.
!
!
WARNING: To avoid any injury, turn the power switch off at the fuse disconnect switch/circuit
breaker or unplug the unit from the power source and allow to cool completely before performing
any maintenance or cleaning.
!
WARNING: Unit is not waterproof. To avoid electrical shock or personal injury, DO NOT submerge
in water. DO NOT operate if it has been submerged in water. DO NOT clean the unit with a water jet.
DO NOT steam clean or use excessive water on the unit.
!
Always clean equipment thoroughly before first use. Clean unit daily.
C. CLEANING
OVEN INTERIOR:
Clean The Racks And Rack Support Guides:
Open the doors and remove all wire racks and rack support guides. Take them to the sink and thoroughly
clean in warm water with mild detergent or soap. Use a nylon scouring pad or stiff nylon brush.
DO NOT USE STEEL WOOL.


