


6
5
Note: When in use, do not leave blender unattended. When using hard foods,
such as ice, cheese, nuts and coffee beans, keep one hand on lid to keep blender
in place.
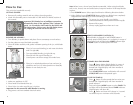
5. Press POWER button. Select speed and function following directions below.
6. When finished, press START/STOP button. Make sure blades have completely
stopped before attempting to remove blending jar from base.
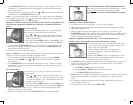
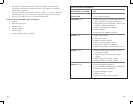
7. To remove jar, grasp handle, turn slightly
counterclockwise to unlock position and lift up (F).
8. Remove lid to pour.
9. Always unplug appliance when not in use
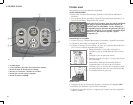
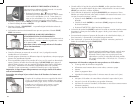
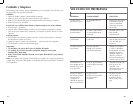
HOWTOUSEMODEFUNCTION(G)
When blender is plugged in and POWER button is
pressed, speed will be shown at 1 on display in center of
control panel and red light below SPEED indicator light
in MODE section of control panel will flash.
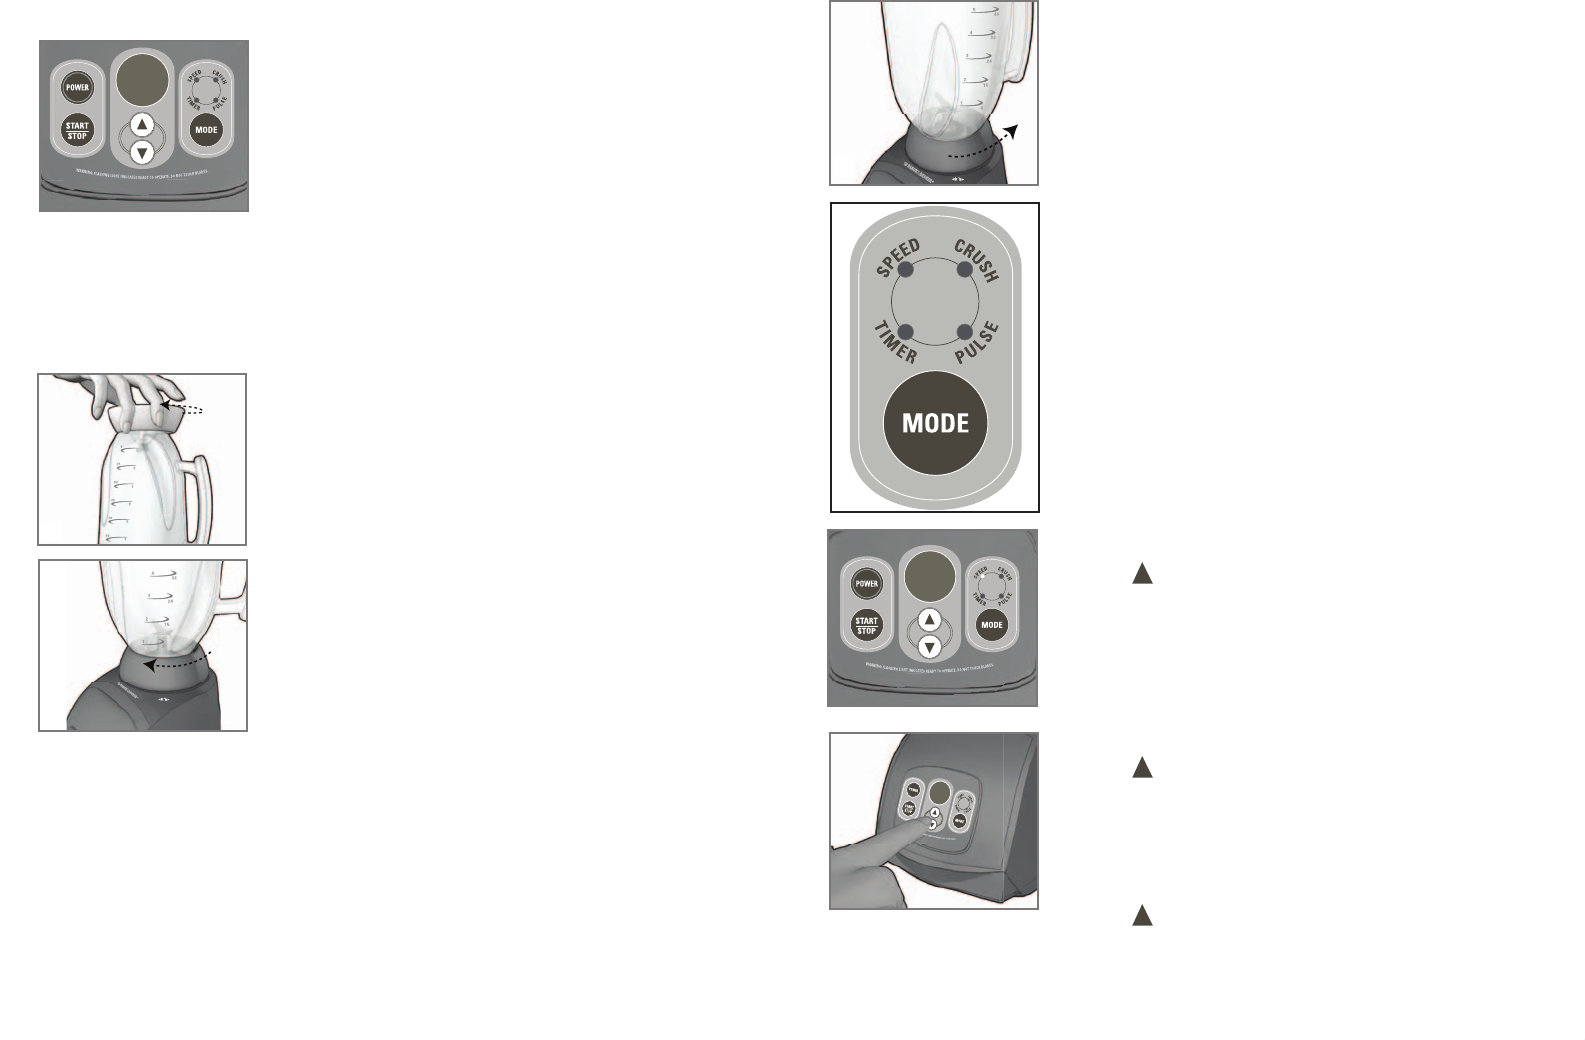
TOSIMPLYRUNTHEBLENDER
1. Press button below digital display in center of
control panel to select speed that best suits your
desired task. Digital display will show number of
speed selected (H).
2. Press START/STOP button and blender will run until
STOP/START button is depressed again.
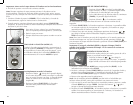
TOUSETHETIMER(J)
1. Press button to select speed that best suits your
desired task. Digital display will show number of
speed selected.
2. Press and release MODE button to select TIMER. The
red light will be illuminated above TIMER indicator.
Digital display will show 00.
3. Press button and timer will change in 5 second
increments up to a maximum of 60 seconds.
CUPS
OZS
F
HowtoUse
This unit is for household use only.
GETTINGSTARTED
• Remove all packing material and any stickers from the product.
• Wash all removable parts as instructed in CARE AND CLEANING section of
this manual.
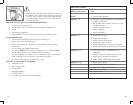
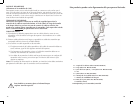
Important:Thisblenderhasanintelligentsystemthat
automaticallyshutsofftheapplianceafter2minutesfor
speeds1to18andafter20secondsforthePULSEand
CRUSHfunctions.Ifthisoccurs,theLEDdisplayshows
"EE";unplugtheunitandwait30seconds(C).
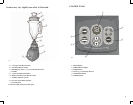
BLENDERJARASSEMBLY
1. Turn blender jar upside-down and place flat on countertop or work surface.
2. Put the gasket on top of the blade assembly.
3. Place the blade assembly with gasket in bottom opening of the jar, with blades
down.
4. Place jar base onto blending jar and rotate clockwise
until it is tight (D).
5. Turn assembled blending jar right side up.
6. Place lid with lid cap on blending jar.
7. Uncoil power cord from storage area under base.
8. Place jar in unlocked position on base and turn jar
clockwise until jar is in locked position on base (E).
9. Blender is now ready for use.
HOWTOUSE
1. Make sure appliance is OFF.
2. Place foods to be blended into jar.
3. Place lid on jar; make sure lid cap is in place.
Important:Donotremovelidwhileblenderisrunning.
4. Plug power cord into standard electrical outlet.
EE
C
G
E
CUPS
OZS
D
1
H
30
J