Getting to Know Your Microwave Oven
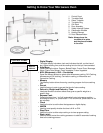
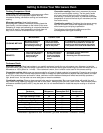
1. Control Panel
2. Turntable Shaft
3. Glass Turntable
4. Turntable Ring
5. Grill Rack
6. Door Assembly
7. Safety Interlock System
8. Observation Window
9. Heating Element
10. Door Release Button
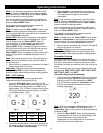
Note: Always leave the
turntable drive plate
and the glas
s turntable
in the oven.
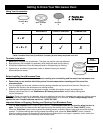
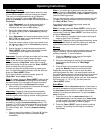
• Digital Display
The digital display includes a clock and indicators that tell you the time of
day, the set cooking time, and the cooking function that you have selected.
• Auto Menu
Preset cooking functions: Popcorn, Baked Potato, Frozen Pizza, Beverage,
Warm, Pasta, Auto Reheat, Fresh Vegetable, Frozen Vegetable.
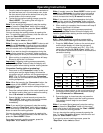
• M.W. (Microwave) + Grill + Convection
Press the different buttons to select either Microwave cooking, Grill Cooking,
Microwave and Grill cooking, Convection cooking, or Microwave and
Convection Cooking.
• Memory
The Memory button allows for saving a cooking program for future cooking
use.
• Pre-set
Use this feature in order to pre-set the time for future cooking.
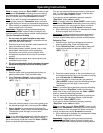
• Defrost by Weight and Defrost by Time
Use these functions to either defrost food given a specific weight or a
specific time.
• Express Cook
Pressing buttons from 1 to 6 will automatically start microwave cooking
according to button (i.e.: press button “1” for one minute, press button “2” for
two minutes).
• Clock
Use this function to set the time that appears on digital display.
• AM/PM
Use this to set specify whether the time is A.M. or P.M.
• Stop/Clear
Use this function to either stop cooking or to clear program setting.
• Start/+30SEC
Use this button to start the cooking process or to add 30 seconds of cooking
time to the cooking process.
3
CONTROL PANEL
DIGITAL
DISPLAY


