


15
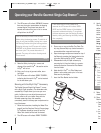
The My K-Cup
®
accessory is designed for
ground coffee only. Do not:
a) Use a K-Cup
®
or coffee pod in the My
K-Cup™ Filter Basket.
b) Use the My K-Cup
®
Filter Basket with the
K-Cup® Holder
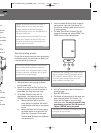
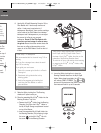
After brewing with the My K-Cup
®
accessory,
the K-Cup
®
Holder must be inserted into the
Brewing Chamber in order to brew a K-Cup
®
.
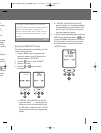
To replace the K-Cup
®
Holder, raise the Safety
Locking Arm, and remove the My K-Cup
®
Holder.
Insert K-Cup
®
Holder into the Brewing Chamber,
aligning the arrow on the K-Cup
®
Holder
with the arrow in the Brewing Chamber.
Use caution when doing this as there is a sharp
needle on the underside of the Brewing Chamber
Head that punctures the K-Cup
®
.
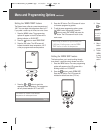
Note
Stopping the brew process
To stop brewing after the process has started, press
and release the Power Switch on the right side of the
Brewer to the
‘
OFF’ status. The flow of coffee, tea or
hot cocoa will stop, the heating element will shut off
and the LED’s illuminating the Water Tank will no
longer be lit. The LCD screen will indicate the time,
‘ON-OFF TIME’ and ‘AUTO OFF’. None of the control
panel buttons will be active until the Brewer is turned
back on.
You may get less coffee, tea or hot cocoa during
your next brew. After a terminated brew, we
recommend that you follow the instructions for
Brewing hot water (page 15). Your next brew will
then dispense the correct volume according to
the brew size you have selected.
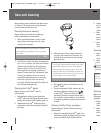
Note
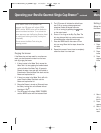
Brewing hot water
The Brewer is able to dispense a cup of hot water
for making hot chocolate in a packet, for use in
cooking, for making soups, etc. Follow the
instructions Brewing a K-Cup
®
(page 10), without
inserting a K-Cup
®
.
After brewing a hot cocoa K-Cup
®
, or stopping
the brew process mid-cycle, we recommend
running a hot water brew cycle.
Note
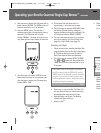
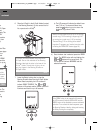
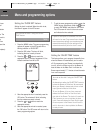
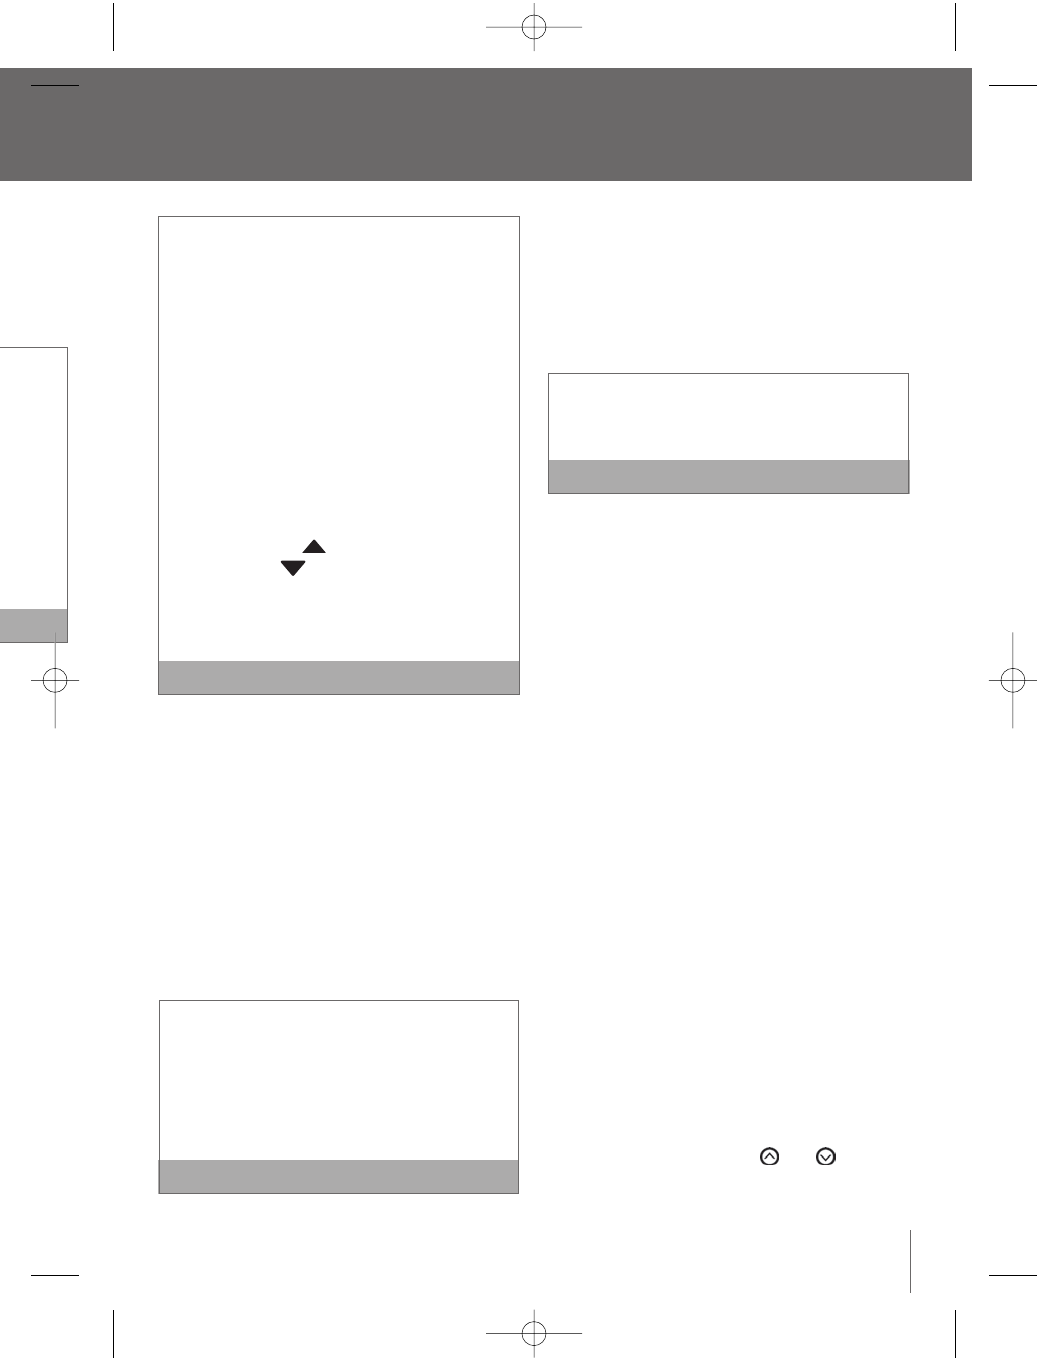
Refilling the water tank
The LCD screen will indicate ‘REFILL TANK’ when the
water level in the Water Tank is low or if the Water
Tank has been removed.
1. Fill the Water Tank with water until it is
approximately 1 inch below the top edge.
The Water Tank can be filled in two ways:
a) Remove the Water Tank Lid and pour water
directly into the Water Tank while it is still
attached to the Brewer, then replace the Lid.
b) Remove the Water Tank Lid, then gripping the
handle located on the left side of the Water
Tank, lift upwards. Fill with water. Place the
Water Tank back onto the Brewer and replace
the Lid.
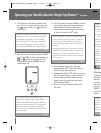
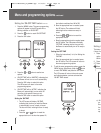
2. The LCD screen will indicate either:
a) ‘OPEN HEAD’. Raise and lower the Safety
Locking Arm completely.
b) ‘HEATING’ as the Brewer heats the water for
the next brew cycle. This process lasts about
15 seconds. The pump will make a vibrating
sound. This is normal.
3. Once the Safety Locking Arm is opened and
lowered, or the water is heated, the LCD screen
will indicate ‘READY TO BREW’, indicating the
brew cycle can begin. The and buttons
will illuminate and the ‘BREW’ button will
illuminate and flash for up to 60 seconds.
continued
’, however
brewing
t 60
remove
Cup
®
oid risk
Arm or
ewing
ndicate
for the
15
sound.
Note
he
tion as
removing
ckwise
m the
ut the
tea or
BR9013 BKC600XL_IB_AMEND.qxp 11/10/07 21:43 Page 15