12
13
NOTE:
The blender features a Breville
Assist Lid™. This allows the lid
to fit tightly onto the blender jug,
avoiding displacement during
operation. The ring pull design
allows easy removal of the lid with a
simple leverage action.
Ensure the blender is in the ‘OFF’ 5.
position.
Plug the power cord into a 110/120V
6.
power outlet.
NOTE:
Do not fill the blender jug above
the ‘MAX’ line. When the blender
jug is filled at or near the ‘MAX’ line
place one hand on the blender lid to
avoid displacement of the lid during
operation.
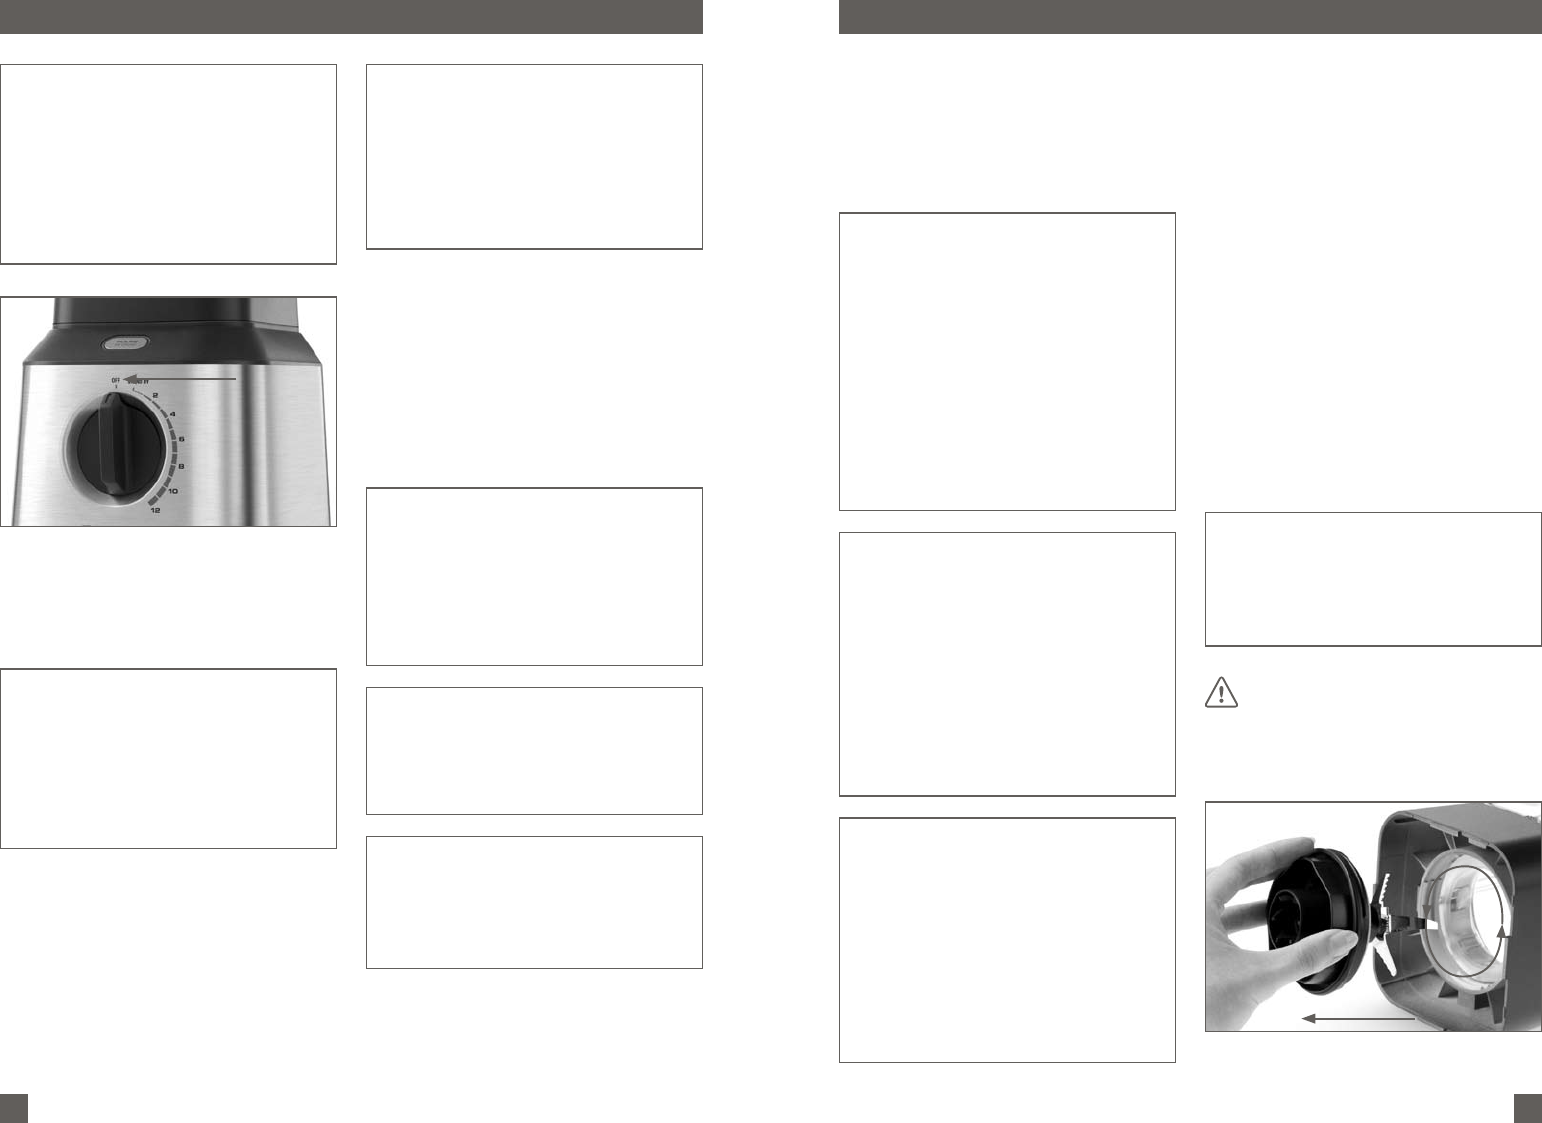
Select the required speed (2 to 12) by
turning the Speed Selector Dial to the
corresponding speed.
Operate the blender only for the
appropriate amount of time required – do
not over-blend.
NOTE:
To stop blending at any time, return
the dial to the ‘OFF’ position.
The speed can be changed at any
time during the blending process
by rotating the dial to the desired
speed.
‘PULSE/ICE CRUSH’ - For ingredients 7.
that require short bursts of power, like
crushing ice, press the ‘PULSE/ICE
CRUSH’ button. The Pulse feature can
be used while the Speed Selector Dial
is in the ‘STAND BY’ position. When
pressed, the ‘PULSE/ICE CRUSH’
button will illuminate and will continue
to operate until it is released.
NOTE:
If the ‘PULSE/ICE CRUSH’ button is
pressed while the Speed Selector
Dial is set to any of the blending
speeds (2-12), the blender motor
will accelerate up to the max speed
(12) until it the button is released.
NOTE:
The maximum amount of ice cubes
the blender can blend at any one
time is 1 cup (8oz/235ml) or ¾ of
a standard ice tray.
NOTE:
Use the ‘PULSE/ICE CRUSH’
button when the food that is being
processed is too thick or coarse to
circulate within the blender jug.
At the end of use, always ensure the 8.
blender is turned to the ‘OFF’ position,
then unplug the power cord from the
outlet. Ensure the motor and blades
have completely stopped before
attempting to move the appliance,
or when the blender is not in use
and before disassembling, cleaning
and storing.
NOTE:
During the blending process,
ingredients may stick to the side
of the blender jug. To push the
food back onto the blades, turn the
blender to the ‘OFF’ position, then
unplug the power cord from the
power outlet.
Remove the lid and use a plastic
spatula to scrape down the sides
of the jug. Replace the lid before
recommencing blending.
NOTE:
If any moisture or liquid appears
on top of the motor base during
blending, turn the blender to the
‘OFF’ position, then unplug the
power cord from the power outlet.
Remove the blender jug. Wipe the
motor base immediately with a
dry cloth or paper towel to absorb
the liquid. Make sure the blade
assembly is correctly assembled.
NOTE:
The Breville Variable Speed
Blender features a motor overload
protection feature. If the motor is
being overloaded, the motor will
stop and the ‘PULSE/ICE-CRUSH’
button will illuminate and flash. To
restart it again, unplug from the
power outlet and let it cool down for
30 minutes or longer.
DISASSEMBLING YOUR BLENDER
FOR CLEANING, CARE AND
STORAGE
Always ensure the Blender is off by 1.
turning the dial to the ‘OFF’ position,
then unplug the power cord from the
power outlet.
Remove the blender jug from the motor
2.
base by grasping the handle and lifting
the jug in an upward direction.
Remove the blade assembly by turning
3.
the blender jug upside down and
twisting the Blade Assembly counter
clockwise to unlock, then lift upwards
and away from the base of the blender
jug. The plastic surround attached
to the base of the blender jug is not
removable.
NOTE:
The Integrated Measuring Cup
also doubles as a Blade Assembly
removal tool and can be used to
assist in this process.
NEVER PLACE ANYTHING
OTHER THAN FOOD AND
LIQUIDS IN THE BLENDER
WHILST THE MOTOR IS
RUNNING.
OPERATING YOUR BREVILLE VARIABLE SPEED BLENDER OPERATING YOUR BREVILLE VARIABLE SPEED BLENDER


