77
4
4
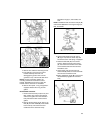
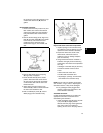
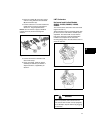
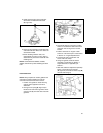
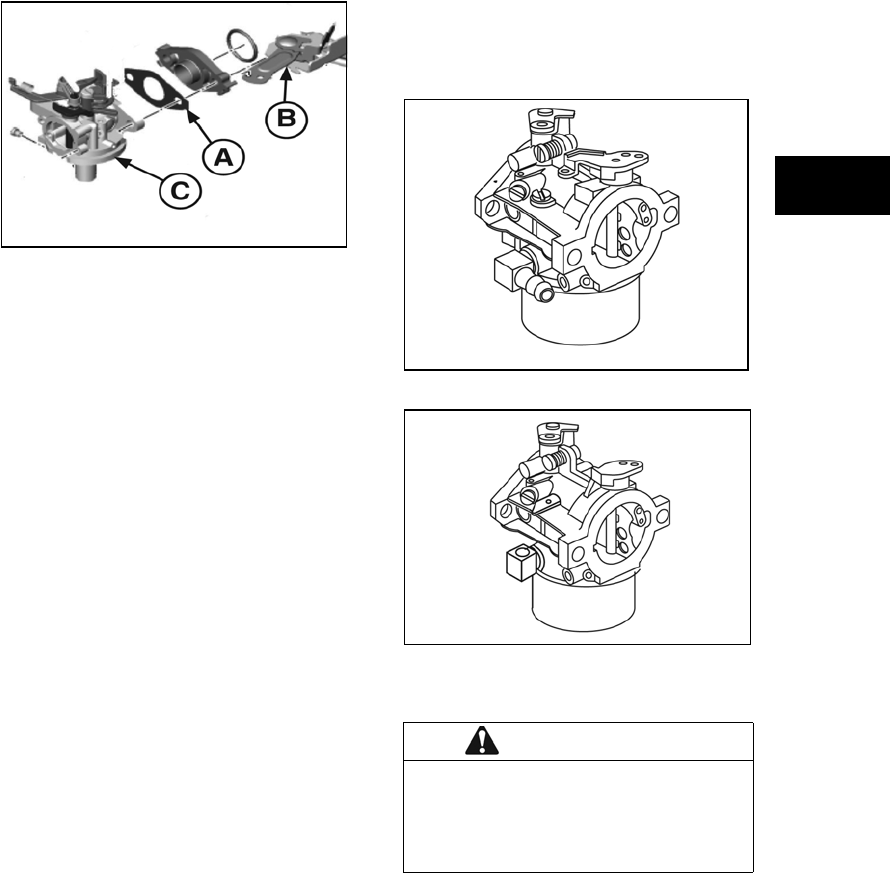
3. Place new gasket (A, Figure 39), spacer,
and new o-ring between control bracket
(B) and carburetor (C).
4. Position carburetor on control bracket and
install screws. Torque to value listed in
Section 12 - Engine Specifications.
NOTE: Use new screws or apply Loctite® to
original screws to prevent loosening from
vibration.
Figure 39
5. Connect fuel hose to carburetor and
secure with clamp.
6. Using new gasket, install air cleaner
assembly to carburetor per Section 1.
Adjust carburetor, if applicable, per
Section 1.
LMT Carburetor
Horizontal and Vertical Models
200000, 210000, 280000, 310000,
330000
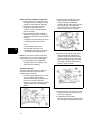
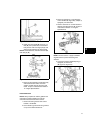
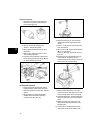
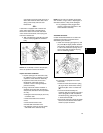
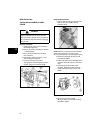
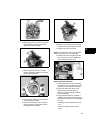
Two versions of this carburetor have been used
(Figures 40 and 41).
These carburetors have a fixed high speed main
jet with a screw for idle mixture and idle speed
adjustment. The letters LMT are cast into the
body of the carburetor while the identification
numbers are stamped into the carburetor
mounting flange next to the idle mixture screw or
above the fuel inlet.
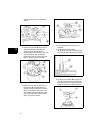
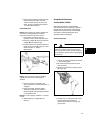
Figure 40
Figure 41
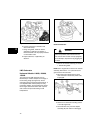
WARNING
Before servicing the carburetor or other fuel
system components, drain all fuel from the
tank and turn OFF the fuel valve (if equipped).
Do not attempt to stop the fuel flow by plugging
the fuel hose.


