32
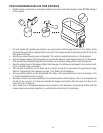
6. Pull the auger shaft assembly straight out of cooling drum.
Inspect the shaft for abnormal wear.
7. From the front of dispenser, remove the seal and blue bushing
from cooling drum and discard them.
8. Clean seal and bushing surfaces of the cooling drum very
thoroughly.
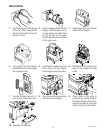
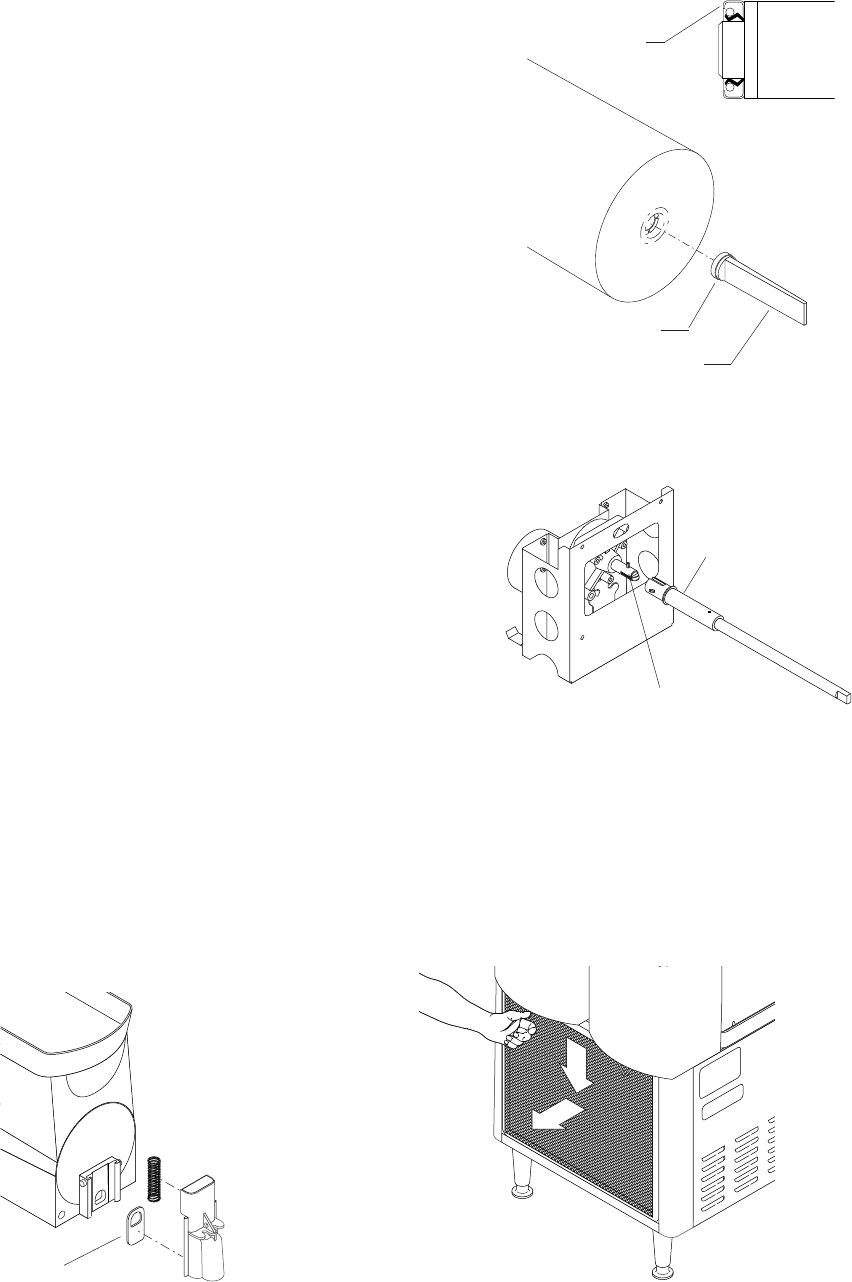
9. Refer to FIG 1, and slip new blue bushing into cooling
drum.
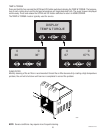
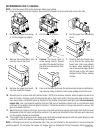
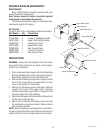
10. Place seal on insertion tool #28395.0000 as shown in FIG 2.
Make sure open face of seal is toward cooling drum.
11. Apply a small amount of food grade lubricant (Bunn
#M2568.1000) to inside diameter of seal. Push seal into bore
until it is firmly seated; remove tool.
12. Place a small amount of #29563.0000 “Krytox” lubricant
(provided in kit in a plastic cap) on the end of the motor shaft
(about 1
1
/
2
”) and a thin film in the groove. Install auger shaft
assembly onto the motor shaft. See FIG 3. Do not use too
much “Krytox” lubricant.
NOTE: This is the only place “Krytox” lubricant is used.
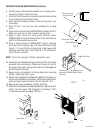
13. Assemble motor/shaft assembly as shown in FIG 3, then install
assembly into cooling drum. Make sure the pins do not hit
the sensor board and cooling drum seal is not dislodged as
the shaft passes through.
14. Secure motor and capacitor to the cooling drum mounting
bracket. Install rear motor cover.
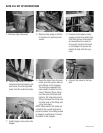
15. Refer to the Installation and Operating Manual for hopper as-
sembly and installation procedures. Install new hopper/drum
seals and faucet seals included in the kit. See FIG 1 & 4.
16. Remove and clean condenser air filter. See FIG 5.
17. Refer to the Installation and Operating Manual, “Menu Function
Index”. Scroll to menu “PM Complete?” and answer “YES”
to reset the reminder message “PM Due”.
FIG 2
FIG 3
Lube about 1
1
/
2
” of shaft and in the
groove with #29563.0000 “Krytox”
Lubricant
Seal Insertion Tool
Open face of seal
away from tool
Cooling Drum Seal
Auger Shaft Assy
FIG 4
FIG 5
Faucet Seal
P1760
P2529
P2531
P2532
REQUIRED REGULAR MAINTENANCE (Continued)
32080.0001 022707


