6
O
F
F
O
N
PREPARING THE BREWER FOR USE
NOTE -
THE BREWER IS NOT READY TO PLUG IN.
Do
NOT
plug in until Step #3.
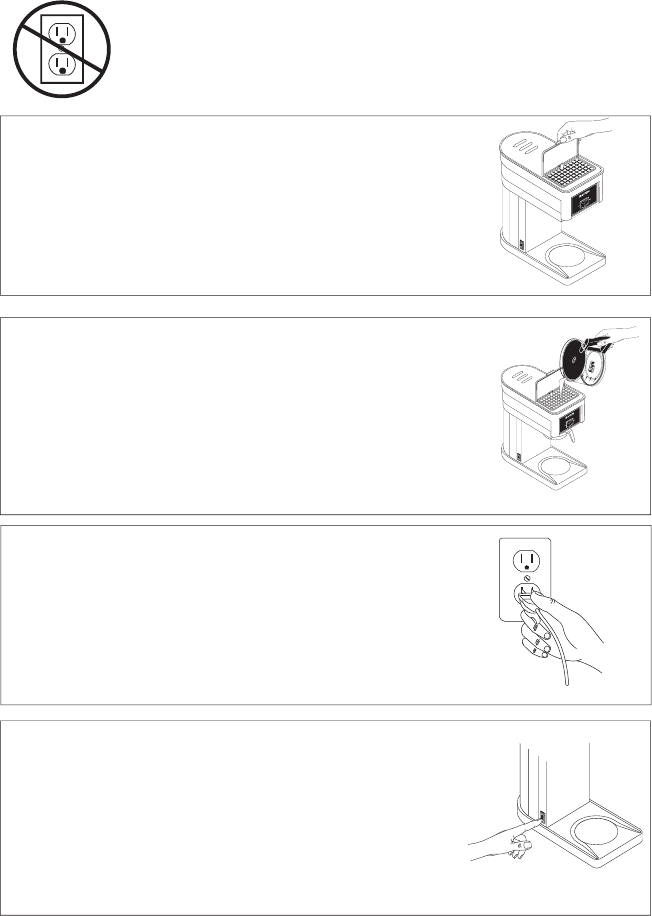
Raise the hinged fl ip-lid.
NOTE:
The post protruding from the screen is con-
nected to a stopper which controls the fl ow of water
into the tank. When lid is closed (post depressed), the
stopper is raised and water will fl ow into the tank.
Plug in the brewer.
Step 2
Slide an empty brew funnel into the brewer under
the warmer switch. Pour one decanter full of water into
the screened area on top of the brewer. Place decanter
on the warmer. Close lid. Wait three minutes to allow
the water to fl ow into the tank.
Repeat this process
.
When the tank is full, some water will fl ow through the
funnel and into the decanter.
P2240
P2247
P-214
P-219
Step 4
Step 4
Press the bottom of the vacation switch, located on the
Press the bottom of the vacation switch, located on the
lower left side of the brewer, to the “ON” (lower) position.
lower left side of the brewer, to the “ON” (lower) position.
The vacation switch controls power to the tank heater.
The vacation switch controls power to the tank heater.
Initially you will have to wait approximately fi fteen
minutes in order for the water to reach brew tem-
perature.
Empty any water that has collected in the decanter
.
The next page leads you through the fi ve easy steps to
‘BREWING DELICIOUS COFFEE’
Step 1
Step 3


