9
SERVICE (cont.)
Electronic Controls (cont.)
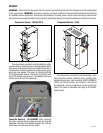
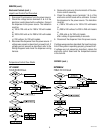
Liquid Level Control Test Procedure
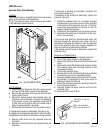
1. Disconnect the dispenser from the power source.
2. Check the voltage across terminals 3 & 4 of the
electronic control board with a voltmeter. Connect
the dispenser to the power source. The indication
must be:
a.) 100 to 120 volts ac for 100 to 120 volt models
or
b.) 200 to 240 volts ac for 200 to 240 volt models
or
c.) 230 volts ac for 230 volt models.
3. Disconnect the dispenser from the power source. If
voltage was present as described, proceed to #4. If
voltage was not present as described, refer to the
Wiring Diagrams and check the dispenser wiring
harness.
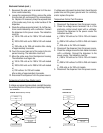
4. Remove the pink wire from terminal 5 of the elec-
tronic control assembly.
5. Check the voltage across terminals 1 & 4 of the
electronic control board with a voltmeter. Connect
the dispenser to the power source. The indication
must be:
a.) 100 to 120 volts ac for 100 to 120 voltmodels
or
b.) 200 to 240 volts ac for 200 to 240 volt models
or
c.) 230 volts ac for 230 volt models
after a delay of approximately 5 seconds.
6. Disconnect the dispenser from the power source.
If voltage was present as described, the liquid level con-
trol of the system is operating properly, proceed to #7.
If voltage was not present as described, replace the
electronic control board and the temperature sensor
in the tank lid.
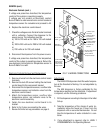
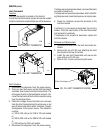
SERVICE (cont.)
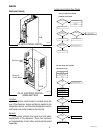
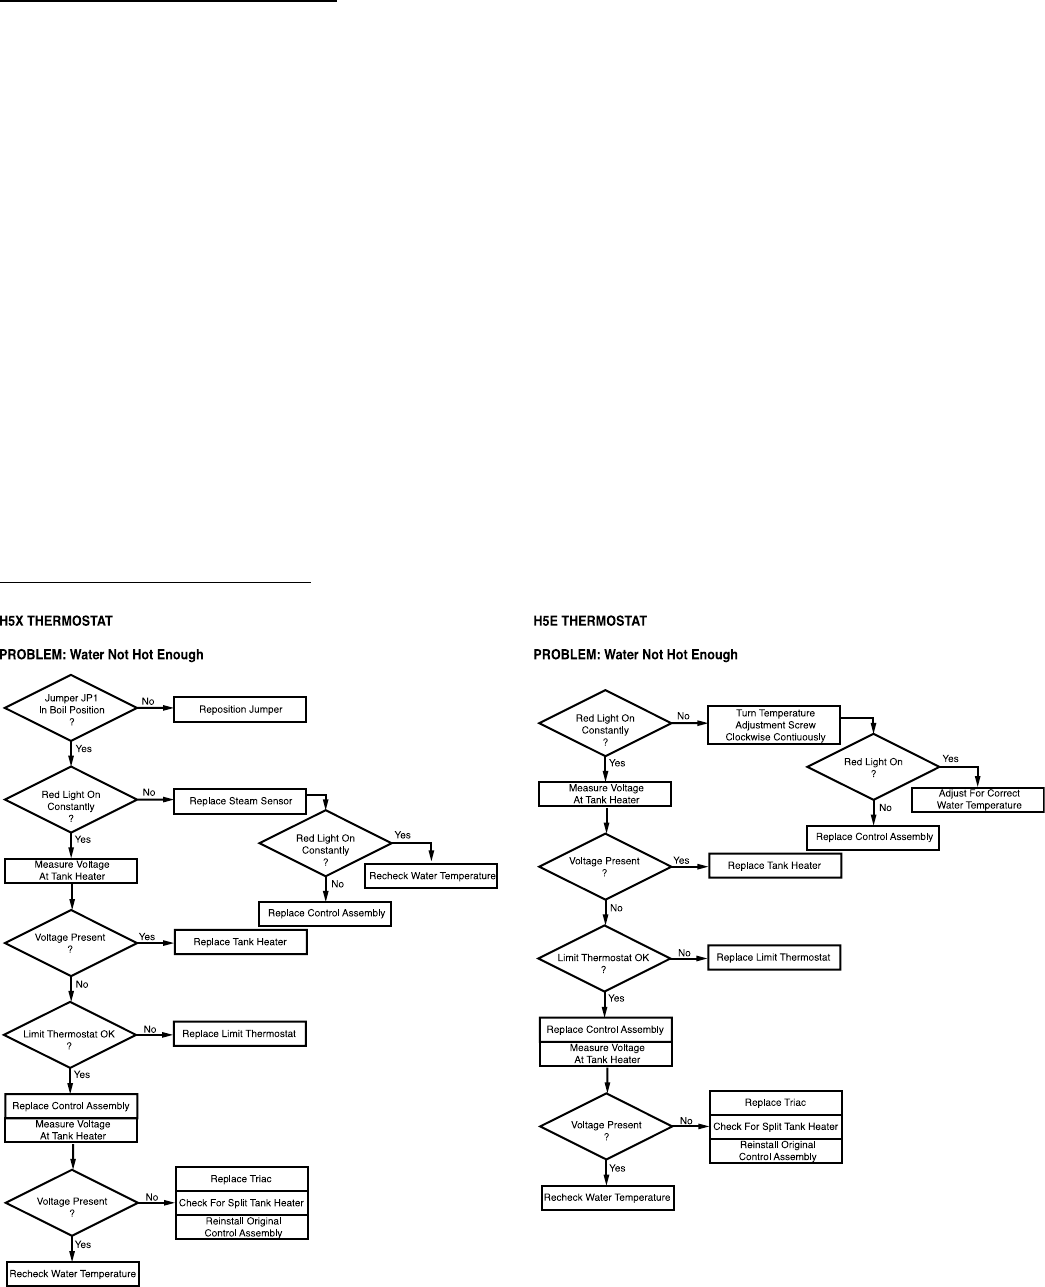
Temperature Control Flow Charts
42311 071310


