


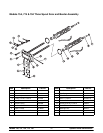

19
Models 750, 751, 754, 774, 794 Operating Procedures
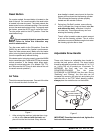
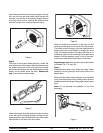
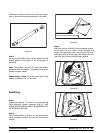
Step 7
Snap the design c ap(s) ov er the end of the door
spout(s).
Figure 16
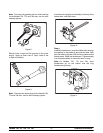
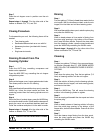
Step 8
Install the front drip tray and the splash shield under
the door s pout(s).
Figure 17
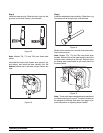
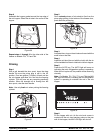
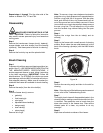
Step 9
Slide the rear drip pan(s) into the hole in the side panel.
Figure 18
Model 794: Slide the rear drip pan into the hole in the
front panel.
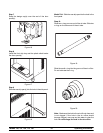
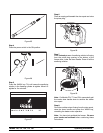
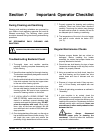
Step 10
Slide two o-rings on one end of the air tube. S lide two
o-rings on the other end of the air tube.
Figure 19
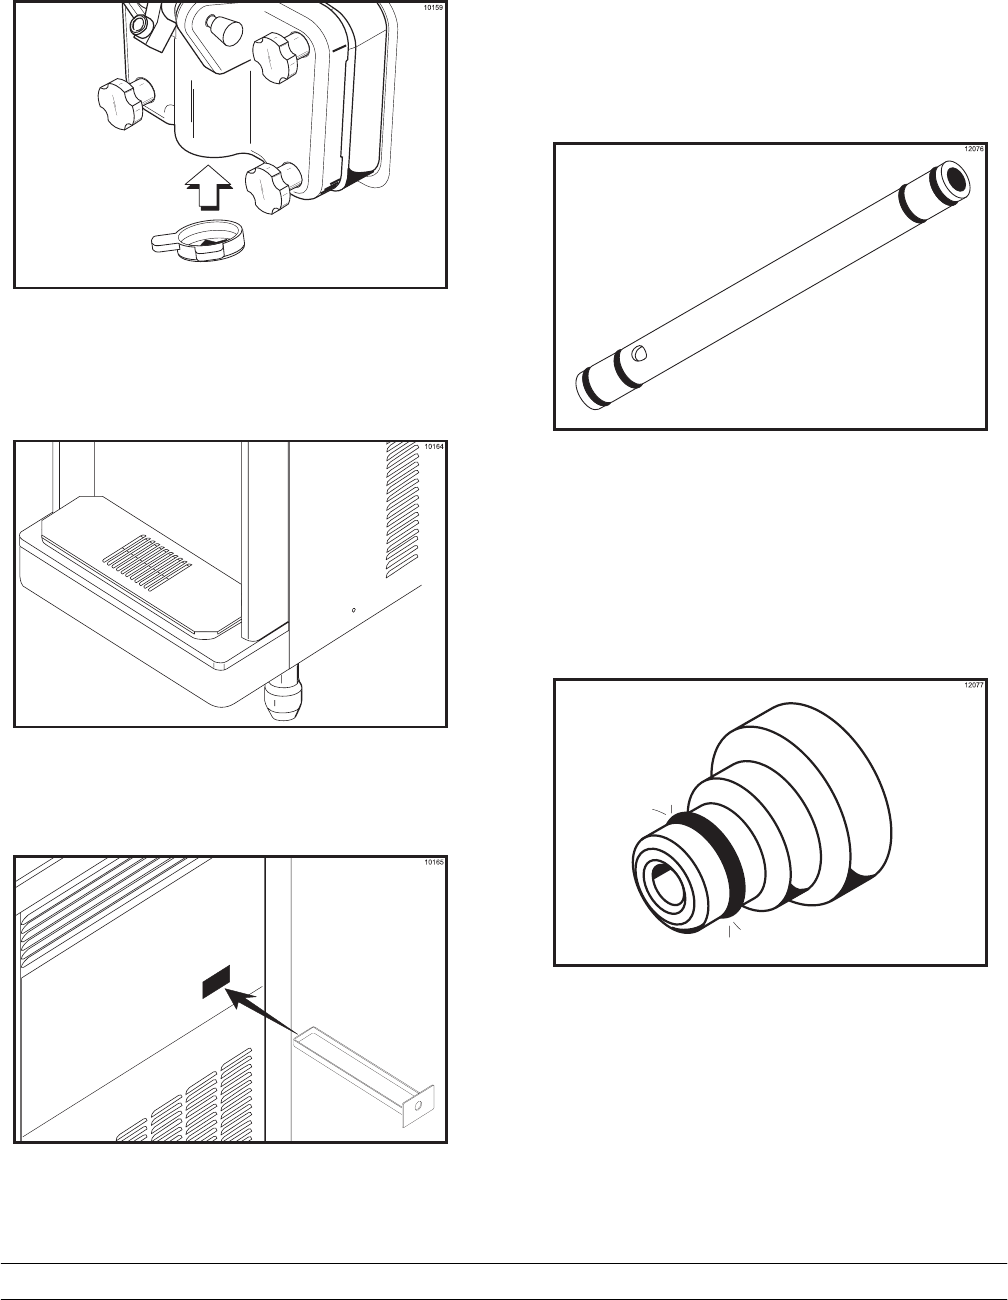
Slide the small o-ring into t he groove of the air orifice.
Do not lubricate the o-ring.
Figure 20
Note: Make sure the hole in the air o rifice is clean and
is not clogged. If the hole in the air orifice should
become c logged, use s oap and hot water to clear the
hole. Do not enlarge the hole in the air orifice.