


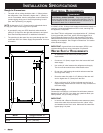


11
insTallaTion insTRuCTions
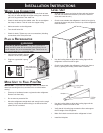
insTall CusTom Panels
Panel Installation
Before you begin installing panels, refer to the “Custom Panel
Specifications” for overlay models and verify that you are working
with the panel design called for in your installation. If you have
chosen the stainless steel design, your refrigerator has been
shipped complete with a finished stainless steel front. It will not be
necessary to install panels or handle hardware.
Be aware that panels used on refrigerators with the overlay
design have the potential for coming into contact with adjacent
cabinets and/or countertops when the refrigerator doors are
opened. You will want to be mindful of the surrounding cabinetry
and space limitations when planning for decorator panels. Refer
to the 90° door stop information on page 6.
IMPORTANT: The weight of each panel cannot exceed 50lbs
(23kg).The grille panel weight cannot exceed 10lbs (5kg).
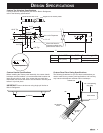
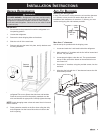
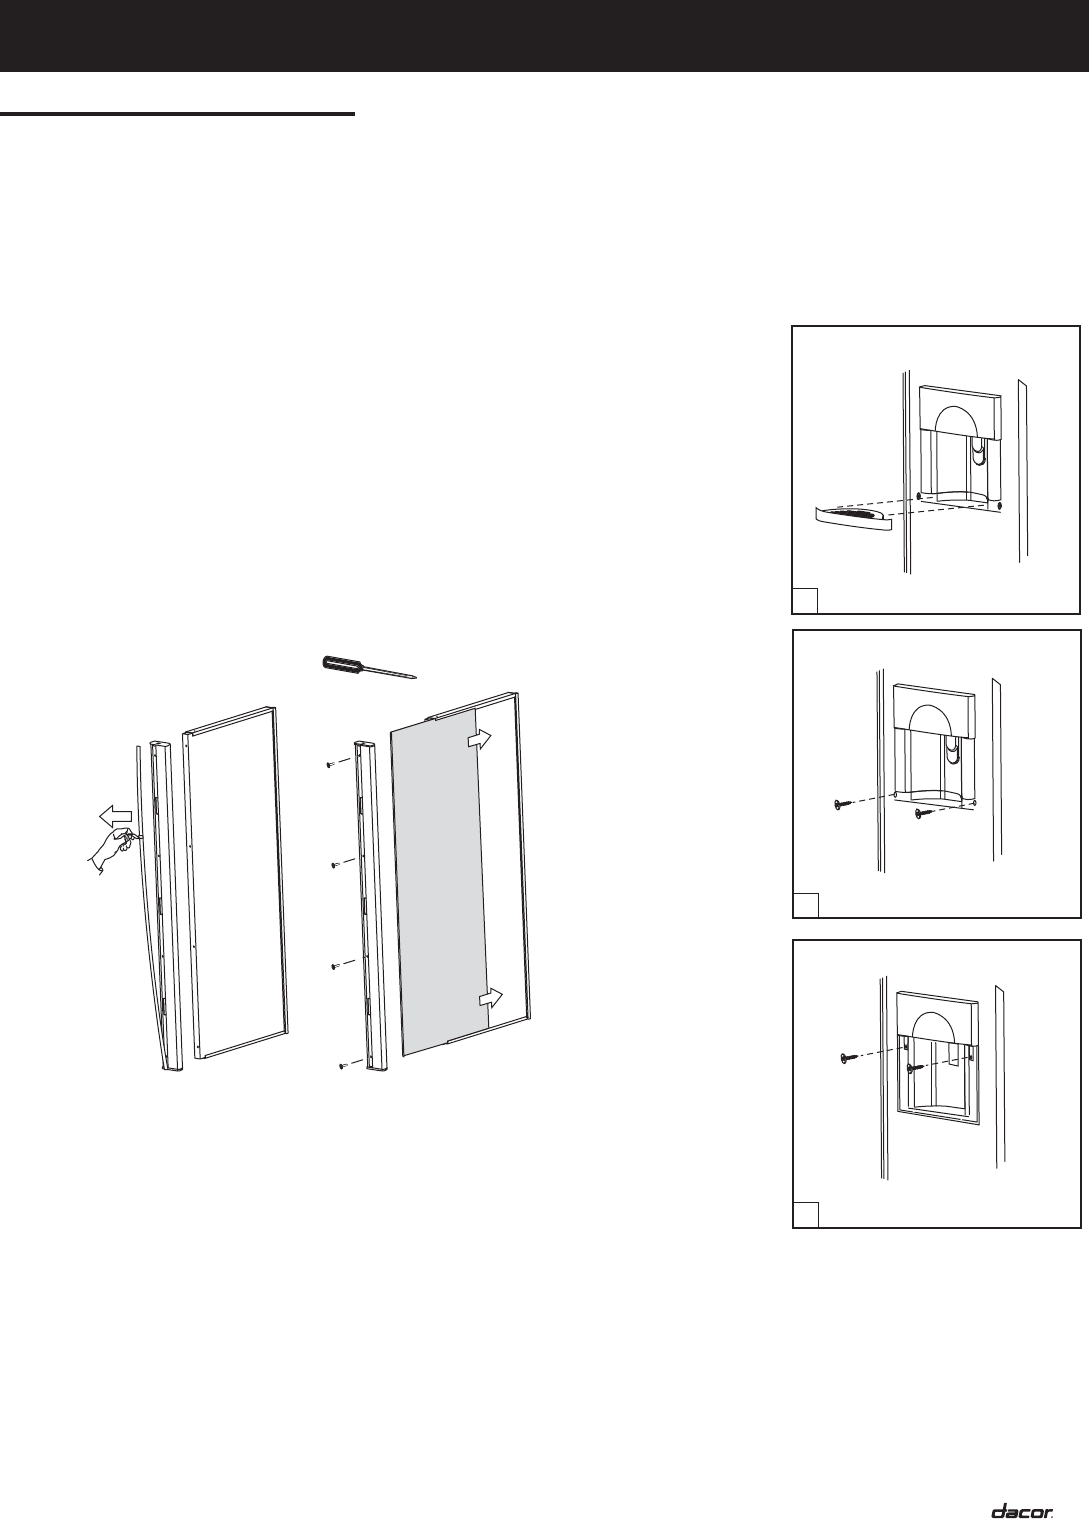
To install overlay panels, the door trim must be removed. The trim
screws are hidden by a magnet backed trim molding. Remove
the molding by using the adhesive side of packing tape on the
magnetic backed molding to pull it away from the trim and expose
the trim screws. The molding will bend at the center so that you
can remove it. See illustration below.
With a phillips screwdriver, remove the trim from the freezer and
refrigerator doors. Slide the panel into the frame on the door. With
the panel in position, replace the trim. Be sure that the panel is
inserted completely into the channel for proper fit and alignment.
Replace the trim molding by inserting the top, then the bottom into
the trim channel. Release the middle and set the magnets.
Phillips Screwdriver
Pull Tape
Away from Door
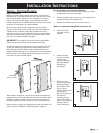
Panel Installation for Dispenser Models
1. Power switch needs to be off. Switch located in machine
compartment area (see User Guide).
2. Remove magnetic strip on door trim. Use of tape may be
required removing the magnetic strip.
3. Remove four Phillips screws to remove door trim.
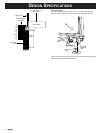
(Refer to numbered illustrations for steps 4-10)
4. Remove the spill
tray grille from the
fountain.
5. Remove the two
#15 Torx machine
screws, which
retain the stainless
steel splashguard.
Remove the
splashguard.
6. Remove the two
#15 Torx long plastic
screws that retain
the fountain control
panel. (Longer
screws). Slide control
panel down to
remove. Disconnect
the electrical
terminals going to
the fountain control
panel. Tuck dispenser
terminal inside to
avoid interference.
4
5
6