9
Cabinet Panel Installation
(Model ID30 Only)
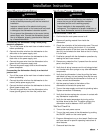
CAUTION
The provided mounting screws are designed for
panels with a thickness of 5/8” to 3/4”. Smaller panels
may require different mounting hardware to prevent
damage to the outside surface.
To prevent corrosion and the possibility of the panel
falling off, use only stainless steel screws where
instructed.
Failure to construct the custom panel and/or toe kick
as instructed on the installation template may result
an improper fit and may prevent the door from closing
properly.
•
•
•
See the included Custom Panel Installation
Template (Dacor PN 101394) for complete installation
instructions and dimensions of the custom panel and if
desired, a custom toe kick. If the custom cabinet panel
requires decorative door hardware, mount the hardware
on the panel before proceeding to the next step.
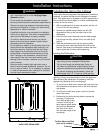
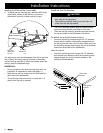
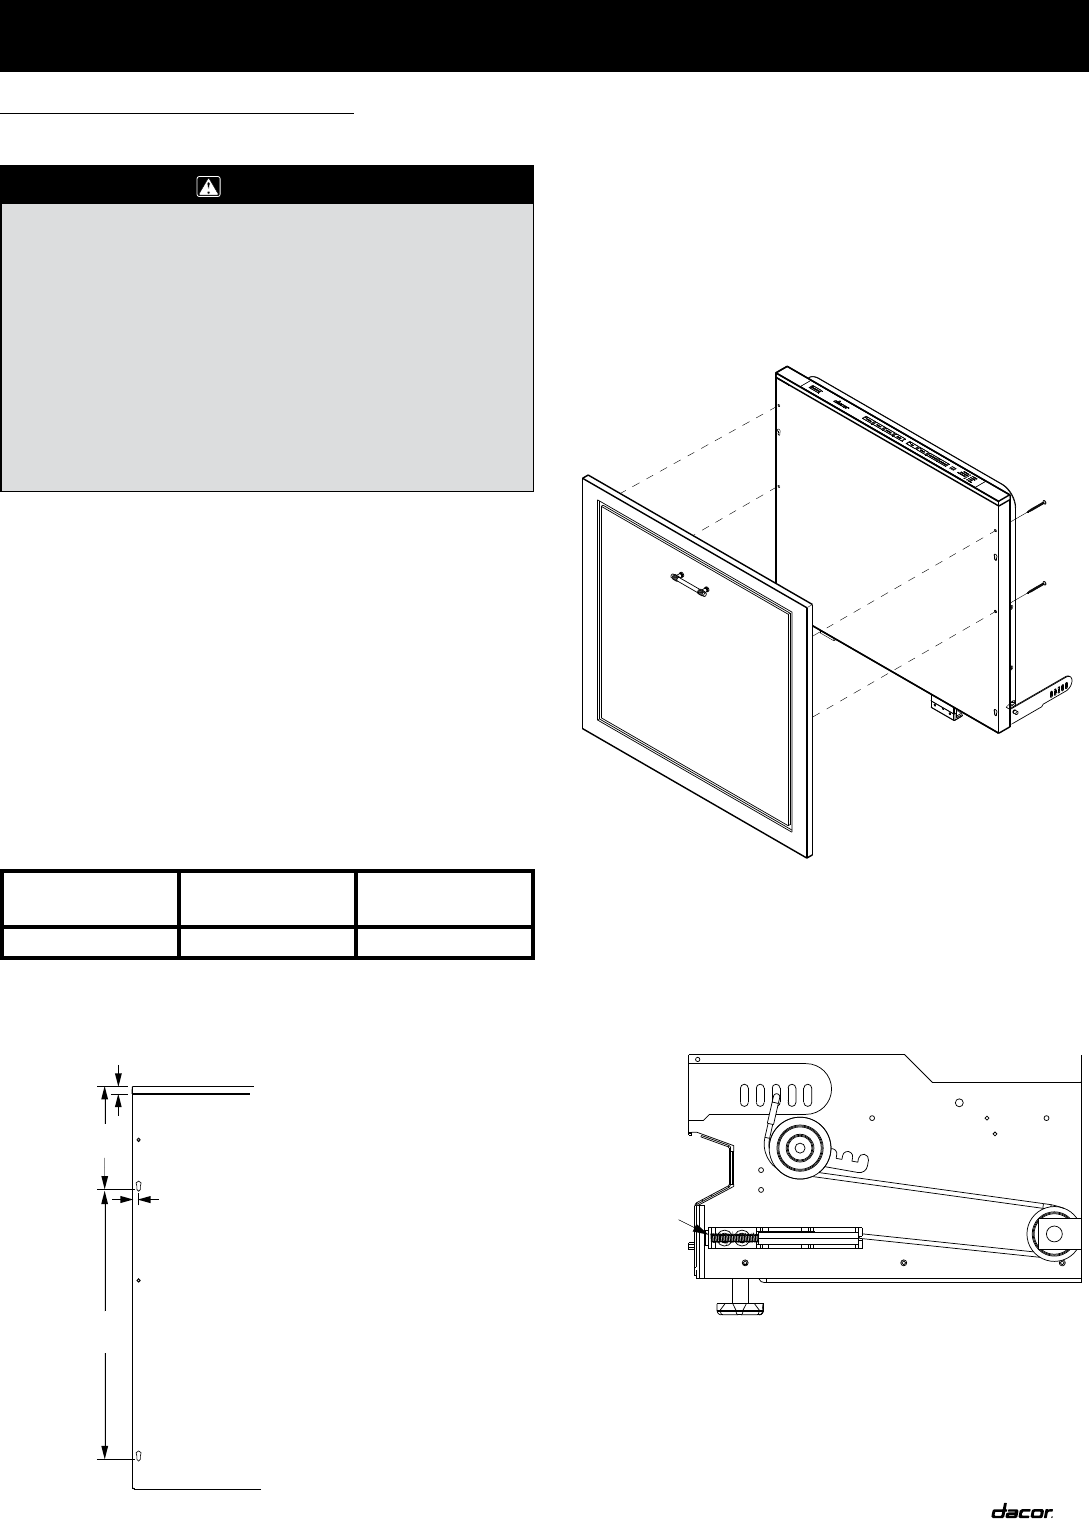
With the dishwasher door in the closed position, align
the custom panel flush with the control panel bezel and
center it on the door front frame. Utilize the keyholes to
hold the panel.
1.
2.
Align the cabinet panel and, using padded clamps,
clamp the cabinet panel to the dishwasher front. Slowly
lower the door and panel to it’s full open position.
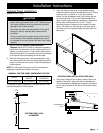
Attach it to the dishwasher door front utilizing the four
(4) mounting holes. Four (4) #10 stainless steel flat-
head screws are provided for installation of decorative
panels with a thickness of 5/8” to 3/4”. The four
mounting holes are located on the inside of the door
frame. Two holes are near the top of the door panel.
Two other holes are approximately half way down the
door panel.
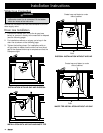
If the door springs to do not work properly due to the
weight of the panel, adjust the door counterbalance.
The counterbalance adjustment screws are located on
the far right side and far left side of the chassis below
the door.
3.
4.
Installation Instructions
6 7/8"
(175mm)
18"
(457mm)
1/2"
(13mm)
7/16" (11mm)
CUSTOM PANEL HOLE
ALIGNMENT
CUSTOM PANEL INSTALLATION (ID30 ONLY)
Conterbalance
screw
NOTE: Do not install the toe kick until the dishwasher is
completely installed and checked for leaks.
NOMINAL CUSTOM PANEL DIMENSIONS FOR ID30
WIDTH
MAXIMUM
HEIGHT*
MAXIMUM
THICKNESS
29 7/8” (606 mm) 30” (762 mm) 3/4” (19 mm)
* Dimension without installation of a custom toe kick. See
included template for further details


