


8
BEFORE INSTALLING HOOD
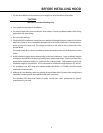
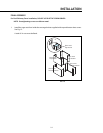
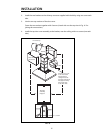
CEILING PREPARATION
Installing supports above ceiling drywall.
NOTE: Take into consideration the hood depth; some models are much deeper than the cook
top.
NOTE: The following steps pertain to hood installation using chimney structure/duct cover kit
model IVCK. Other installations may require custom framing, etc. Consult a qualified
installer.
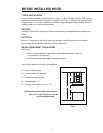
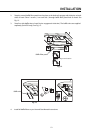
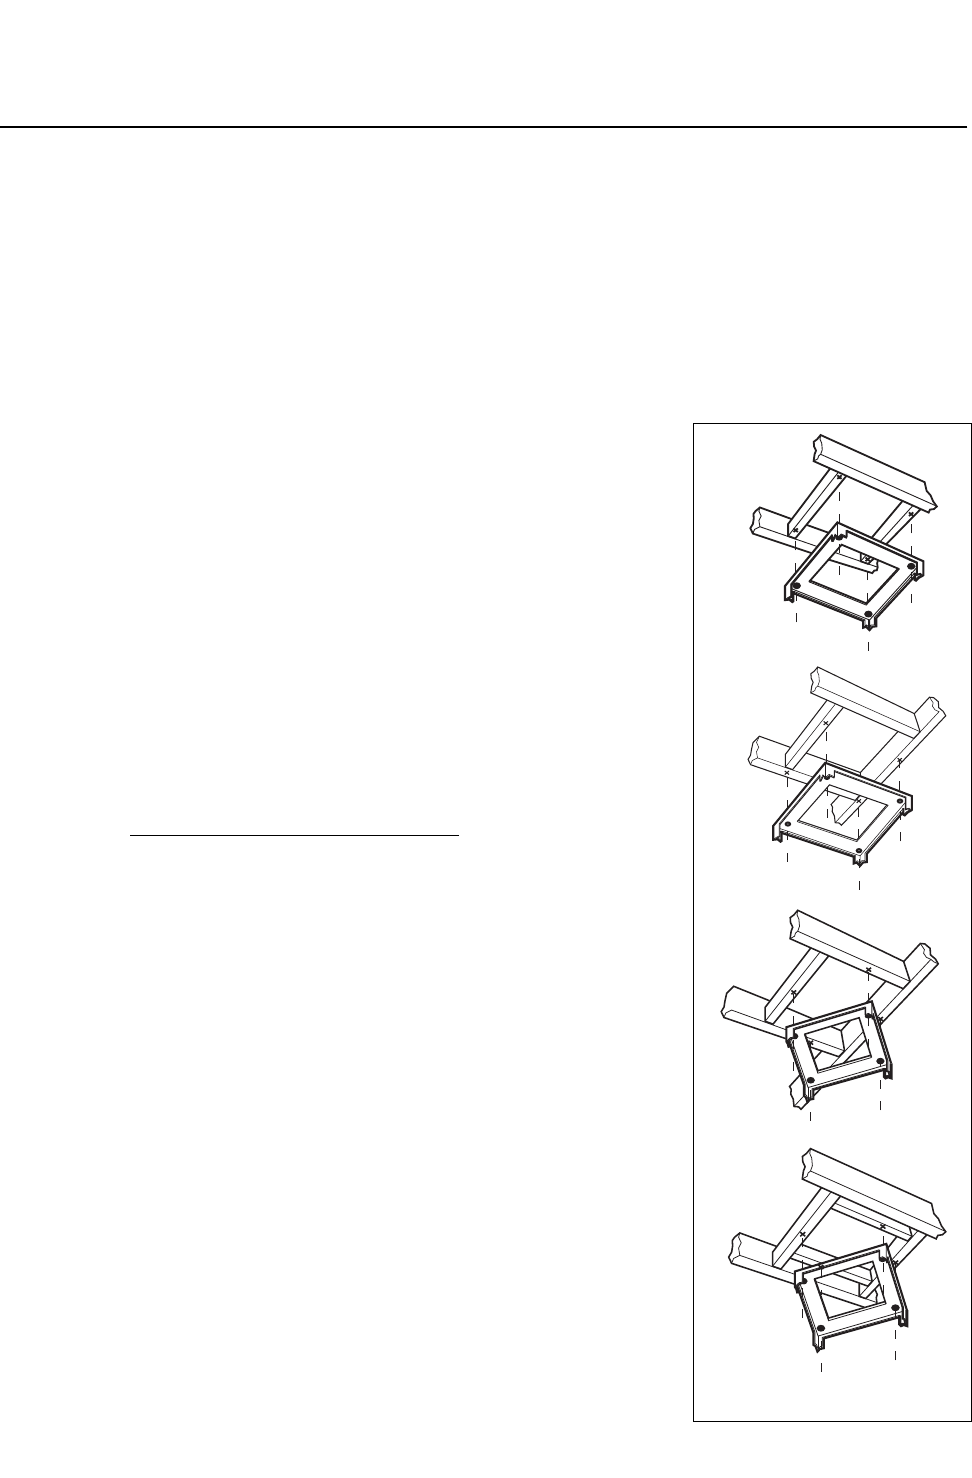
1. Mark center lines of cooktop or range on ceiling above. Use
centerlines marked on ceiling to position the mounting
template. Location of front arrow on the template must point
towards front of cooking surface. Mark mounting holes
indicated on the template.
2. Remove and save template. Cut and remove ceiling drywall.
Install suitable length 2" x 4" lumber between joists to provide
chimney mounting points as shown in Fig. 2. Use template for
dimensions and required clearance.
Make sure to affix the added lumber firmly and level. Consult a
professional if you have difficulties or your installation is
unique. Consult template and Fig. 2.
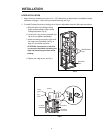
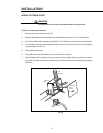
IMPORTANT:
The ceiling structure (joists and
lumbers) must be capable of supporting
the weight of the hood (approximately
110 lbs for 40” range hood and 143 lbs
for 52”range hood) and any inadvertent
user contact loads.
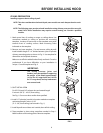
3. DUCT INSTALLATION
For IVS-52: Install 10” exhaust duct and extend length
E minus 4-5/8” (E – 4-5/8”) from ceiling.
See Fig. 1. Do not use duct smaller than specified.
4. Install 1/2" electrical conduit in location marked on template
and extend length E minus 3-1/8”
(E – 3-1/8”) from ceiling (use formula in Fig . 1).
5. Install drywall around duct and conduit; then refinish ceiling.
6.
Tape template in place using centerlines marked in Step 1.
Mark locations of mounting points. Remove template.
FIG.2