


INSTALLATION INSTRUCTIONS
4
US
GAS SUPPLY CONNECTION
This appliance can be used with either LP gas or Natural gas and
is factory set for use with Natural gas.
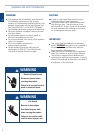
A manual shut-off valve must be installed in an accessible
location in the gas line external to the appliance for the purpose
of turning on or shutting off gas to the appliance. (In
Massachusetts such shutoff devices should be approved by the
Board of State Examiners of Plumbers & Gas Fitters).
Gas connection to the product must use the elbow supplied with
a
1
/
2
" NPT external thread.
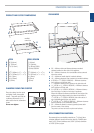
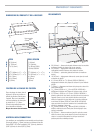
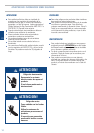
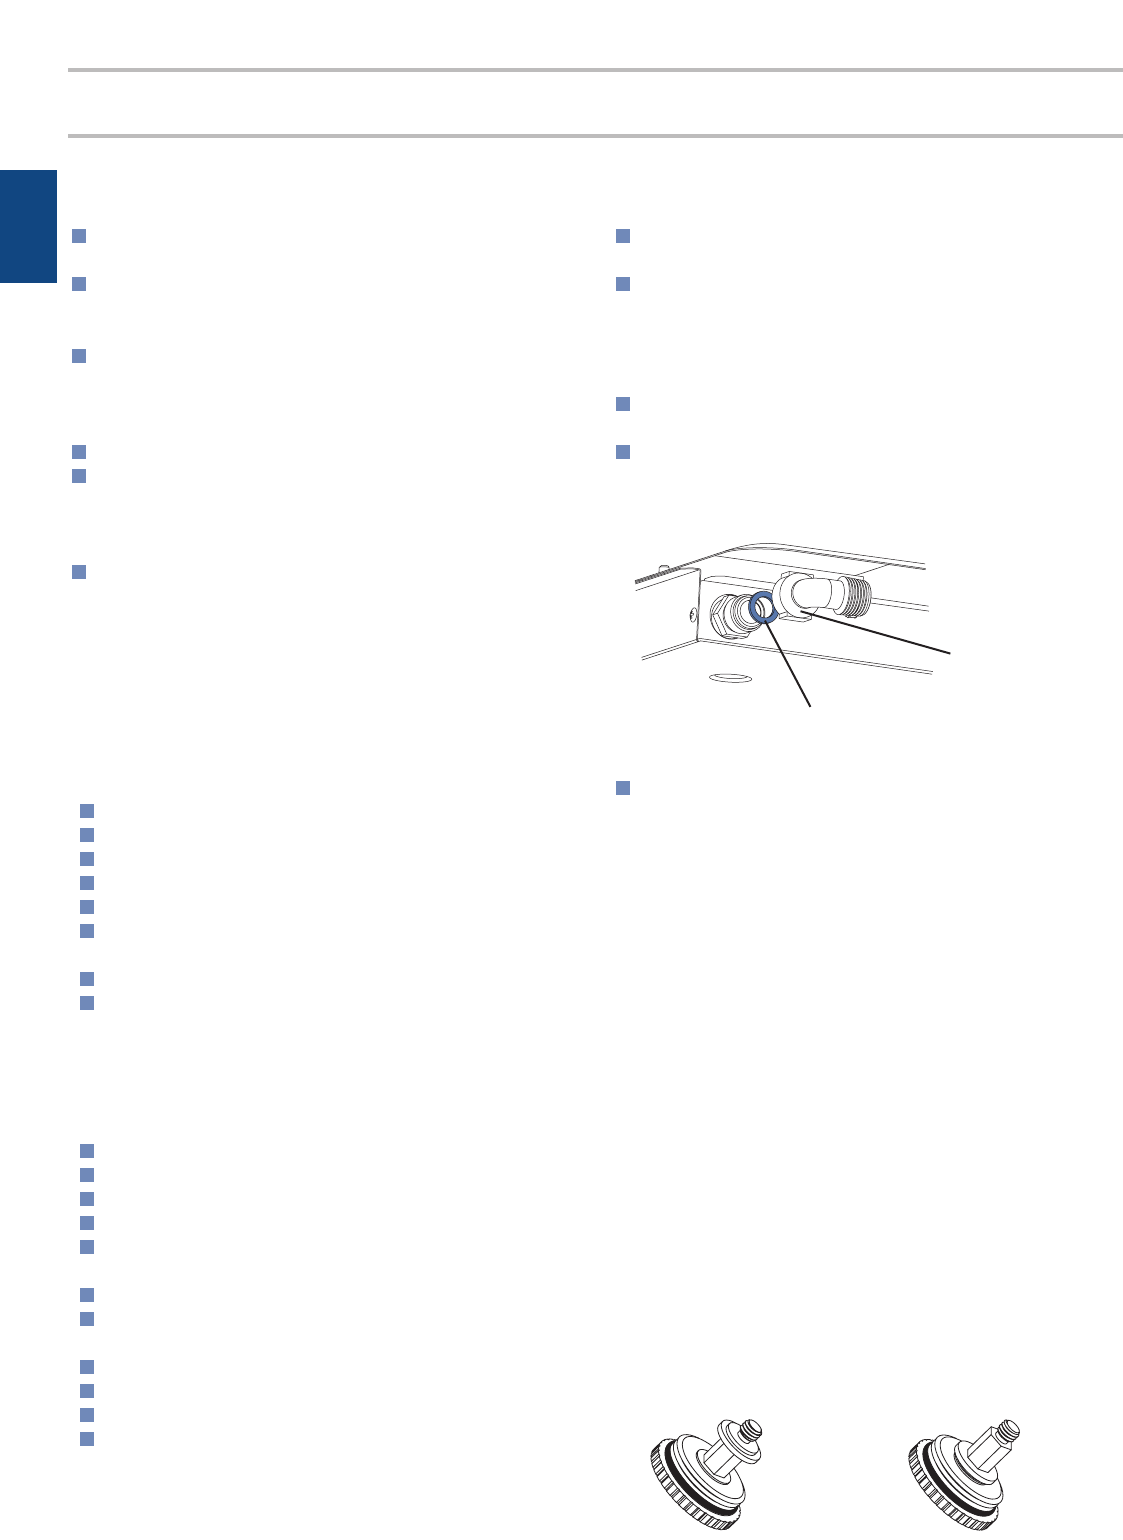
Ensure the blue washer (supplied) is located between the
elbow and the product inlet. Failure to use this will cause
a gas leak.
For use with a gas pressure regulator. The regulator supplied
can be set for either LP gas or Natural gas and must be
used with this appliance. It has a
1
/
2
" NPT thread.
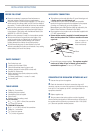
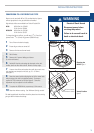
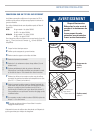
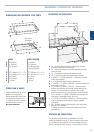
CONVERTING THE REGULATOR BETWEEN NG & LP
1 Unscrew the cap from the regulator.
2 Check the orientation of the plastic conversion plug, and if
necessary, unscrew, turn over and screw back in (wide section away
from cap for LP and against cap for NG - see diagram below for
appropriate orientation.
3 Replace regulator cap.
4 Test gas pressure (test point provision on side of regulator).
When converting the regulator for different settings, the function of
the regulator must be checked at a pressure at least 1" WC (0.036
p.s.i.) above the specified manifold pressure.
LP NG
(Note: this diagram is of
GC36 but is similar for
GC901 and GC901M).
Blue Washer
Elbow
TOOLS NEEDED
Phillips No. 2 screwdriver
Plumbing fittings as required
Woodworking tools as required
Shut-off valve
Oil based paint (for sealing cutout)
For LP Conversion
Ø
7
/
64
" x 1
3
/
4
" (Ø2.5 x 45mm) flat screwdriver
9
/
32
" (7mm) box spanner
For GC901M LP Conversion
Ø
7
/
64
" x 1
3
/
4
" (Ø2.5 x 45mm) flat screwdriver
Phillips No. 1 screwdriver
9
/
32
" (7mm) box spanner
13
/
32
" (10mm) ring spanner
PARTS CHECKLIST
Gas Cooktop base unit
Literature pack (includes LPG kit)
Elbow & blue washer (taped to power cord)
Clamping brackets & screws (GC36-on base unit)
Regulator (in Polystyrene)
Burner heads and caps (check polystyrene carefully
before discarding)
3 x Burner grates/trivets (1 x center, 2 x outer)
Accessories pack
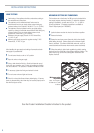
BEFORE YOU START
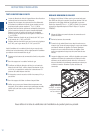
Ensure the countertop is square and level and ensure no
structural members interfere with space requirements.
Ensure that there is a power supply receptacle (110-120V 60Hz)
within reach of the cooktop power cord (30" from the middle of
the product). The main cable should not touch any hot metal parts.
Make sure the cooktop is connected to a power supply socket
that is electrically grounded in accordance with local codes or
in the absence of local codes, with the National Electric Code
ANSI/FPA 70 or CSA 22.2 (Canada).
Make sure the countertop is made of a heat resistant material.
We recommend that the exposed bare wood edges of the
cutout be sealed with an oil based paint or moisture proof
polyurethane to prevent possible damage from moisture
creeping between the cooktop trim and the benchtop.
We recommend using easy-to-clean finishes for the wall
surfaces surrounding the cooktop to aid removal of any cooking
stains resulting from use of the cooktop.