


1-5
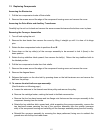
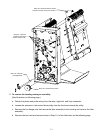
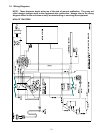
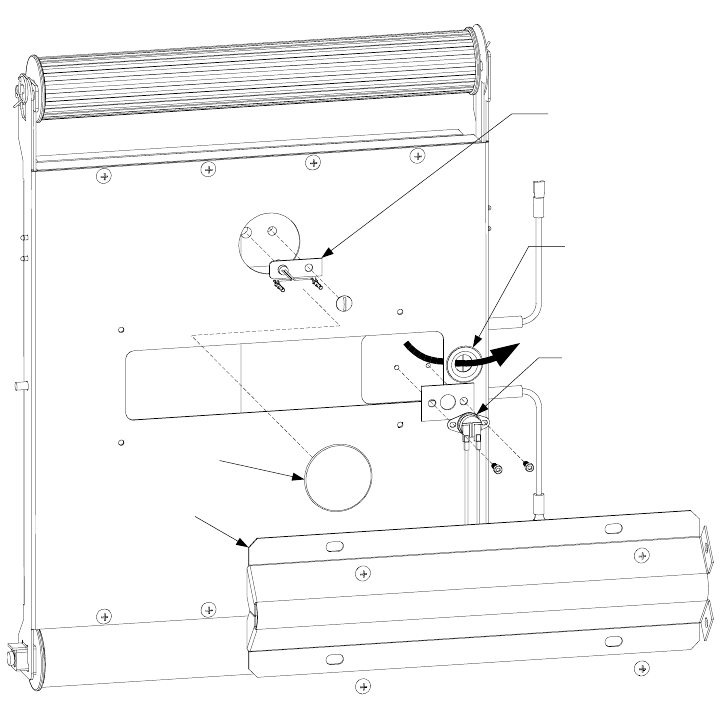
Heater Probe
High Limit
Plug
Platen Tray Brace
NOTE: Probe
and high limit
wires must be
routed through
this bushing as
shown by large
arrow.
4. Replace the failed component, being sure to route the component wires through the bushing as
shown in the illustration above. Reassemble by reversing the steps performed and reconnect the
wiring in accordance with the wiring diagram on the inside of the component housing cover.
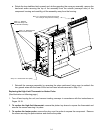
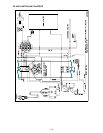
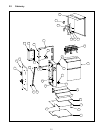
Replacing the Drive Motor or Auxiliary Transformer
(See illustration on following page.)
1. Turn off and unplug the unit.
2. Pull the bun compression knobs from their shafts.
3. Remove the screws around the edge of the component housing cover.
4. Disconnect the failed component’s wiring, then carefully lay the unit on its back.
5. Remove the screws that secure the bottom cover in place and remove the cover. NOTE: The two
cap screws that pass through the bottom of the component housing also hold the belt tensioner
assembly in place.
6. To replace the drive motor, remove the screws that secure the diagonal brace to the component
housing. Remove the drive belt. Loosen the setscrew securing the motor pulley to the motor shaft
and remove the pulley. Hold the replacement motor next to the failed motor and transfer the wiring
connections to the replacement. Remove the four screws that secure the motor to the cabinet and
install the replacement.