


OPERATING THE SELF-CLEANING OVEN
Normal cleaning time: 3 hours
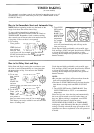
Before a Clean Cycle
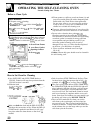
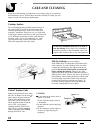
3. Clean spatters or spills on oven front frame (A) and
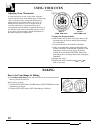
Quick Reminder:
oven door outside gasket (B) with a dampened cloth.
1. Prepare oven
for
cleaning.
Polish with a dry cloth. Do not clean gasket (B).
2.
TLlrn
OVEhT
SET
and
OVEN TEMP knobs to
Do not allow water to run down through openings
CLEAN.
in top of door (C). Never use a commercial oven
cleaner in or around self-cleaning oven.
3.
Slide
the oven door
latch
to the right
as
far
as
it
“
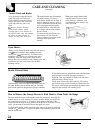
Clean top, sides and outside front of oven door with
w
i]
i
go.
soap and water. Do not use abrasives or oven cleaners.
4.
Set
autOmatic
o~cn
timer.
● Do not rub or clean the door gasket
(B)–the
fiberglass material of the gasket has an extremely
1.
Remove
broiler pan. broiler
rack
and other cookware
low resistance to abrasion. An intact and well-fitting
from
the
oven. (Oven shelves
may
be left in oven. oven door gasket is essential for energy efficient
NOTE: Shelves
will discolor
during
the self-clean
oven operation and good baking results. If you
cycle.
)
notice the gasket becoming worn, frayed or
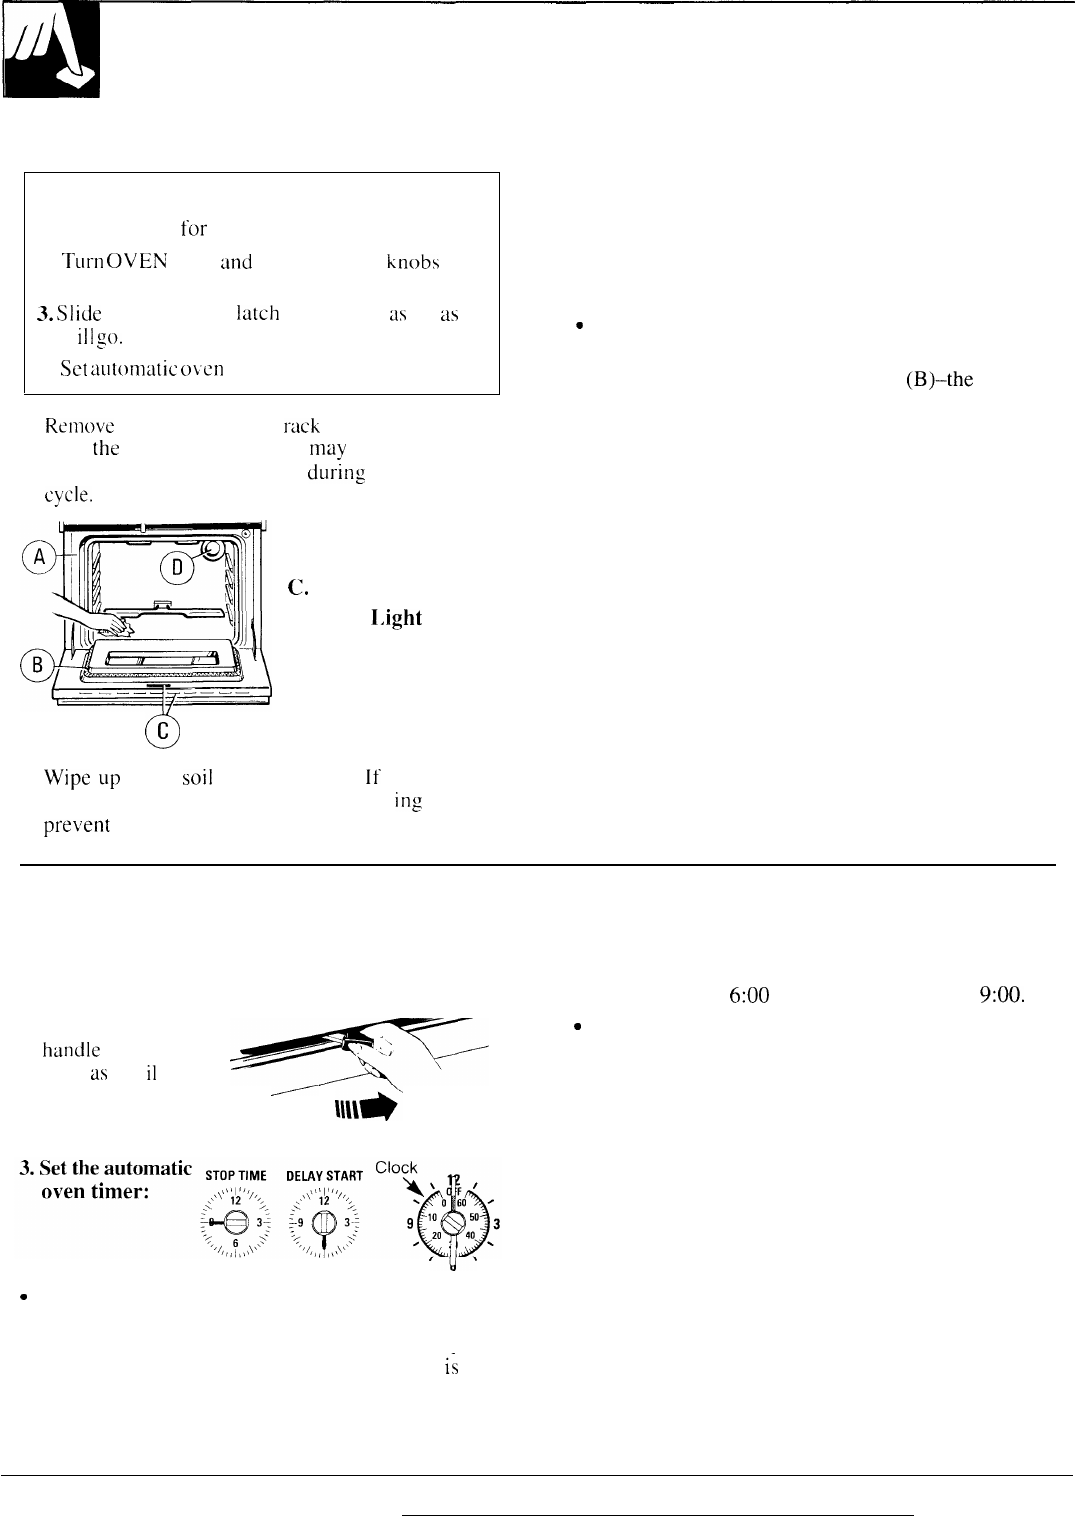
A. Oven Front Frame
damaged in any way, or if it has become displaced
B. oven Door Gasket
on the door, you should have it replaced.
4. Close oven door and make sure oven light
C.
Openings in Door
(D) is off.
D. Oven
I.ight
Caution:
Chrome drip pans should never be cleaned in
the self-cleaning oven.
o
c
2.
Wipe
LIp
heavy
soil
on oven bottom.
[f
you use
soap. rinse thoroughly before self-clean
ing
to
prevent
staining.
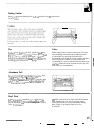
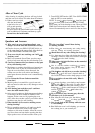
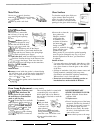
How to Set Oven for Cleaning
1. Turn OVEN SET and OVEN TEMP knobs to
CLEAN. Controls will snap into position when the
CLEAN location is reached.
2. Slide the latch
handle
to the right
as far
as
it w
il
1 go.
~
Ill\*’
PUSH TO TURN
‘u’
“
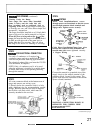
Make sure both the clock and the DELAY START
dial show the correct time of day. When the DELAY
START knob is pushed in and turned, it will “pop”
into place when the time shown on the clock
is
-
reached.
20
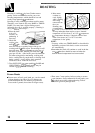
● Push in and turn STOP TIME knob. Set Stop Time
for three hours later than present time of day—for
example, if it is
6:00
now, set Stop Time for
9:00.
“
The oven cycling light (below OVEN TEMP knob),
the CLEANING light and the OVEN ON light will
glow. indicating that the self-clean cycle has begun.
When the oven reaches a certain temperature, the
oven door will lock. The latch handle cannot be moved
until oven cleaning is complete and the oven cools
down. Oven door and window (on some models) get
hot during self-clean cycle. DO NOT TOUCH.
● The oven will smoke the first time you use the
self-clean cycle even though you have wiped up
any excessive soil. This is normal and should stop
in about 10 minutes. To help control the smoke, turn
on the exhaust fan over the range when you use the
self-clean cycle the first time.