


Using Your Oven
Before Using Your Oven
1. Look at the controls. Be sure you
understand how to set them properly.
Read over the directions for the
Automatic Oven Timer so you
understand its use with the controls.
2. Check oven interior. Look at
the shelves. Takea practice run at
removingand~placing themproperly,
to give sure, sturdy support.
3. Read over information and tips
that follow.
4. Keep this book handy so you can
refer to it, especially during the
first weeks of getting acquainted
with your oven.
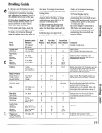
Oven Controls
The controls for the oven(s) are
marked OVEN SET and OVEN
TEMP. OVEN SET has settings for
BAKE, TIME BAKE (on models so
equipped), BROIL and OFF. When
you turn the knob to the desired
setting, the proper heating units are
then activated for that operation.
OVEN TEMP maintains the
temperature you set, from WARM
(150”F) to BROIL (550°F).
The Oven Cycling Light glows
until the oven reaches your selected
temperature, then goes off and on
with the oven unit(s) during cooking.
PREHEA~G the oven,even to
high temperaturesettings,is speedy,
rarelymore than about 10minutes.
Preheattheoven onlywhen necessary.
Most foodswill cook satisfactorily
withoutpreheating.Ifyou find
preheatingis necessary,keep aneye
on theindicator light and put food
in the oven promptly after light
goes out.
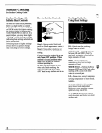
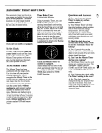
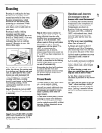
Oven Interior Shelves
The shelves are designed with
stop-locks, so that when placed
correctly on the shelf supports,
they (a) will stbp before coming
completely from the oven, and (b)
will not tilt when removing food
from or placing food on them.
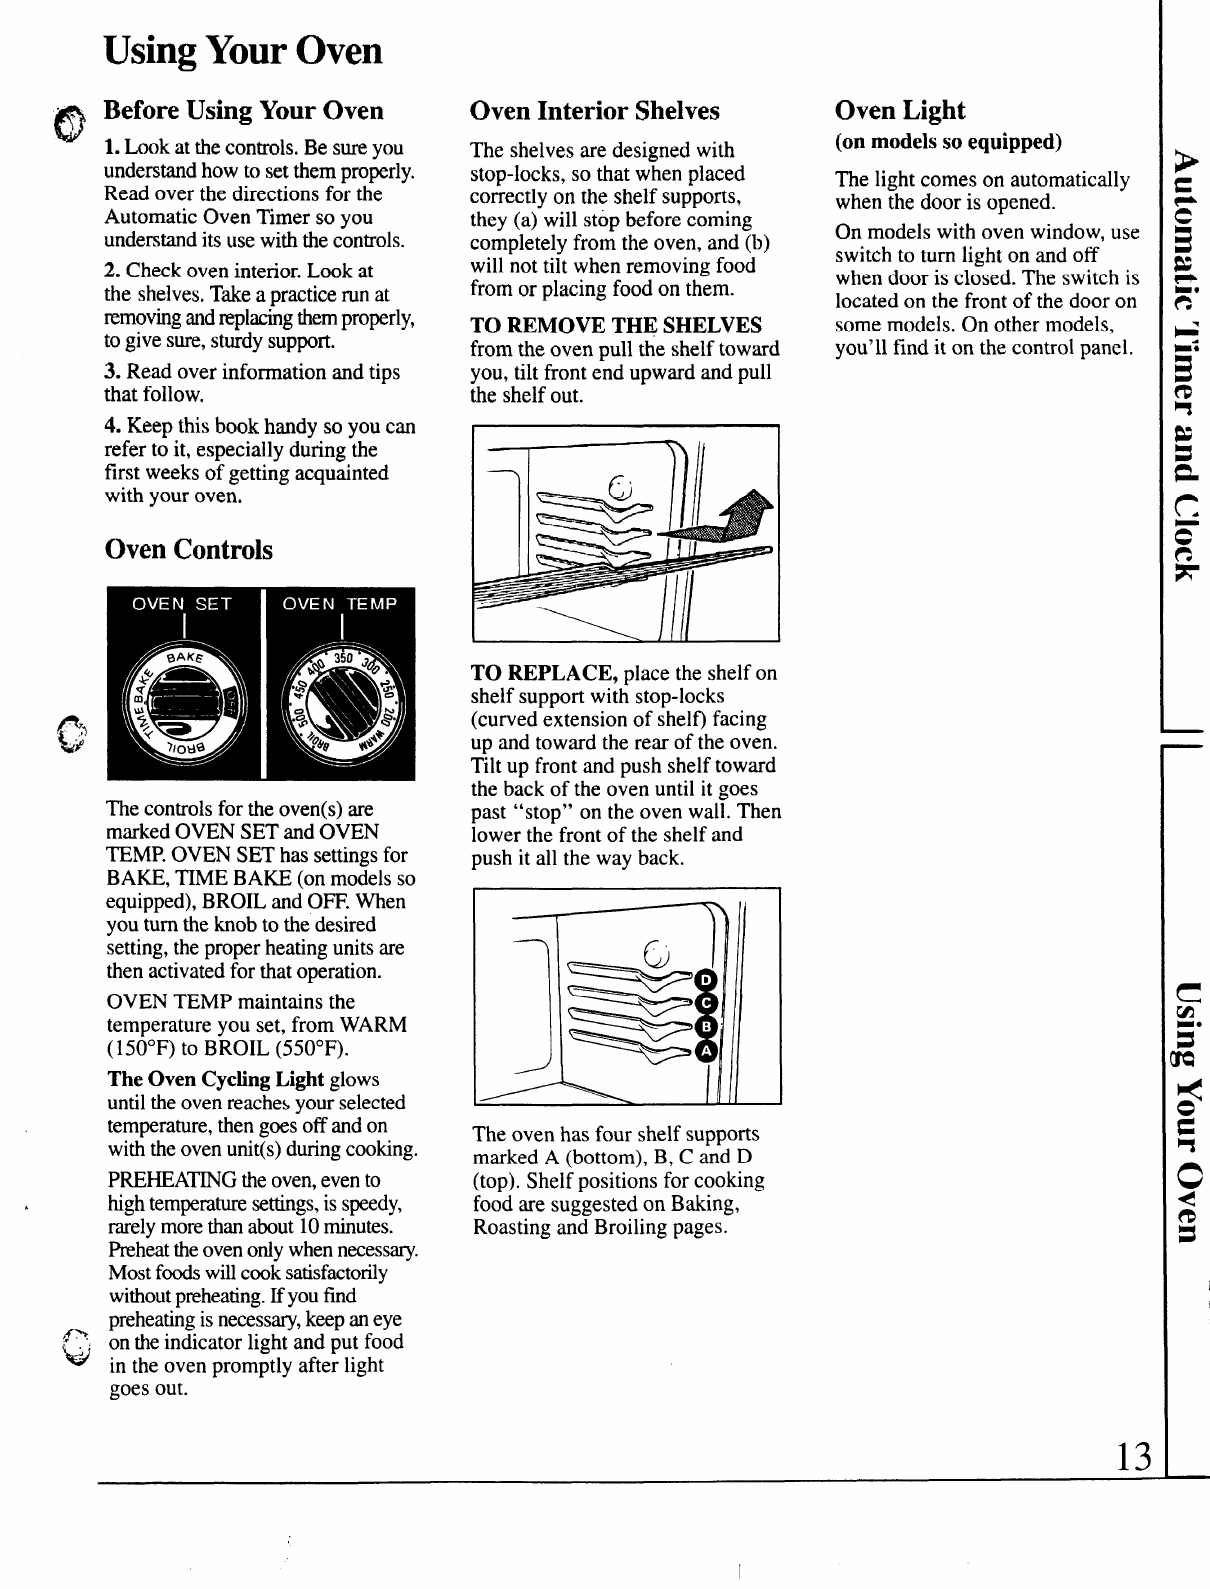
TO REMOVE THE SHELVES
from the oven pull the shelf toward
you, tilt front ~nd upward and pull
the shelf out.
TO REPLACE, place the shelf on
shelf support with stop-locks
(curved extension of shelf) facing
up and toward the rear of the oven.
Tilt up front and push shelf toward
the back of the oven until it goes
past “stop” on the oven wall. Then
lower the front of the shelf and
push it all the way back.
I
—r————nII
1111
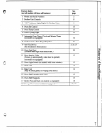
The oven has four shelf supports
marked A (bottom), B, C and D
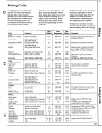
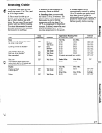
(top). Shelf positions for cooking
food are suggested on Baking,
Roasting and Broiling pages.
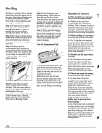
Oven Light
(on models so equipped)
The light comes on automatically
when the door is opened.
On models with oven window, use
switch to turn light on and off
when door is closed. The switch is
located on the front of the door on
some models. On other models,
you’ll find it on the control panel.
13