22
Right hand door swing models are illustrated in these
instructions. Follow these instructions for left hand
models.
Tools and materials
required:
• #2 Phillips screwdriver
• Drill and appropriate
bits
• Custom door panels
• Putty knife
• Safety glasses
• 7/16" wrench
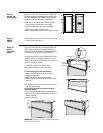
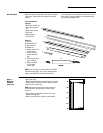
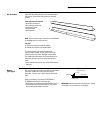
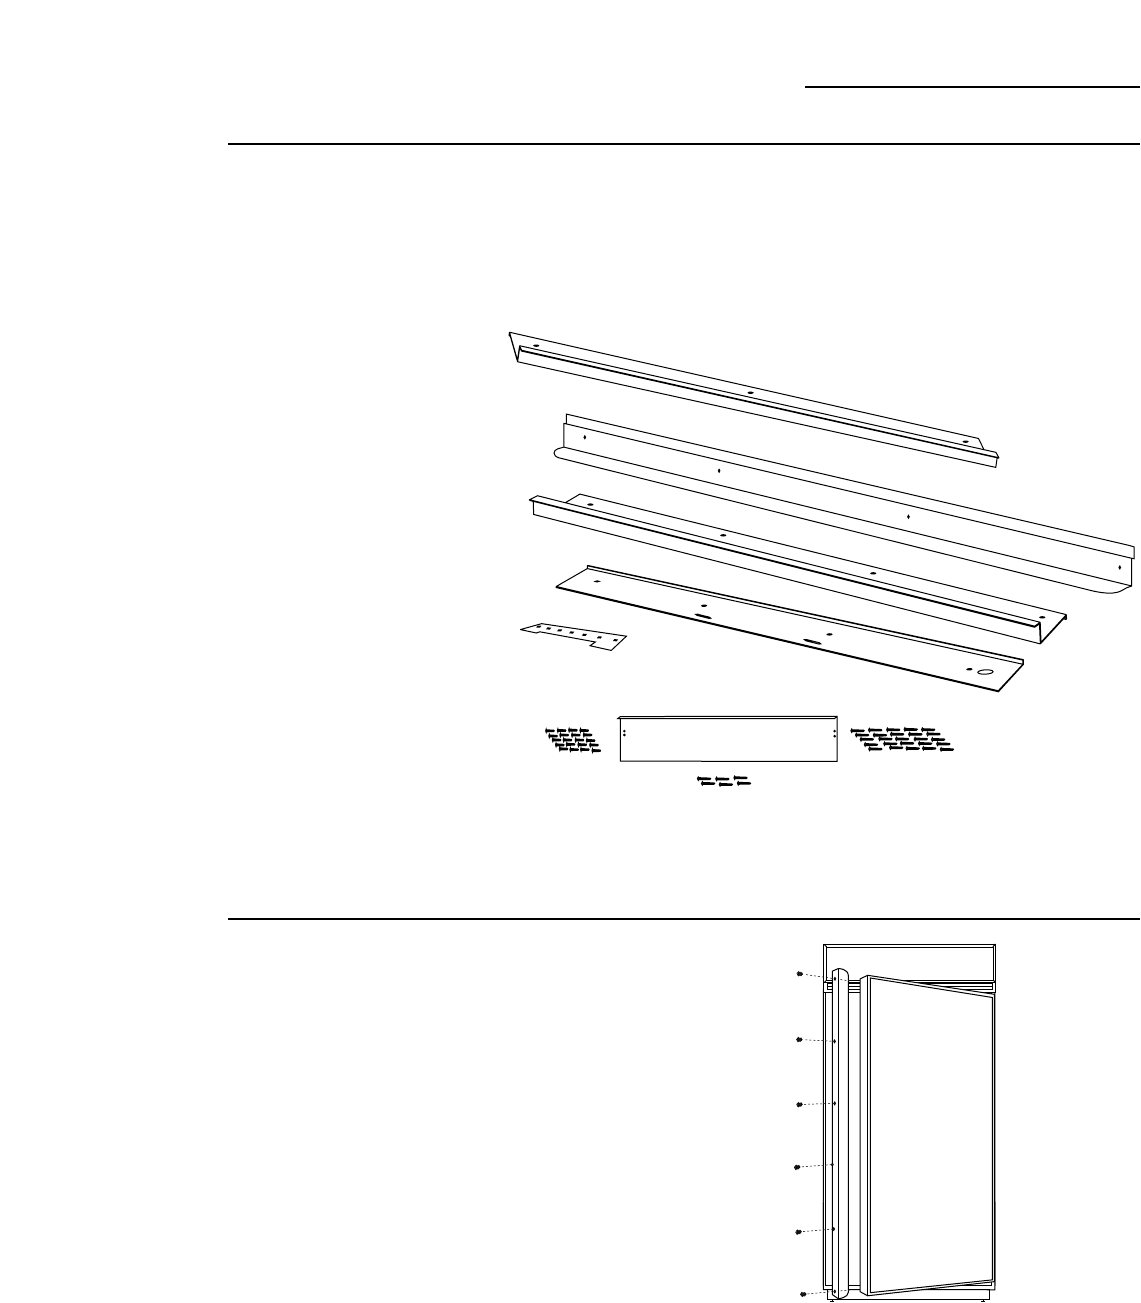
Parts List
A. Top trim
B. Handle side trim
C. Hinge side trim
D Bottom trim
E. Support bracket for
custom panel
F. 4-3/8" screws for
support brackets
(20)
G. Grille support panel
and screws (6)
H. Wood screws #6
1/2" flat head
screws (30)
NOTE: If you are using a custom handle, see ZKHTR1
installation instructions. For a tubular stainless steel
handle, see ZKHTRSS1 installation instructions.
Kit Contents
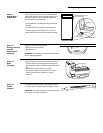
This kit provides for the installation of 3/4" thick custom
door and grille panels. Handles are included and must
replace the supplied handles.
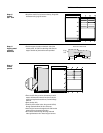
Step 1
Remove
handles
and trim
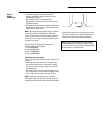
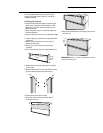
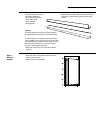
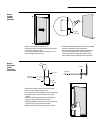
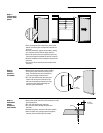
• Open door to 90°.
• Remove the Phillips head screws from the full length
handle, remove and discard handle. Retain screws.
• Open the door fully to stop.
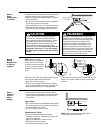
NOTE: Removal of actuator arm allows the door to
be opened wider, giving greater access to hinge
side trim.
• Remove the screws from the aluminum trim, top
bottom and hinge side.
• Retain screws. Discard original trim and handle.
A
B
C
D
E
F
G
H
ZKTR36LH/ZKTR36RH Trim Kit
3/4" Custom Panels


