


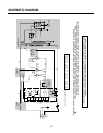
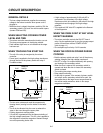
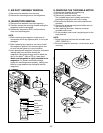
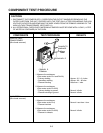
D. PCB ASSEMBLY REMOVAL
1) Remove the control panel assembly from the
cavity. (Refer to control panel assembly removal
on previous page.)
2) Remove screws which hold the PCB SUB ASSÕY to
the control panel.
3) Disconnect the flat cable from the PCB SUB
ASSÕY and take off the PCB SUB ASSÕY
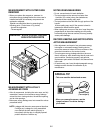
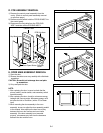
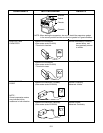
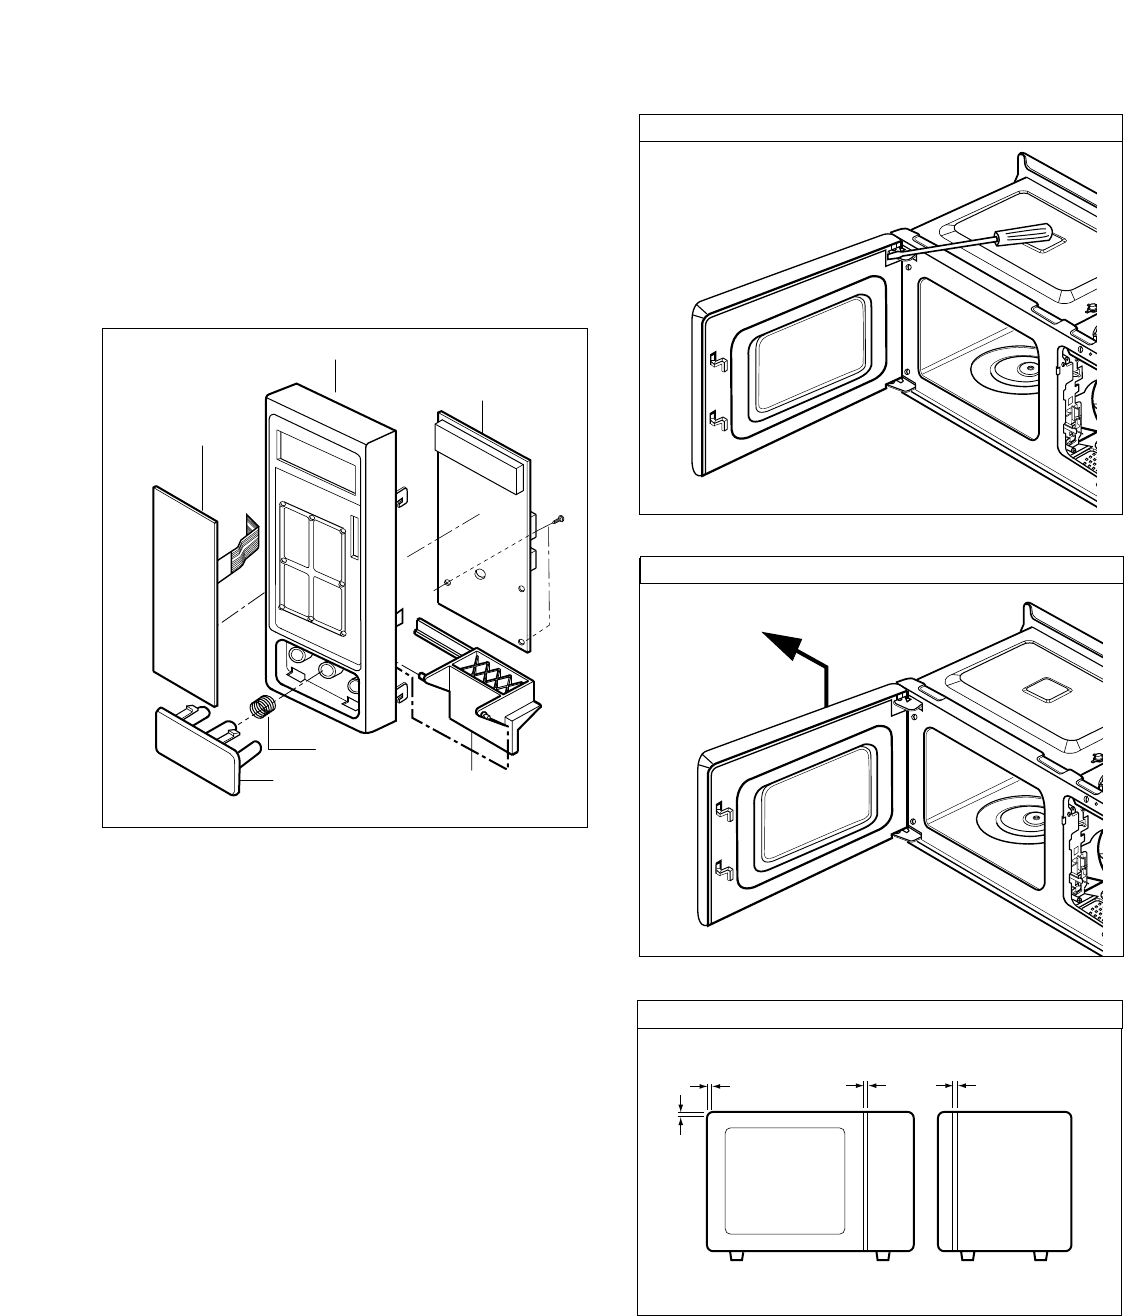
E. DOOR MAIN ASSEMBLY REMOVAL
1) Open the door.
2) Remove the choke cover very carefully with a flat-blade
screwdriver.
CAUTION: Be careful not to damage door seal plate
by screwdriver.
3) Lift up and push the door.
NOTE:
1. After replacing the door, be sure to check that the
primary switch, monitor switch, and secondary switch
operate normally.
2. After replacing the door, check for microwave energy
leakage with a survey meter. Microwave energy must
be below the limit of 4 mW/cm. (with a 275 ml water
load)
3. When mounting the door assembly to the oven
assembly, be sure to adjust the door assembly parallel
to the chassis. Also adjust so the door has no play
between the inner door surface and oven frame
assembly. If the door assembly is not mounted
properly, microwaves may leak from the clearance
between the door and the oven.
5-4
Key Membrane
Door Open Button
Release
Lever
Button Spring
Control Panel
PCB Sub Asm
Remove door
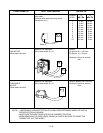
Remove choke cover
Spacer