


Page 6 Crathco
®
5000 Series Manual
OPERATING & ADJUSTMENTS
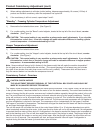
How to Operate:
1) Sanitize unit following the cleaning instructions on page 12.
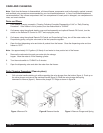
2) Fill hopper with product. Allow barrel to fill with product to the proper level, then install carb tube.
3) Turn power switch (toggle switch located underneath the electrical box) to "on" position.
4) Turn mode switch (rocker switch located next to power switch) to freeze position.
5) Allow product to freeze in barrel.
6) To dispense product pull down valve handle and release when done.
7) If product consistency is not as desired, adjust per the instructions on page 9.
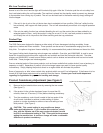
Mix Considerations - General
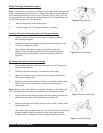
Freezing characteristics are affected by the amount of sweeteners and solids in the mix, called BRIX. BRIX can be
measured with an instrument called a refractometer. A BRIX reading of between 11 and 14 will provide optimum
freezer operation. Mixes with this brix level will freeze down to a smooth, uniform consistency. Mixes with too high
a brix level will take longer to freeze down and will yield a soft, wet, frozen product. Mixes with too low a brix level
will have larger ice crystals and will have a tendency to dispense slowly. Note: Always take BRIX measurements
using mix that has been thoroughly blended, before it is frozen. Always allow frozen mix to thaw thoroughly before
taking a reading.
Alcohol content also affects product-freezing characteristics and may prevent the freezer from serving a product at
proper thickness.
For maximum output capacity always pre-chill mix before adding it to the freezer. Pre-chilled mix gives the freezer a
head start on the freezing process and will speed both initial freeze down and recovery time.
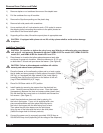
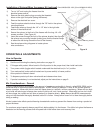
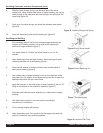
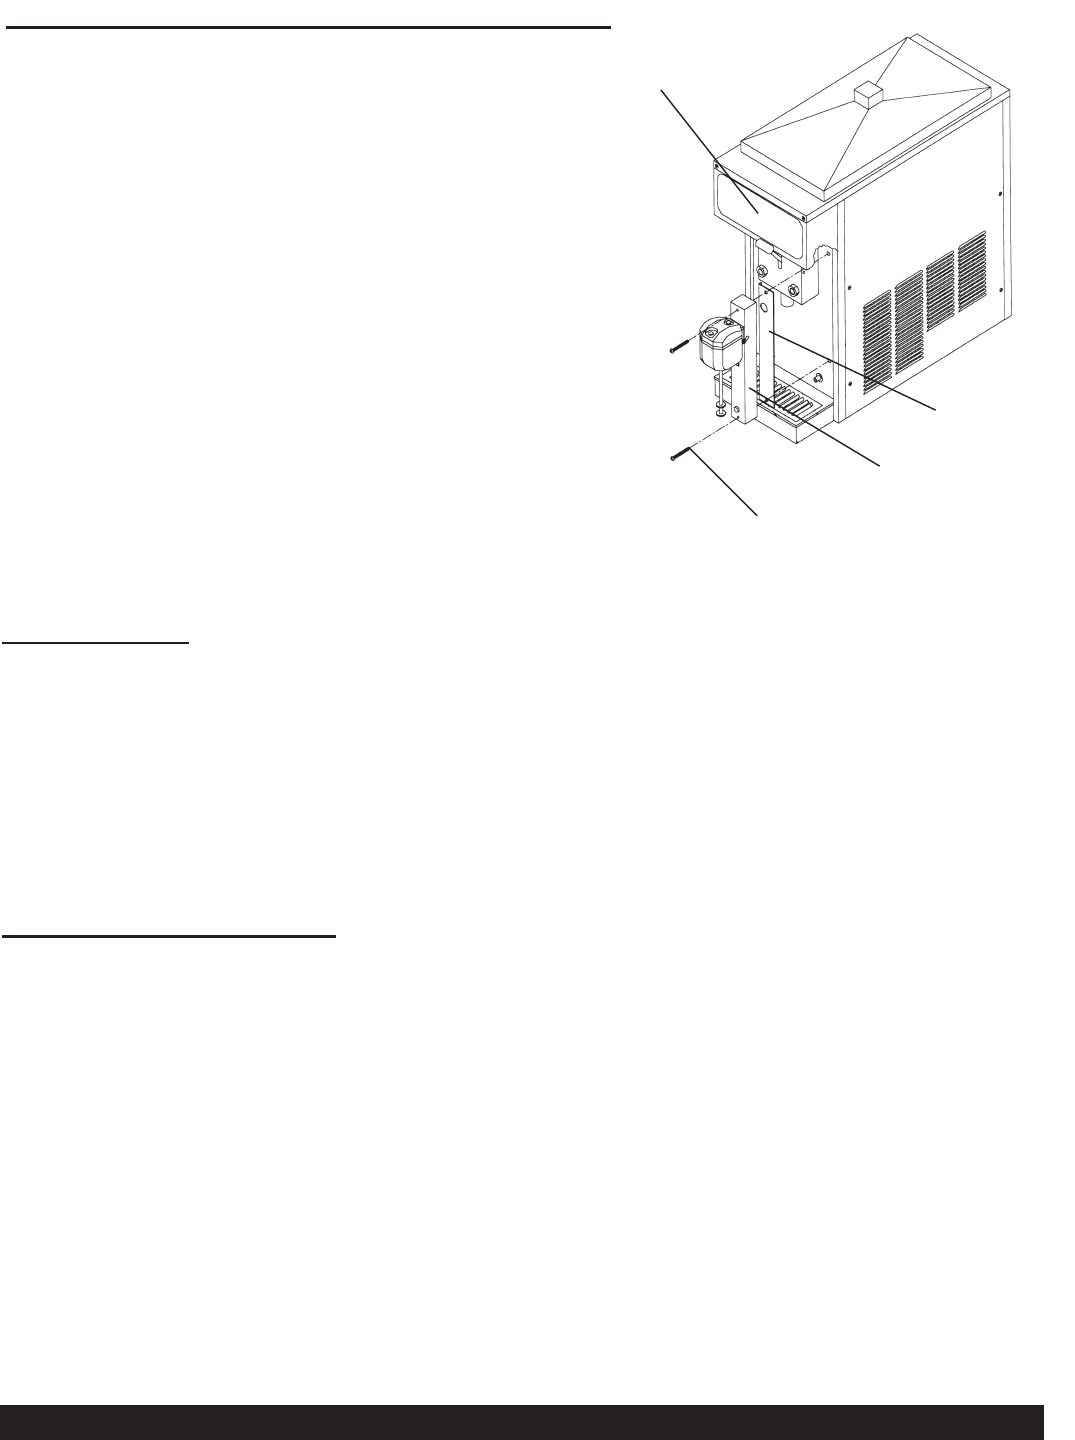
Figure H
Installation of Spinner/Mixer Accessory Kit (optional) (Part #W089.0053-115V) (Part # W0890124-220V)
1) Turn to "off" and unplug the freezer from the
electrical power source.
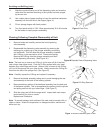
2) Remove the white plastic plugs covering the threaded
holes on the right front panel (facing the freezer).
3) Remove the electrical box cover.
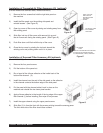
4) Feed the spinner electrical wires through the 7/8” hole in the spinner
mounting bracket.
5) Feed these wires up through the 1/4” x 1/2” hole in the right side
bottom of the electrical box.
6) Secure the spinner to the front of the freezer with the long 1/4 x 20
screws provided. (See Figure H)
7) Insert the screws through the front of the spinner bracket, then through
the spinner rear mounting bracket (making sure that the bracket flange
is toward the left facing toward the front of the freezer).
8) See the spinner-wiring diagrams to locate spinner
wire connections.
Electrical box
Spinner mounting bracket
Spinner
Mounting screws