OPERATION
Before first use
Remove packaging elements,
Gently (slowly) remove labels from the
oven door, trying not to break the glue
tape. If any visible trace is left on the
glass, warm up the oven chamber (see
below), spray the warmed-up glass with
a glass cleaner, and wipe off with a soft
cloth.
Empty the drawer, clean off factory
preservatives from the oven chamber,
Take out and wash the oven fittings with
warm water and a little
washing-up
liquid,
Switch on the ventilation in the room or
open a window,
Heat the oven (to atemper
ature of
250℃,for approximately 30 min.),
remove any stains and wash carefully.
When handling the cooker, follow the
safety instructions carefully.
The oven chamber should only be
washed with water and a small
amount of washing-up liquid.
How to use surface burners
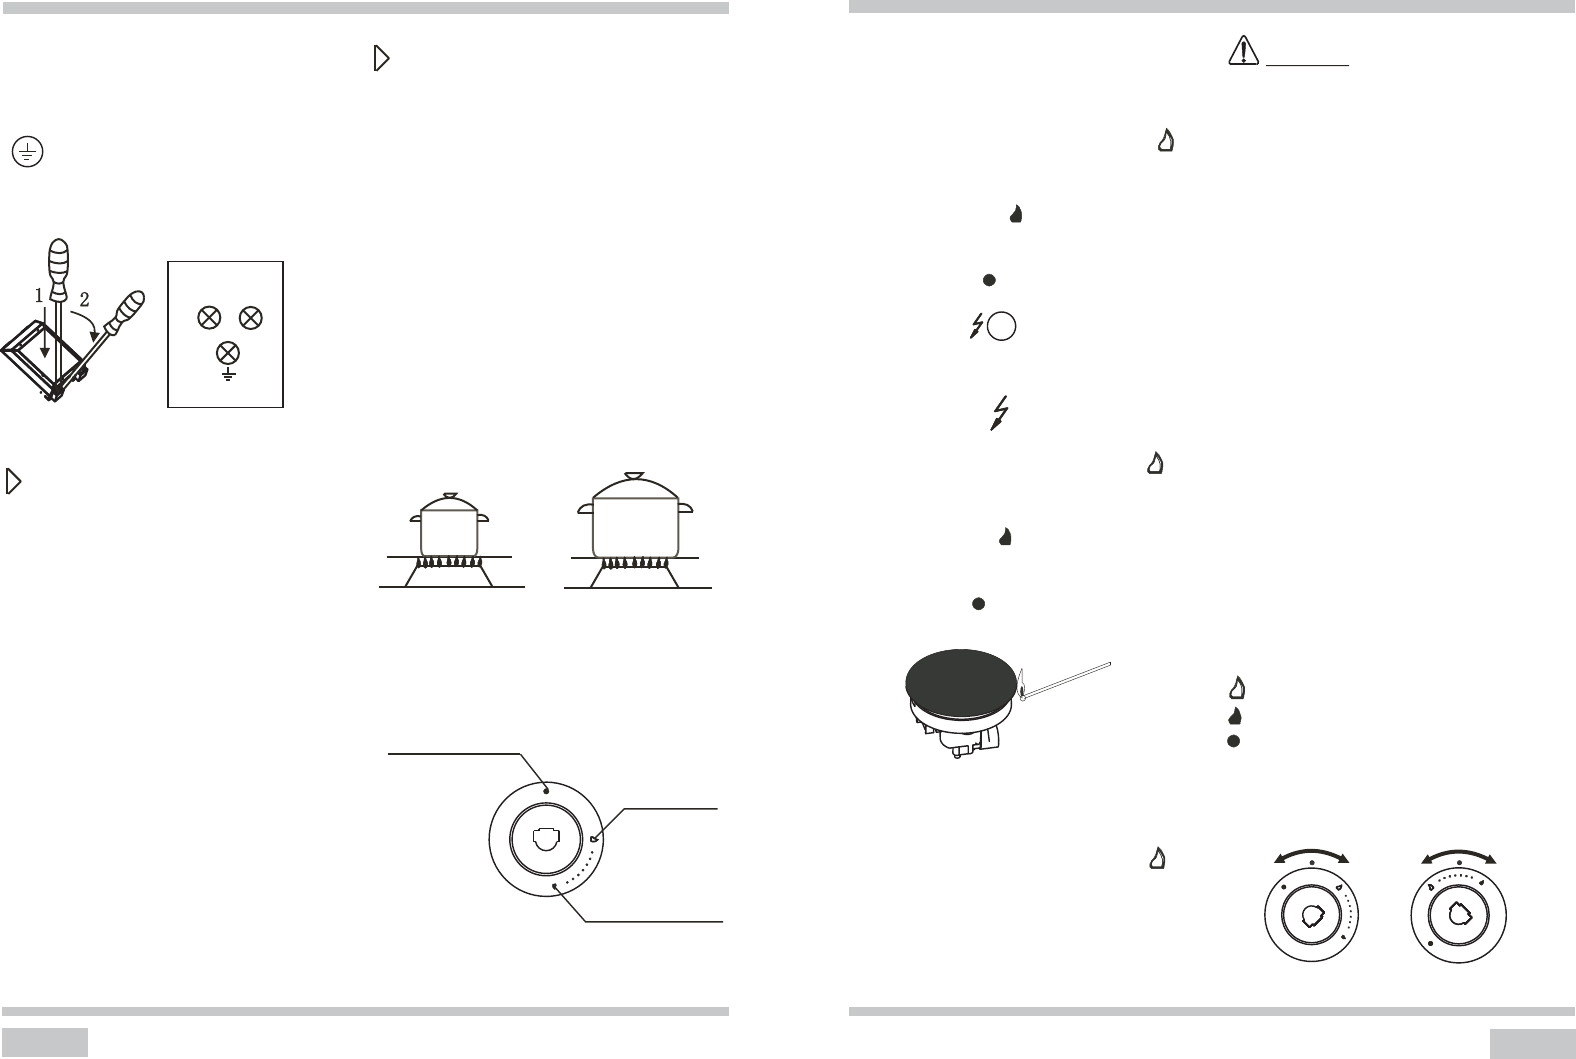
Choice of cookware
Mind that the diameter of a pan base is
always larger than the burner flame crown,
and that the pan itself is covered. The
recommended pan diameter is around 2.5
to 3 times larger than the burner diameter,
that is, for:
● An auxiliary burner – a pan with a
diameter of 90 to 150 mm,
● A medium burner – a pan with a
diameter of 160 to 220 mm,
● A large burner – a pan with a diameter
of 200 to 240 mm, and the pan height
should not be greater than its
diameter.
WRONG
RIGHT
Gas burner control knobs
Postition
burner"switched off"
Position
"large flame"
Position
"economical flame"
GB
36
Colour code
L=exterior live wires,usually coloured
black .
The colour is usually white.
Beware of the correct N-connection!
E=earthing wire.
The colour is green .
120V~60Hz
L
N
E
OPERATIONOPERATION
Ignition without an ignitor
Light a match.
Press in the knob to the end and turn
it left to the “large flame” position
,
Ignite gas with a match.,
Set required flame size (e.g.
“economical”
),
Switch off the burner afte r finishing
cooking, turning the knob right (to the
off position
).
Push-button
ignition
Press the spark ignition push -button
marked with
Press in the knob to the end and turn
it left to the “large flame” position
,
Hold down until gas has lit,
Set the required flame size (e.g.
“economical”
),
Switch off the burner after finishing
cooking, turning the knob right (to the
off position
).
Knob ignition
Press in the knob to the end and turn
it left to the “large flame” position
,
Hold until gas is lit,
After the flame is lighted release the
pressure on the knob and set a
required flame size.
In cooker models equipped with a surface
burner safety valve, hold the knob pressed
down to the end w
hen igniting for 10
seconds at the “large flame” position to
activate the safety device.
If the ignition device is out of order, either
due to power failure or humid ignition
device, use a match or a lighter to ignite
the gas.
● Keep the button pressed for
approximately 10 second after ignition
to stabilize the flame.
● If you failed to ignite the burner after
15 seconds. Shut the burner off and
wait for at least one minute before the
next attempt.
Selection of the approprite flame
A correctly adjusted burner has a light blue
flame with a clearly visible internal cone.
Selection of flame size depends on the
position of the burner knob which has been
set:
Large flame
Small flame (“economical flame”)
Burner switched off (gas supply is cut
off)
Depending on requirements, flame
size
can be set in a continuous manner.
WRONG
RIGHT
GB
Caution!
37


